We have made it to Thursday and I am off to Bangkok for the second leg of this adventure.
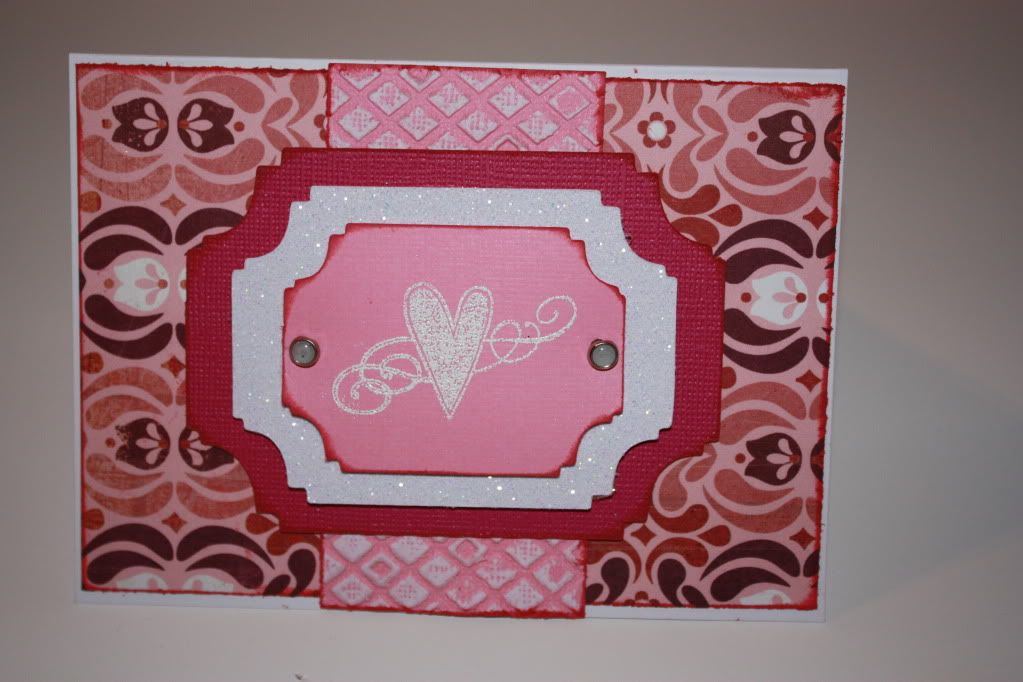
This card was made with Basic Grey pattern paper, glitter card stock from Michael's, and solid card stock from CTMH. the Stamps are CTMH and the brads are SU
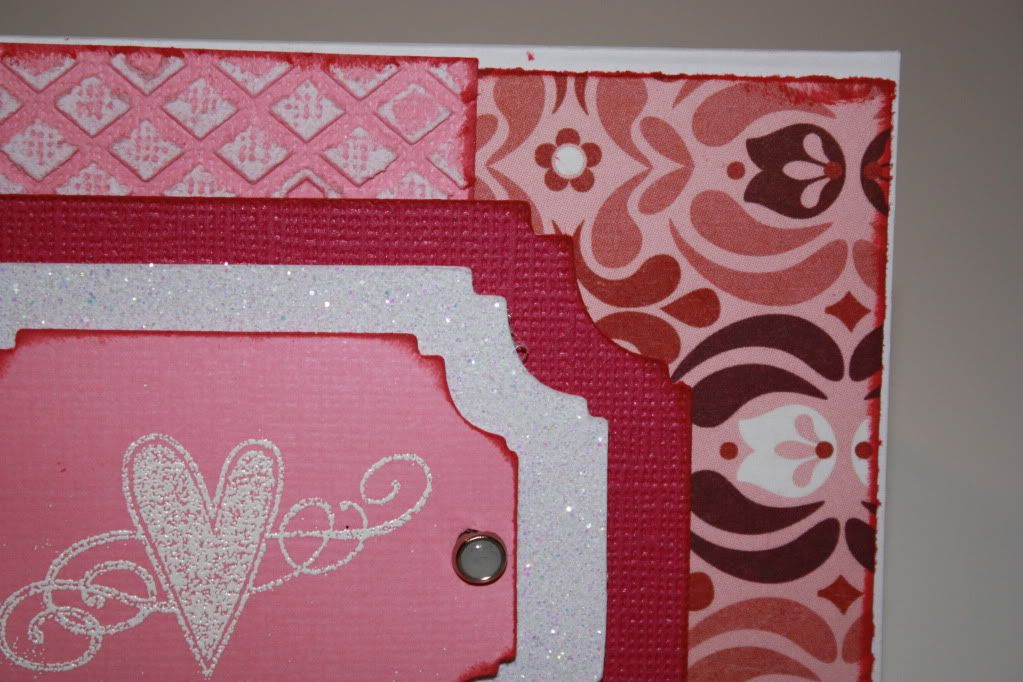
There was not a lot of white in the paper but I wanted to use the white glitter paper, so I did some creative thinking and used some pink CTMH paper that has a white core, cuttlebugged and sanded it to add just a little more to balance the card. Inking the edges of the solids helped define each layer as well.
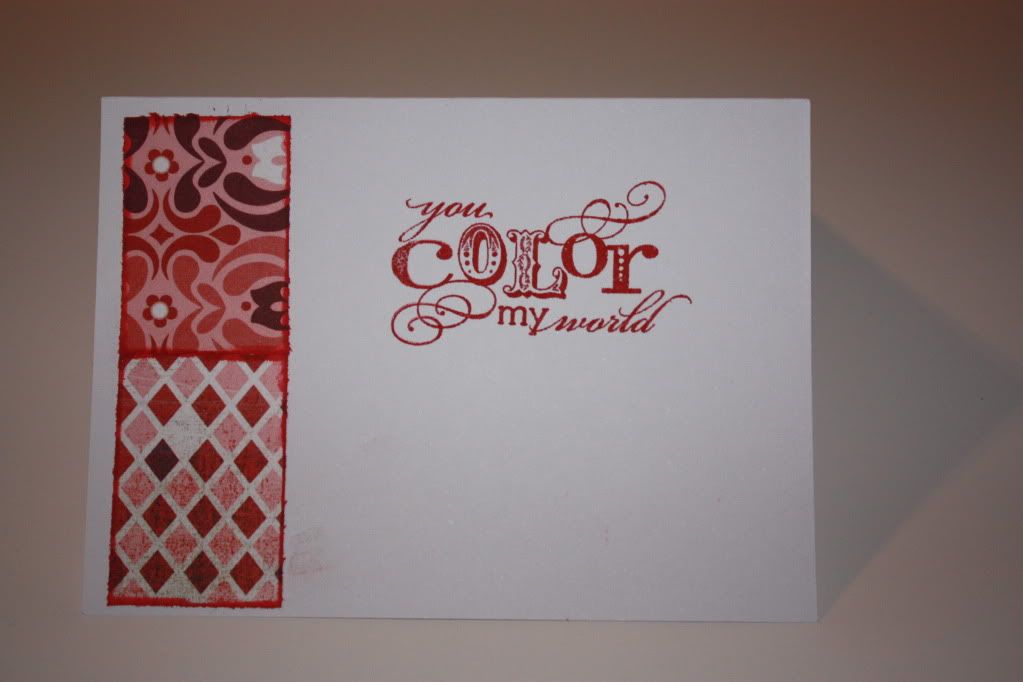
On the inside I used the front and back of the pattern paper from the outside-notice how the pattern paper on the bottom matches the embossing folder I used--this stamp is from CTMH and I just love the saying.
I do hope you have enjoyed the projects so far. I have one more for Friday and than starting all over again on Monday!!! Hope to see you on Friday-
Hello everyone--hope you are doing well. I am now a day ahead of you as I have crossed the international date line and in Hong Kong for a few days--of course I am taking pictures and trying to get some video to do where in the world is scrapguy--and I am picking up a few little things to share with all of you all as well.
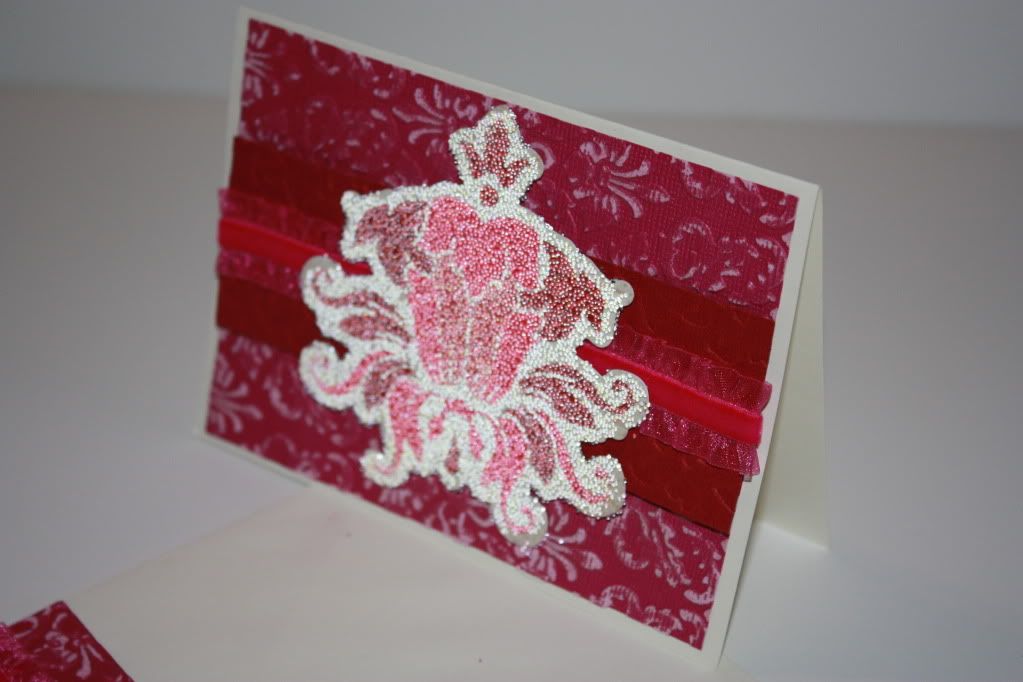
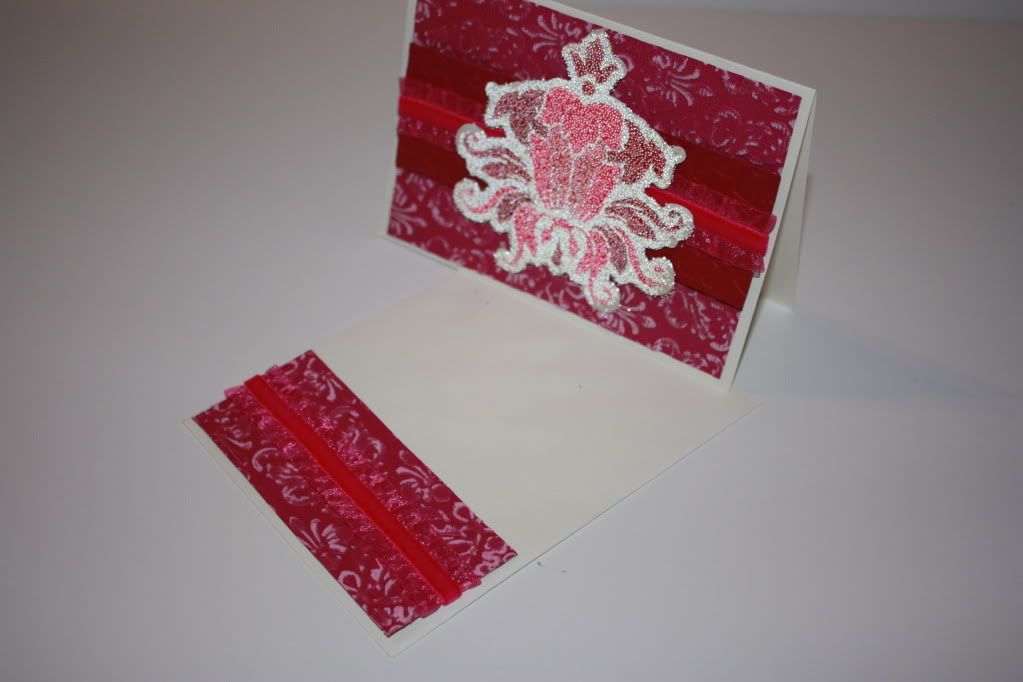
Today's card was pretty easy I used a couple cuttlebug folders and a lot of pink to work this one out. The ribbon is from Hobby Lobby and is stretchy velvet with a sheer ruffle. The die cut is from a sheet that came with the MME Valentine's day collection--I turned it face down and sent it through the xyron and added micro glass beads.
The photos make it look like it is hot pink--darn the flair from the camera. It is really a nice warm pink and the colors do work well together--I promise.
I added a strip of cuttlebugged paper and ribbon to the envelope to finish it off. This card could also be used for a personal shower for a bride to be!
Take care and we will see you back here on Thursday (Friday for me!)
Well it's Tuesday of a SUPER busy week. I am back in NYC on Wed and Thurs, home on Friday and than Back to NYC for Sat, Sun, Mon and leaving right to Asia for two weeks from NYC. I will only be home 8 days out of the first 6 weeks of 2011! I do love my job but I would like a few weeks at home!
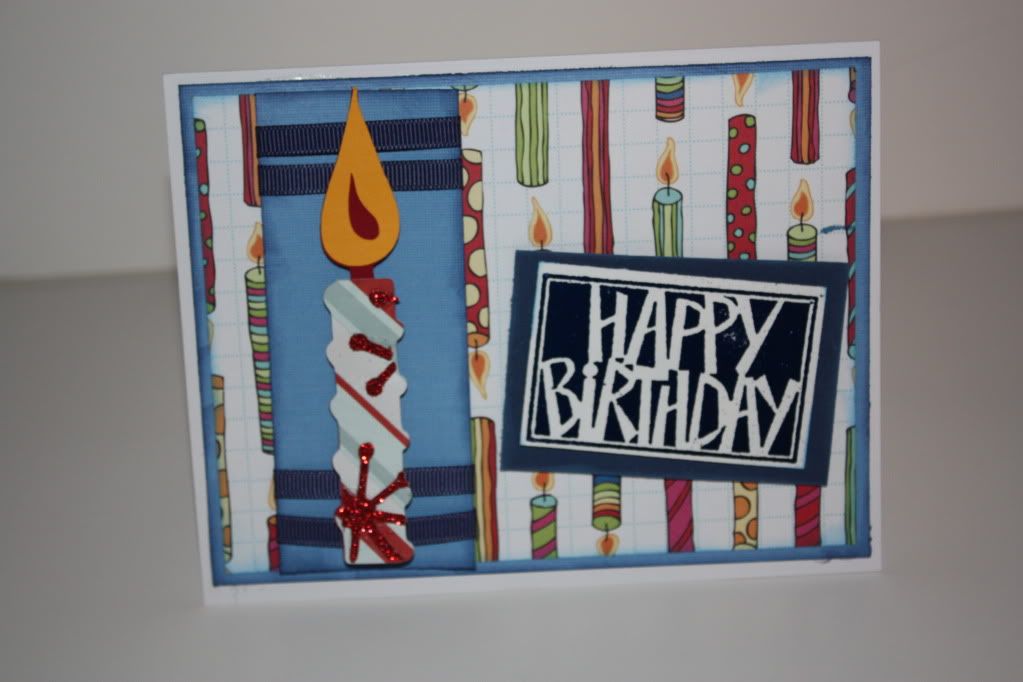
I have a fun birthday card to share. I used some Scenic Route patterned paper a few scraps, and my fav find ever--Stampin Foil!
I cut the candle from the Cricut Wrapped Up cartridge--which I think this one is a must have. The images and the word are is good! I used the glitter paper from SU and a scrap of SEI striped paper for the candle.
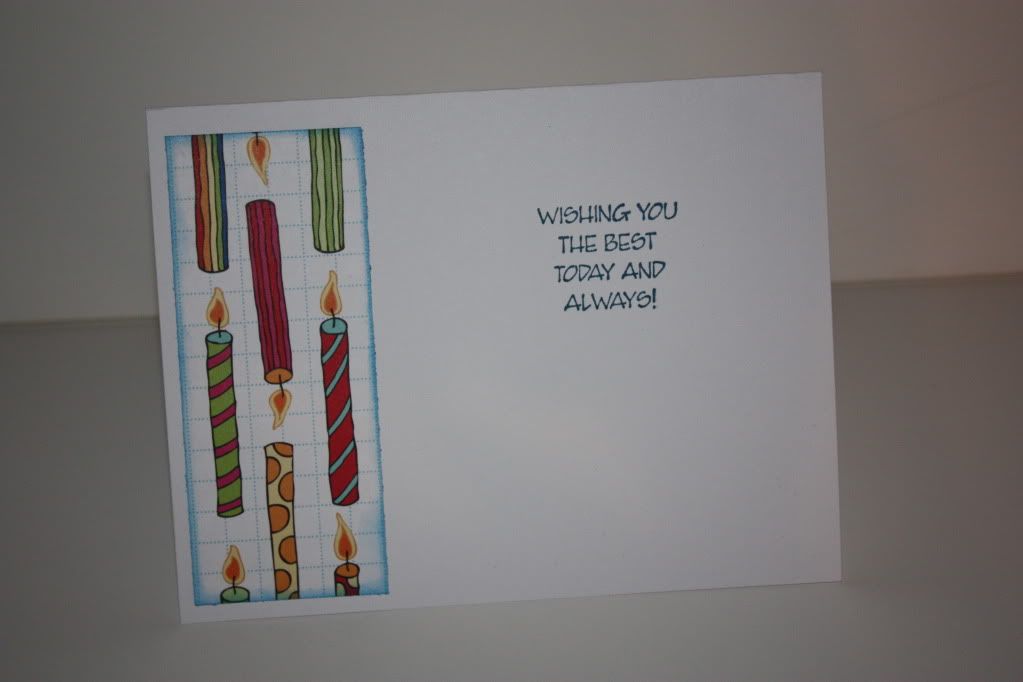
I wanted to stamp the inside with a nice sentiment and a bit of the pattern paper. On white cards esp. I like to finish off the inside--everyone likes a little somethin' somethin' that makes it even more special.
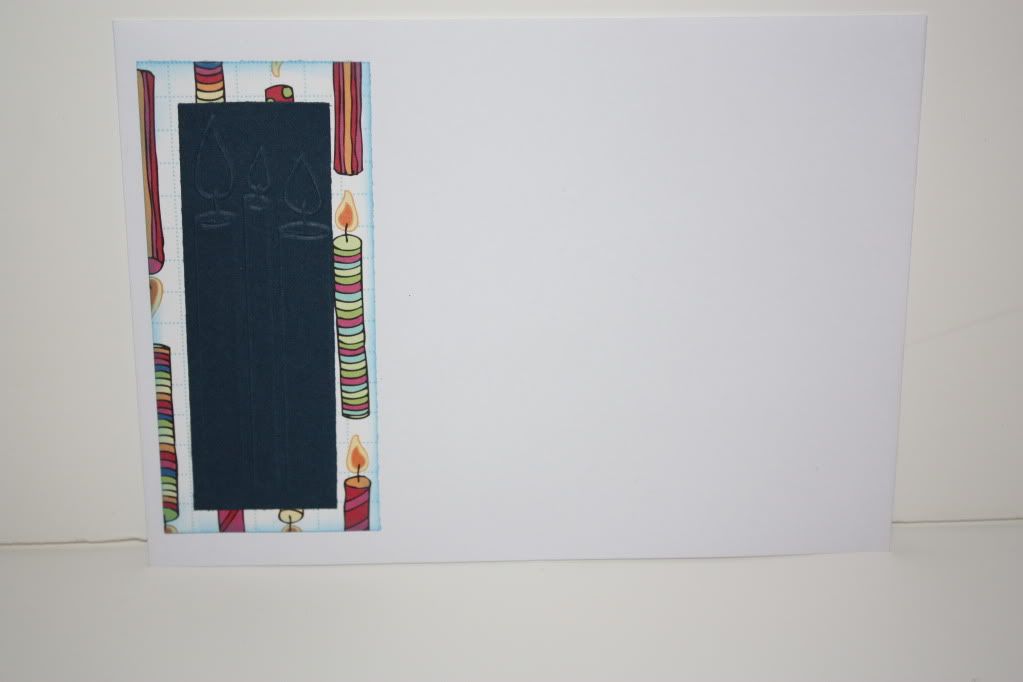
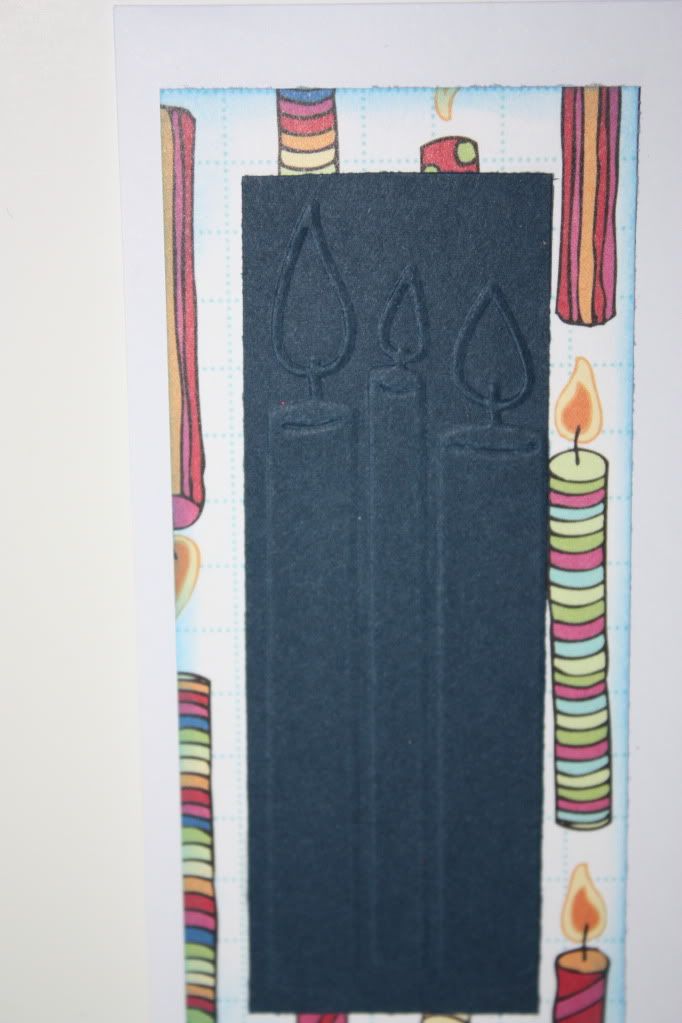
The envelope is just as important and on this one I used the same pattern paper and a bit of navy that I cuttlebugged with the candles folder (an oldie but goodie)! Here is an up close shot of the embossing.
Alright everyone--if you had yesterday off like I did today is or Monday. I never thought I would say this but I miss my office! Make it a great one-
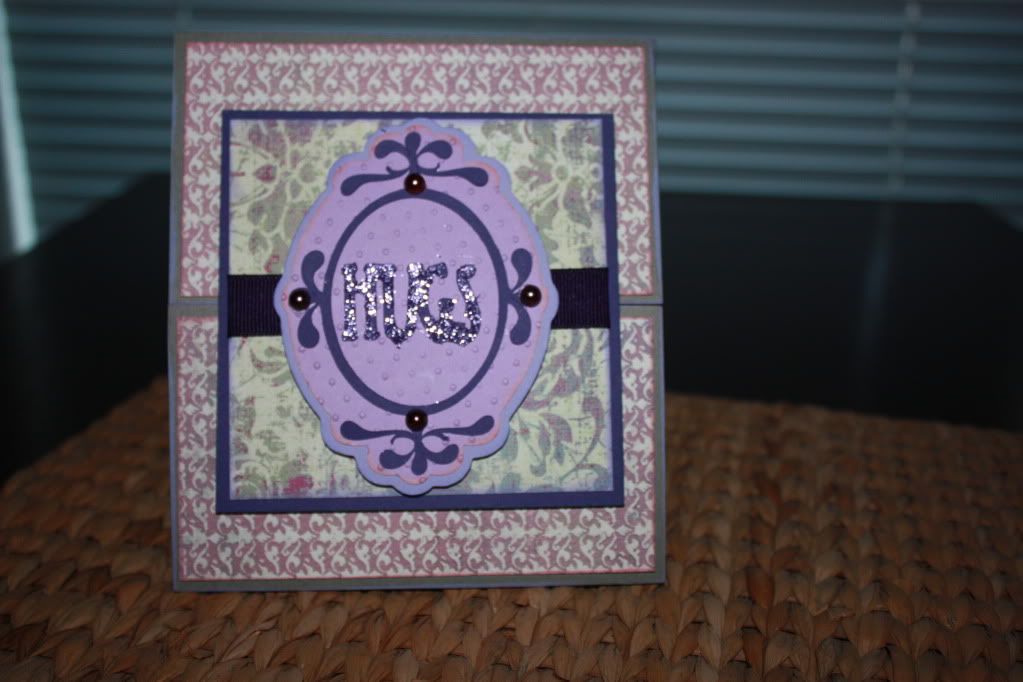
So today is my last card in this challenge of using only two sheets of pattern paper. I really love this one!
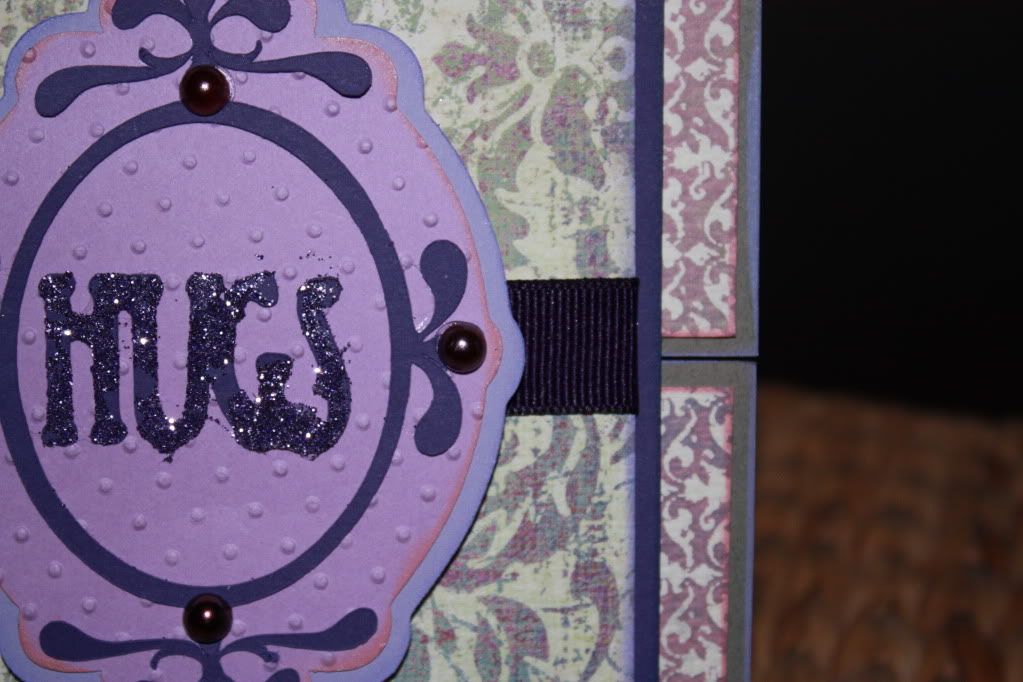
This is a gate fold card. the center cut is from Cricut Lacy Labels. I used the swiss dots cuttlebug folder to emboss the base, added pearls to the frame, and glittered the word using my xyron sticker maker (I love that thing!)
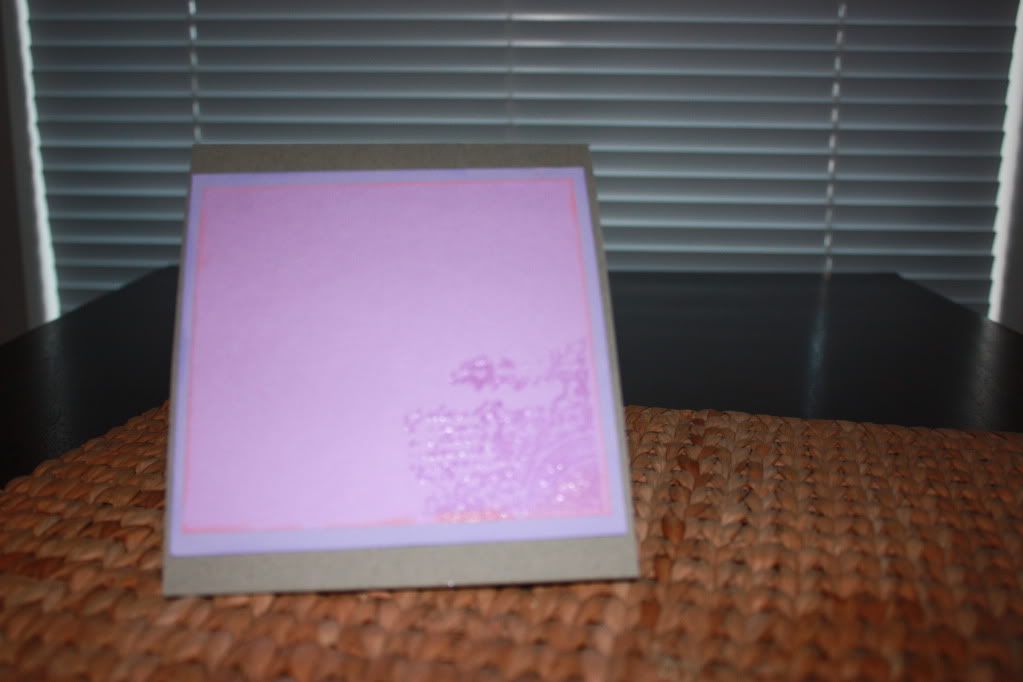
I finished the inside as well
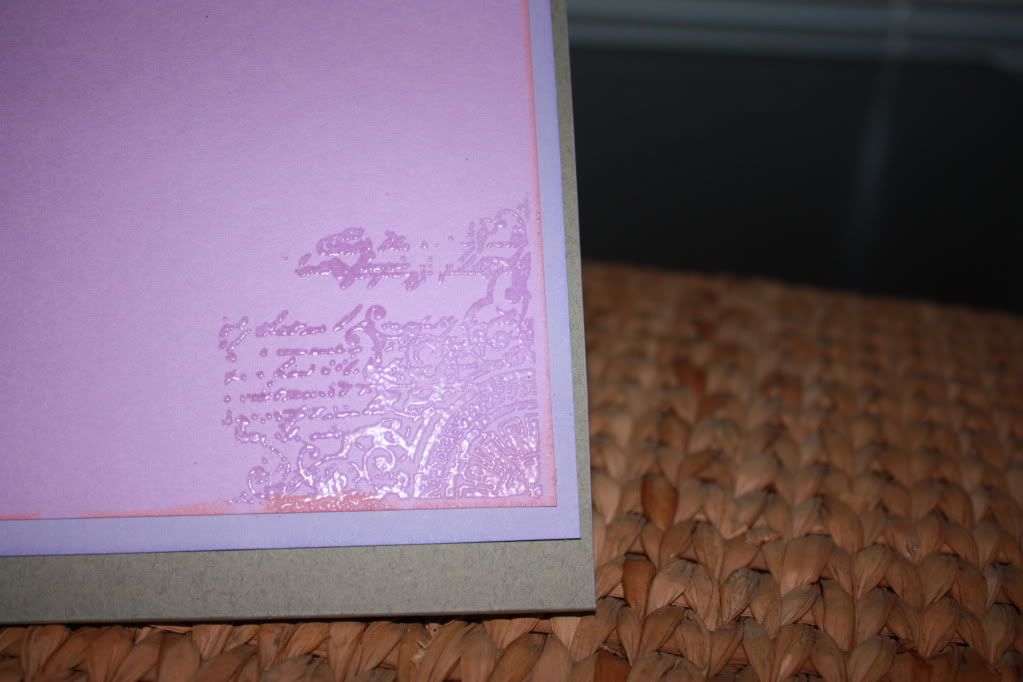
I layered a couple of shades of purple and used a CTMH stamp with versa mark and clear embossing powder--here is how it turned out
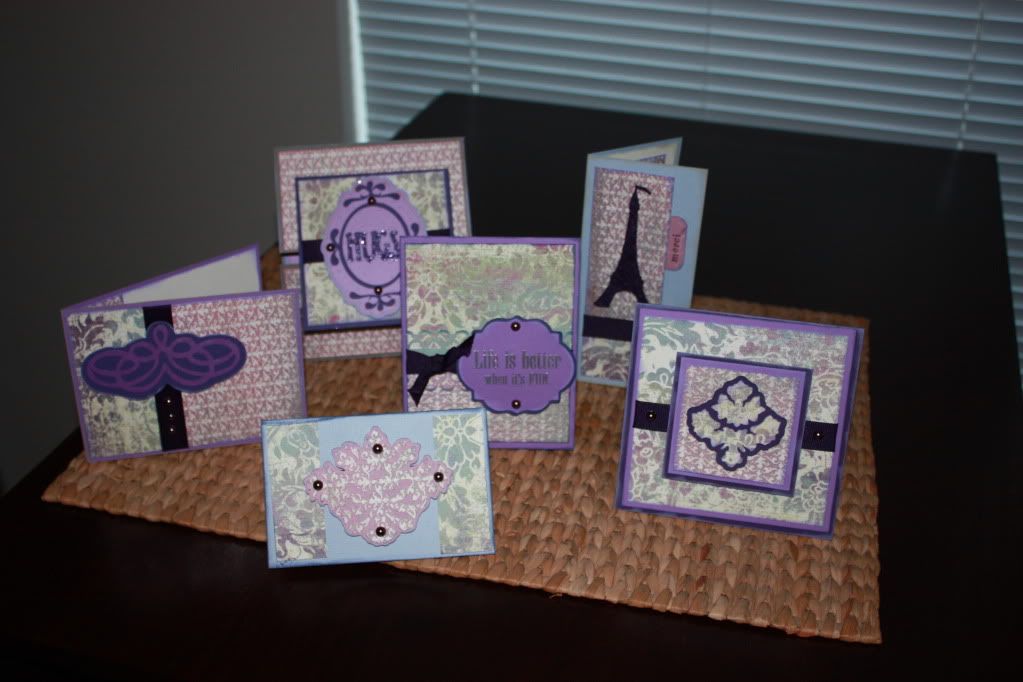
This was a really fun challenge--two sheets of paper a spool of ribbon and a bunch of stuff I already had--6 cards for less than $5!
Hope you enjoyed this week and all the cards! Have a great weekend, see you on Monday!
It's Monday, and I am off to the races this week. On my way to Salt Lake City early this week and then off to Canton Ohio--yes Ohio, for the Nation Football Hall Of Fame Weekend!!!!!!!
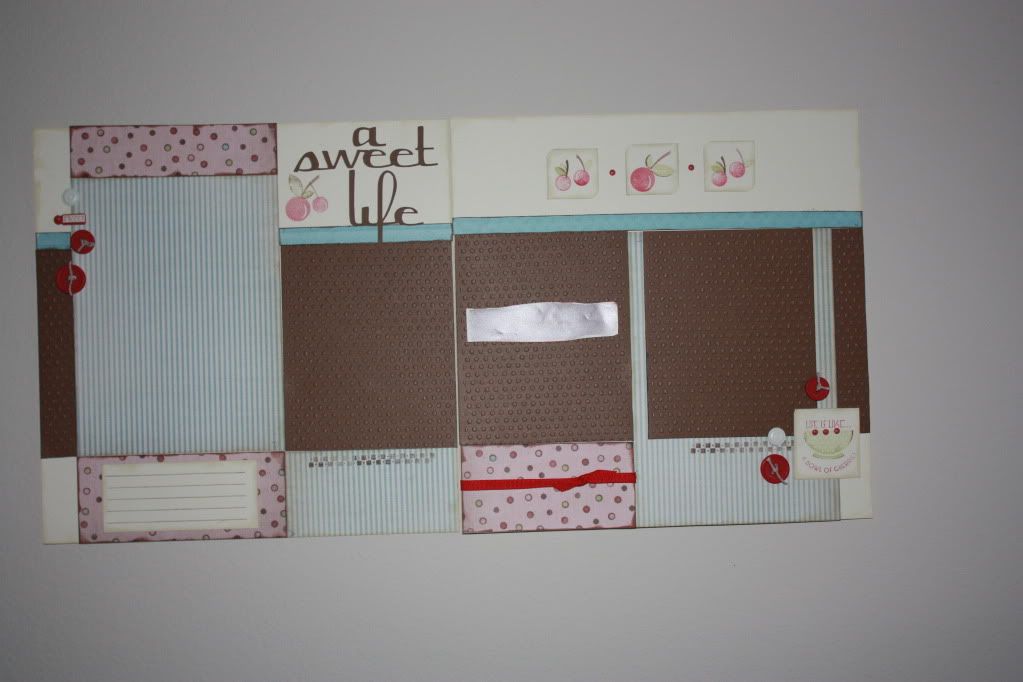
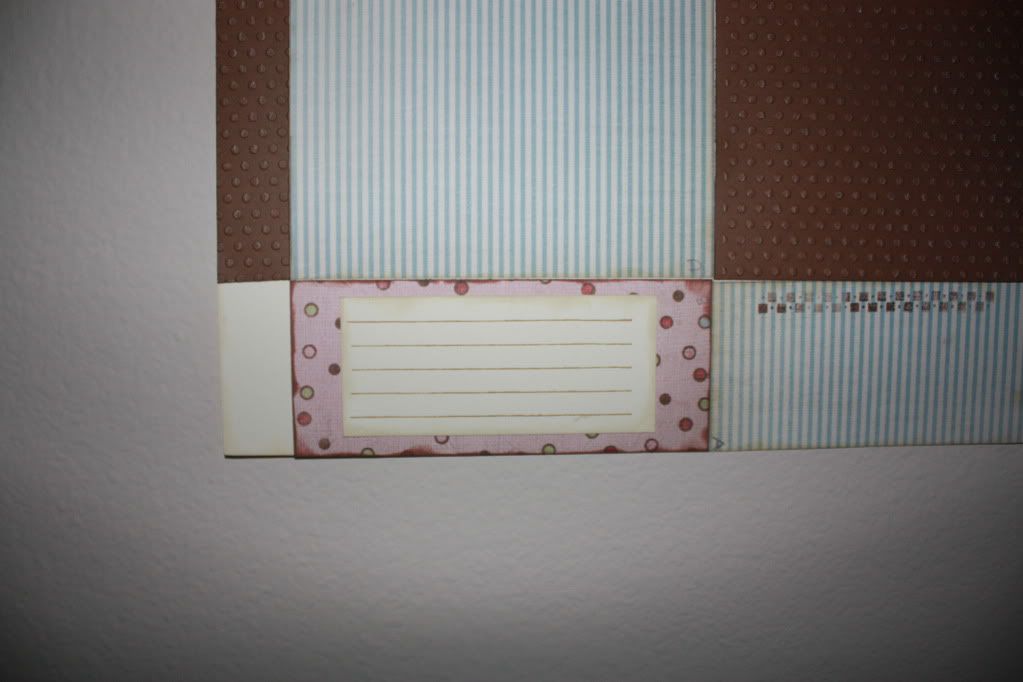
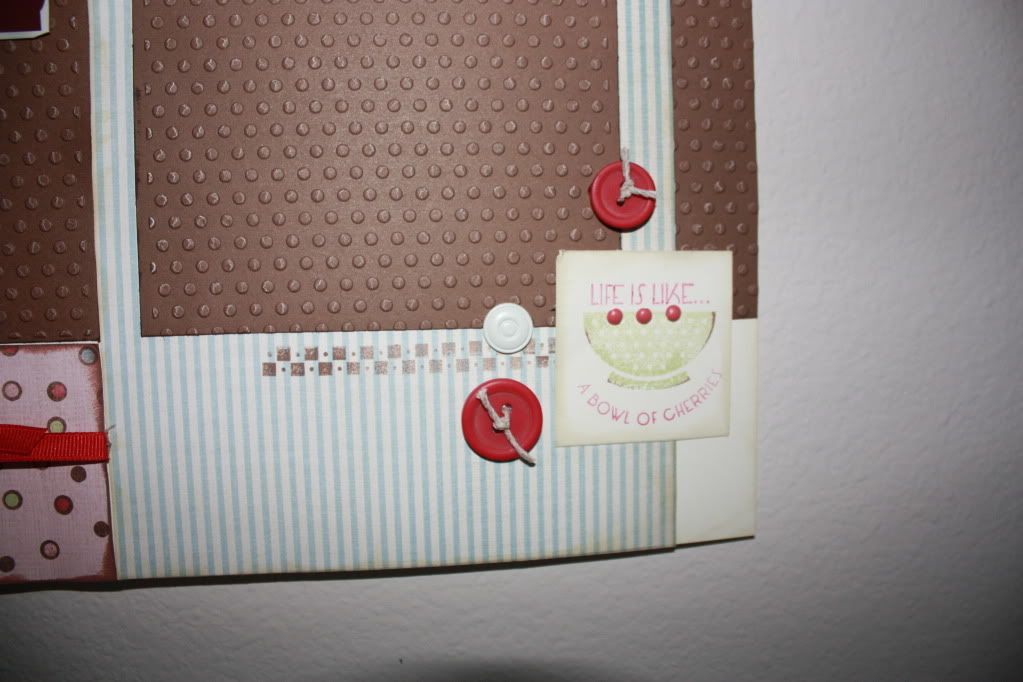
Last Friday I posted about the Close to My Heart Clubs I have going. I have had a number of questions and I will try to answer them at the end of this post. I really want to show you what the Workshop On the Go can do! In the workshop guide there are detailed instructions for a double page scrapbook layout as well as directions to make 6 cards (2 each of three designs)--and you still have more than half of the paper left! Here is the layout from the Cherry-O Workshop On The Go:
There is room for 4 photos and a journal spot! Here is a short video-
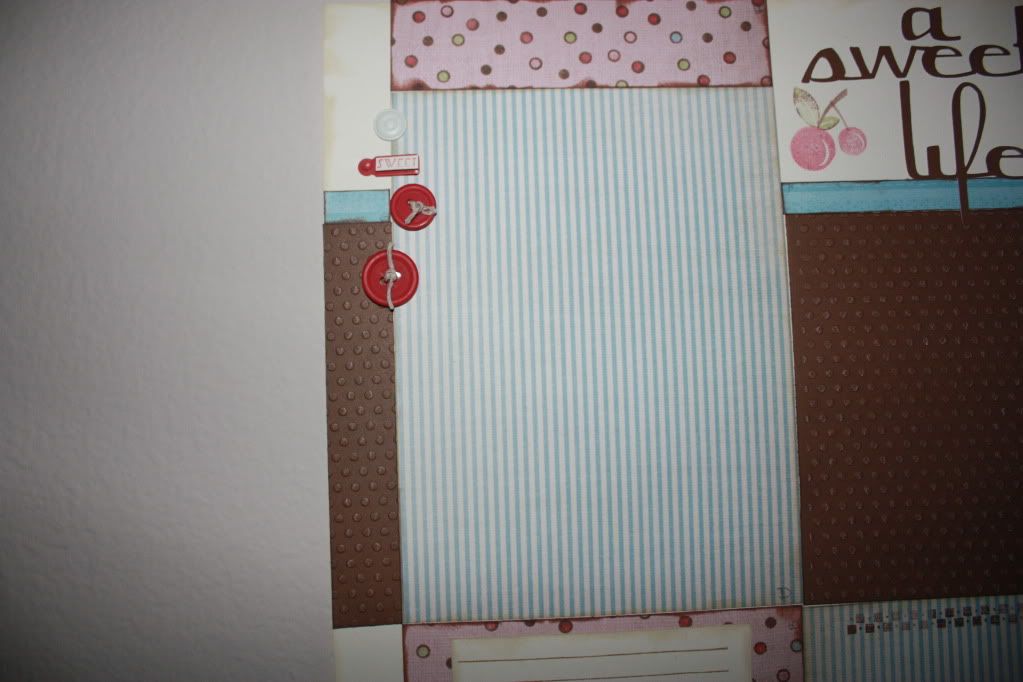
Here are some detail shots-
I used my expression to cut the title--you could also stamp this
I also used the cuttlebug and the new polka dot 5X7 embossing folder
I used another CTMH stamp to add lines for the journal block--
Some of the great embellishments included in the workshop kit
Even after I did this double layout and made 6 cards (that I will post on Wednesday) I still have more than half of the paper left! Think of the projects you could still do with the left overs!
Let me try to answer some of the questions: How much is shipping?
Depending on the zip code it will be between $6 and $8. It also depends on what all you purchase. I will ship the most reliable and inexpensive way I can. Is this only for US Customers?
If you do not live in the US--please let me know what country and I will let you know the shipping that would be. If you are interested, e-mail me (scrapguyblog@yahoo.com), to every problem there is a solution! What is the size of the paper pack and what can it make?
All of the papers are 12X12. There are 12 double sided pattern papers, 10 sheets of solid card stock that work back to the pattern paper, the workshop guide, an exclusive B sized stamp set that can not be purchased any other way but through the Workshop On the Go kit, and some sort of embellishments. The kit has directions for one double page 12x12 layout and 6 cards, but there are enough papers to make more than double that!!!! What benefits do club members receive?
Right out of the gate you will get the new idea book that starts September 1--and let me tell you it is GREAT!!!!!!!!!! Each member will be a host/hostess for one month and receive all the hostess rewards for that month, a minimum of $25 in free select product. I will be doing videos for each workshop as well as one additional project with the workshop papers. There are lots of other things...email me and I can send you a full breakdown of the additional benefits.
To all you who have already said sign you up--watch for an email from me with more details! Thanks so much for stopping in today! On Wednesday I will share the cards made with the Cherry-O Workshop and Friday is an additional project using the papers!
So it is Saturday--the best day of the week for me, and my day over at Everyday Cricut--I made three cards and three videos! When you finish here head over to Everyday Cricut and see the other video and all the detail photos of each card.
This first card has it's video over at Everyday Cricut.
I used the Lacy Labels for the large cuts and the Typeset 5x7 cuttlebug folders. I really love this new folder! Remember the video for this one is over on Everyday Cricut!
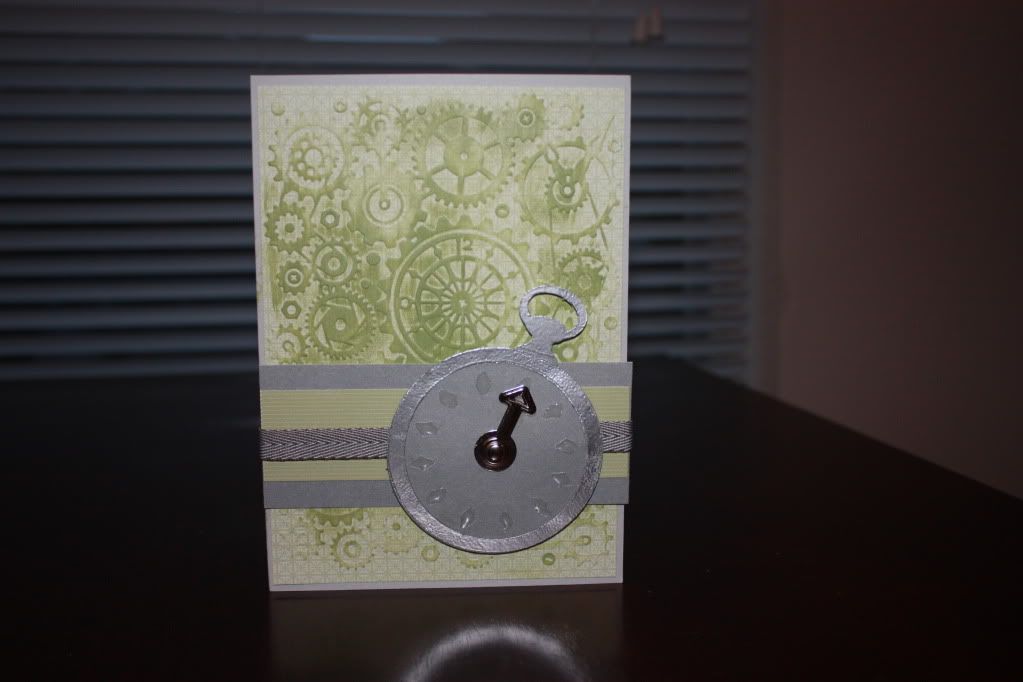
This second card is made with Stampin Up papers and uses the Cricut Heritage Cartridge and the new Clockwork 5x7 Cuttlebug folder.
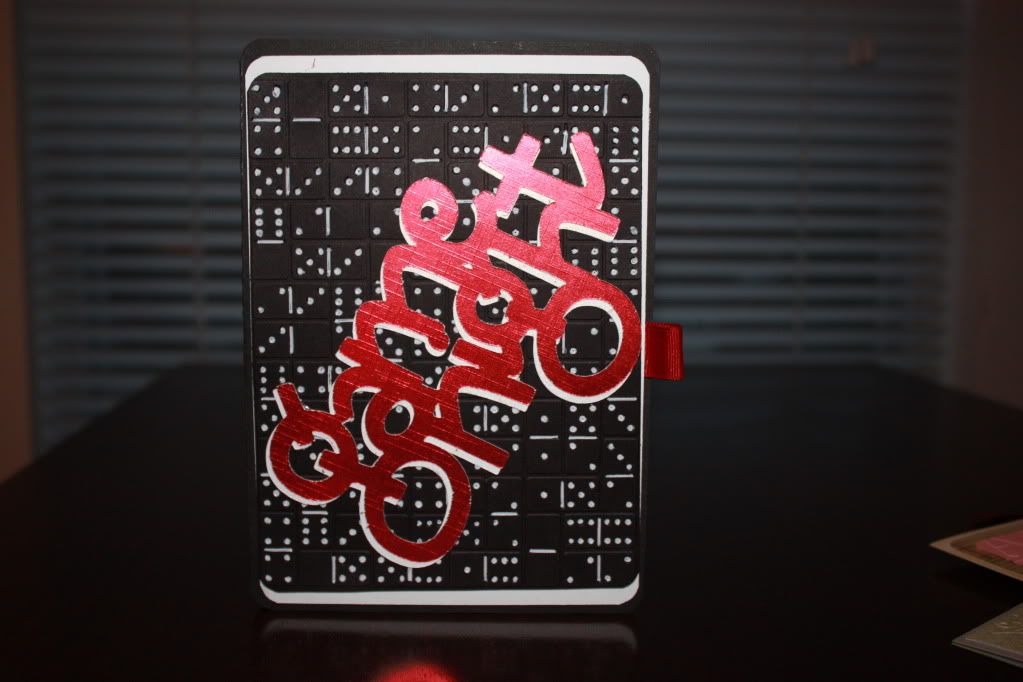
And the last is an invitation to game night--I used Cricut Designer Calender and the Domino's 5X7 Cuttlebug folder--I really love the Way it turned out!!!!
Well make sure to head on over to Everyday Cricut to check out all the detail photos and first video as well! Make it a great one!
Bryan
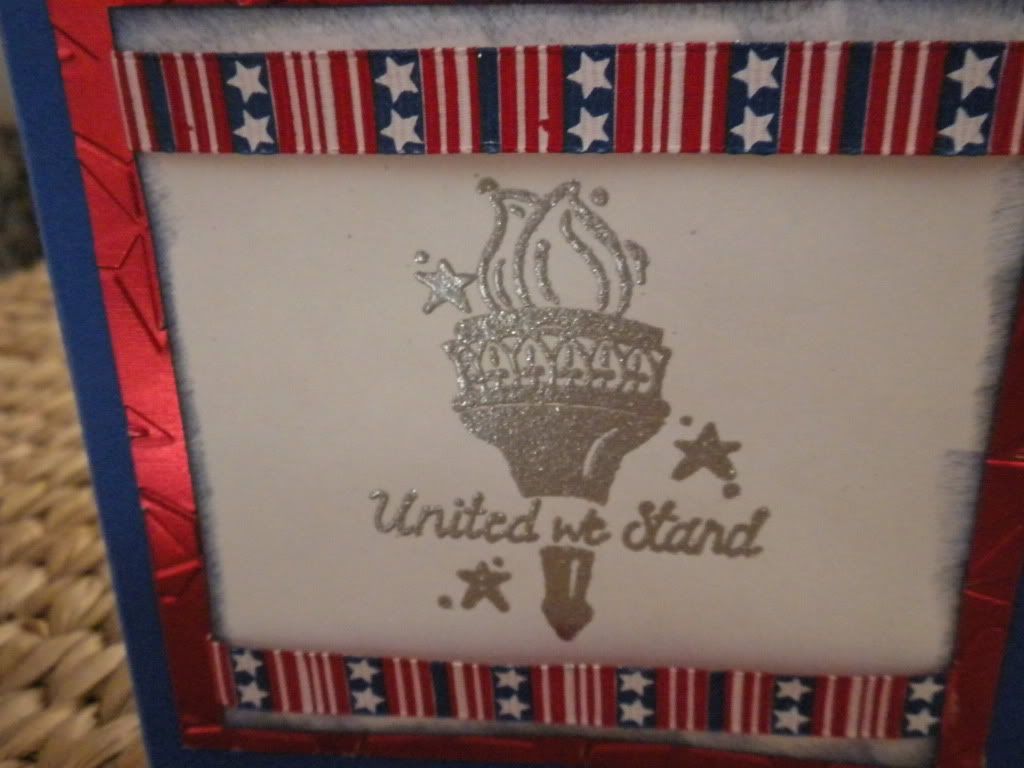
OK so since it is still July--red, white, and blue are still fair game! So today I have a card that is all about embossing.
*The card is SUPER SIMPLE! The royal blue base is cut at 9" by 4 1/2" and folded in half.
*The red foil layer is cut at 4" square. I wanted to mix it up a bit so instead of embossing (raising the stars) I debossed them with the Starts cuttlebug folder.
*The top layer I cut at 3 1/2" square and inked the edges. I used two different blues to give a little more depth. Next I placed the printed ribbon (from Michale's) across the top and bottom. I placed the ribbon before stamping so I had some guide lines to help center my stamp. I used versa mark ink and added some silver embossing powder, fired up the heat gun and let the magic happen!
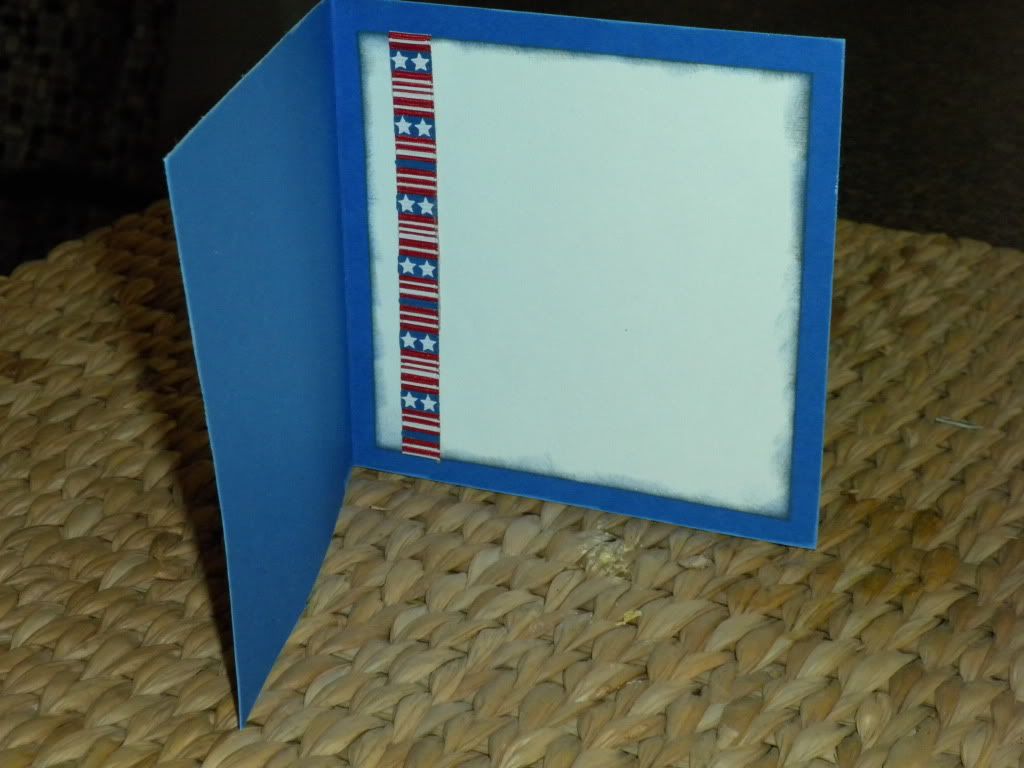
I added a writing mat and a little ribbon to the inside!
A simple card any one can do using a couple simple techniques that really add a punch to any project. Hope you have a GREAT Monday (at least as great as Monday can be.) Make sure you stop by on Tuesday to see the "Deal" I got this weekend!
Make it a great one-
Yeah it's Friday and it's a three day weekend! I am so excited to have a long weekend what to do with that extra day! Trust me when I say I have plenty to do--laundry, cleaning, some crafting, catch up on emails...............
Today I have another layout, this one is a two page. I used Cricut Holiday Cakes for the banners and the frame came from the Mother's Day seasonal cartridge--yes you can use it for other things besides Mother's Day! I have used some of the same papers from a couple cards from this past week--these all came from Michael's.
Page 1 Details
I used a triple mat look with a solid white top layer.
I think this helps pop the frame and banners. When I attached the frame to the paper I left one long side open so a picture could be inserted with out to much trouble. I used the same embossing technique I used earlier this week with the wood grain stamp and the Tim Holtz Distressed Embossing Powder.
(this picture really shows the nice contrast this technique provides!)
Page 2 Details:
There are three photo mats which will hold up to a 3x5 photo which is the size of the smaller of the two mats. I used a number of different papers on this page and the diamond embossing plate makes the cut again!
I used some brads from Hobby Lobby that look like screw heads and used a small circle punch to make 'washers'. I really like how this turned out and I really like that you have multiple ways you can use the second page--if you flip it 90 degrees you can use vertical photos and you get similar results.
If the preview on Cricut.com tells me anything--it says there may be a cart coming with tools which would also be perfect for this paper. You could use it to make a Handy Manny page for a little boy. How about to capture them memories of a home improvement project or building a tree/play house!
Well that is all I have for today. Before the week is over, I want to thank all the new followers that have signed on and all of you that keep coming back! I am so lucky to have such wonderful crafting friends!
I will have post this weekend that will be focused on the holiday so make sure you check it out. If your traveling--please be safe on your journeys. While we remember those who gave their lives for our country, let us not forget the men and women who are serving now! We live in such a great nation--we are not perfect but we are blessed to live in this great nation!
YEAH--it's friday! Hope you all had a great week. I am so excited about today's layout I almost showed it to you all yesterday. I want to make sure to give credit where it is due and the idea for the honeycomb cut out did not come from me but I have added my personal touch to it.
Double layout where I used the Cricut Just Because Cards Cartridge for the sentiment and the honey pot and I used Cricut George for the octagon. I used my gypsy to place the cuts for the honeycomb and then used one of the scraps to trace the rest to form the pattern.
I the detail shots below you can see where I used a CTMH bee stamp and used clear embossing powder and my heat gun to finish off the bees. I added two tones of yellow bling because everything is better with a little bling! All of the sections that have bling are also pop dotted to add some 3D effects. I love my cat eye chalk ink so i used them there as well.
The honey pot was cut at 15", yes 15". Because the items on this cartridge(for the most part) cut in relation to the size of the card--I had to play with it a bit-
I used the stencil and stencil shadow for the sentiment and it was cut at 4". Of course I inked this cut as well.
I used a triple layer photo mat for 4X6 inch photos. I added a 1/4" to each layer (4 1/4" x 6 1/4" for the top mat add 1/4" for each additional layer). I used two prints and a solid middle layer that I sent through the cuttlebug using the screen folder from the asian bundle and a little chalk ink.
Hope you enjoyed this layout--I love the way it turned out! Don't forget to check out Everyday Cricut in the morning as I have a few fun Father's Day items to share!
Have a great day!
One day closer to the weekend!!!!! Today I have a card that I made using my cuttlebug to cut rather than emboss.
I found a great deal on a die at Oh My Crafts for next to nothing and thought it would be perfect for this group of projects. I sent them through the sticker maker to make it easier to attach to the card base.
I cut the bee hive from the Cricut Sentimentals Cartridge. I cut the shadow in a rich orange color and sent it through the cuttlebug to add texture. I cut the base base cut in a scrap of brown shimmer card stock which I think adds a little bling but not to much!
I added a strip of ripped kraft card stock along the base to allow for a grounding layer. I used some deep brown ribbon and the same CTHM stamp set I used yesterday. As I looked at the finished card, or what I thought was finished, i thought there was something missing--and I decided that it was the buzz lines that were missing--used a brown marker to add them in!
I have been making a lot of cards lately and this has to be one of my top 10. It's not perfect but it is unique!
I have a great two page layout to share with you to round out the week. Don't forget to check out Everyday Cricut this saturday for some great Father's Day treats!
Here we are at the start of another week. I will be sharing projects this week using a selection of papers and tools that are budget friendly! I will have a paper review on Tuesday and my goal is to show that you can make a number of projects with the same papers that all have very different feelings.
Today I have a sympathy card.
I used a number of layers and a unique orange and grey color combo. I added some texture to the solid grey layer using the Cuttlebug and folder from the Asian bundle.
Using a EK Success punch, I made a 'top note' of sorts and stamped the sentiment using a Papertrey Ink stamp and the bees from an SEI set. I inked the edges twice--once with a close match orange shade and then over inked that with a dusty grey. I added some herringbone twill tape I had in my ribbon bucket.
Here is a close up of the layers--you can also do a lot with planning the placement of the printed paper--since I was using a paper that had a border print I made sure that you could still see the grey bees which tie the color combo together.
***Update--I have heard your comments about the black type face in the comments and it being hard to read--I did my research and found out how to change it and it should now match the text color of the main post--much easier to read and enjoy eveyone's comments--thanks for the feedback and hope you like the update!
Thanks for stopping by. I usually one post on Monday Wednesday and Friday but this week I have something to share everyday! This weekend crafting came before laundry--
Have a great day!
Happy National Scrapbooking Day! As I do on the first post of every month--I have a calendar idea to share. May is a wonderful month in Texas--weather is usually not to hot or wet and it is the last month you can walk to your car wiht out breaking a sweat. I wanted to make a layout that was bright and still had a little rustic thrown in. Here is the results-
I started with the wild flowers using kraft paper for the shadow and solid card stock for the layers--inked the edges for a rustic feel and layered them up
I added a birdbath from Cricut Songbird and did some creative layering and inking to give it more of a pop!
I had to add some cuttlebuging to the project!
Lastly, I used a stamp from SEI and VersaMark ink to creat a background that I heat embossed with clear powder--I think it gives is a sunshine feel!
Don't forget to leave a comment as today is the last day to enter to win the jukebox! Before the day is out--be sure to stop in over at Everyday Cricut and check out the really cool project that Wendy made as well as the a really awesome give away that they Joy and Mel will post detials of later today!
I have a really fun week planned starting Sunday--everyday there will be a post and who knows....some very cool blog candy! Check back on Sunday to get the low down!
Just an average guy that loves the idea of scrapbooks. I travel a lot for work so my Gypsy is never far from my side.
You can contact me at scrapguyblog@yahoo.com