Hope your Monday is off to a great start. I am super excited to share this one with you all. One of my blog, Cathy, gave me this challenge!
My youngest grandson is turning one soon and I challenge you to come up with a super special card design. I have been making him a new card to celebrate that month's birthday and have tried to keep them exciting. So......I have run out of ideas. Please help! Have a great trip! Seems like you spoke about a store in NYC that had vintage stuff too. Enjoy!
So I thought what better than an exploding box. Not only will it make a super cool card (and be the talk of the party) but a great place to put keep a picture from each month of his first year!
The box is pretty simple to make--in the video I only used solid paper--hoping your creative juices will be flowing and you will see the limitless opportunities for this project!
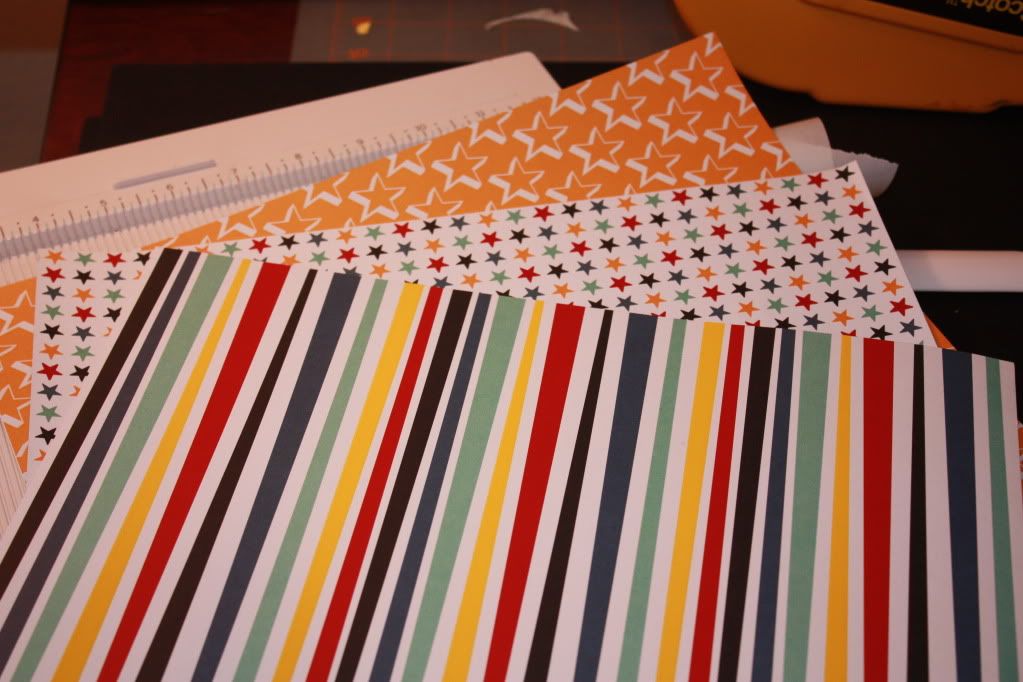
These instructions were given to me and I thought it was going to be a tough project--boy howdy was I wrong! It was really easy and a lot of fun. I started mine with three sheets of American Crafts paper from Michael's and one sheet of solid white
These are double sided--solid color on one and pattern with UV print (glossy) on the other. I want the patters to be visible inside so I will use the solid side of one for the outside. I am going to start with the stripes.
Once I finished cutting and scoring my bottom layer--I lightly inked the outer edge of the red, rounded corners, and used the scraps to accent the outside. I used each layers scraps, just the reverse side on each layer.
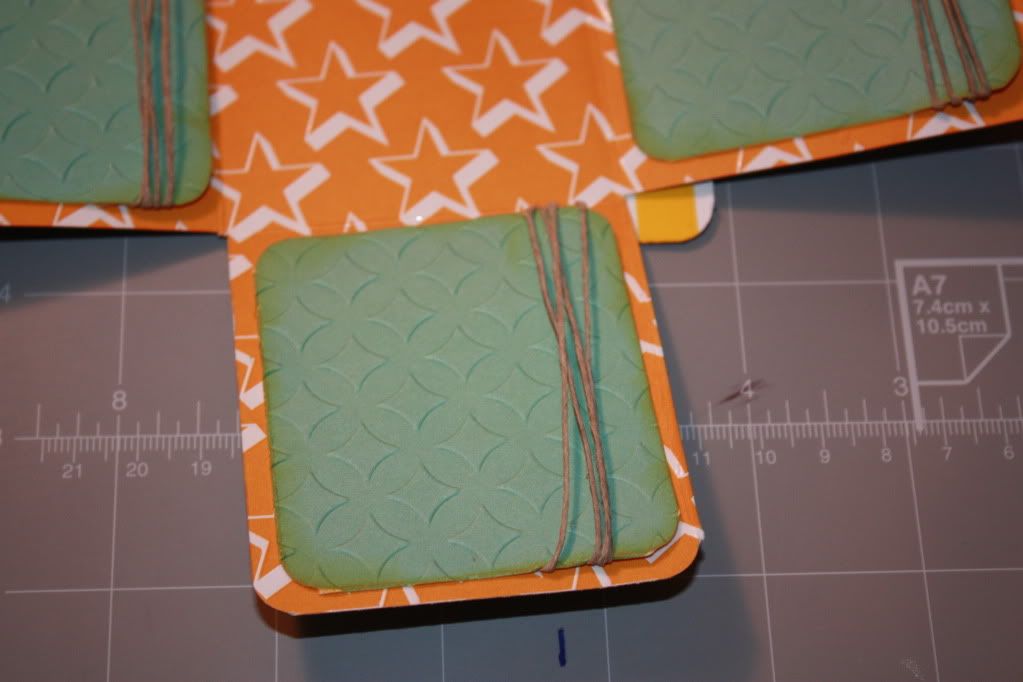
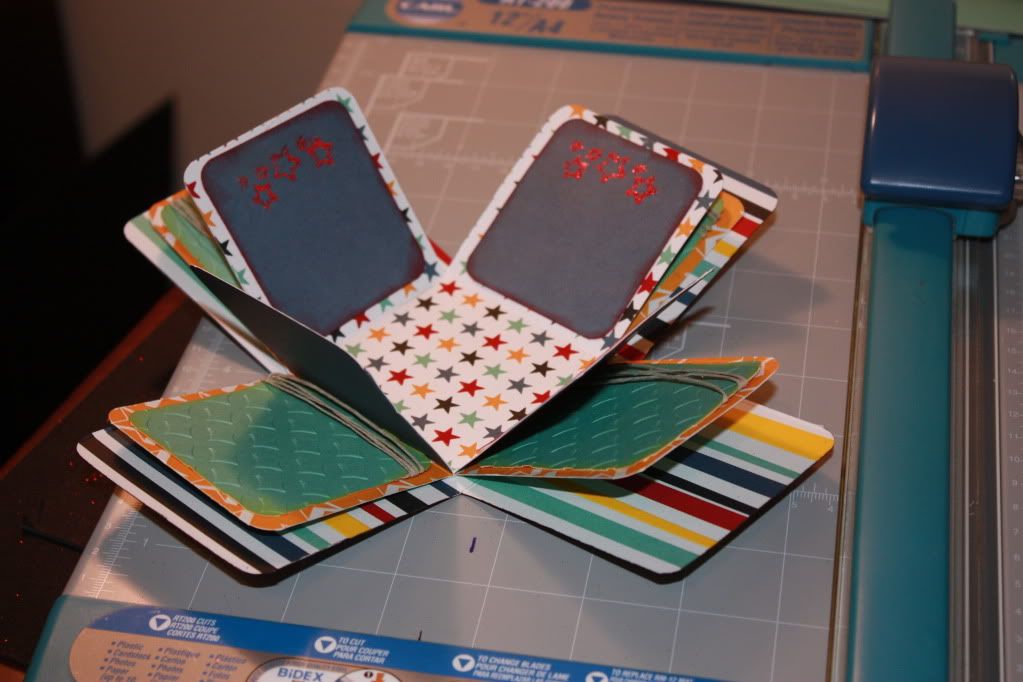
Here is the second layer--again I used the solid side of the scraps to accent this layer. I sent them through the cuttlebug using an embossing folder (not Cuttlebug) and wrapped the edges with twine--you can still slip photos in under the twine.
Here you can see the embossing. I also inked the edges with yellow ink to tie it back to this layer.
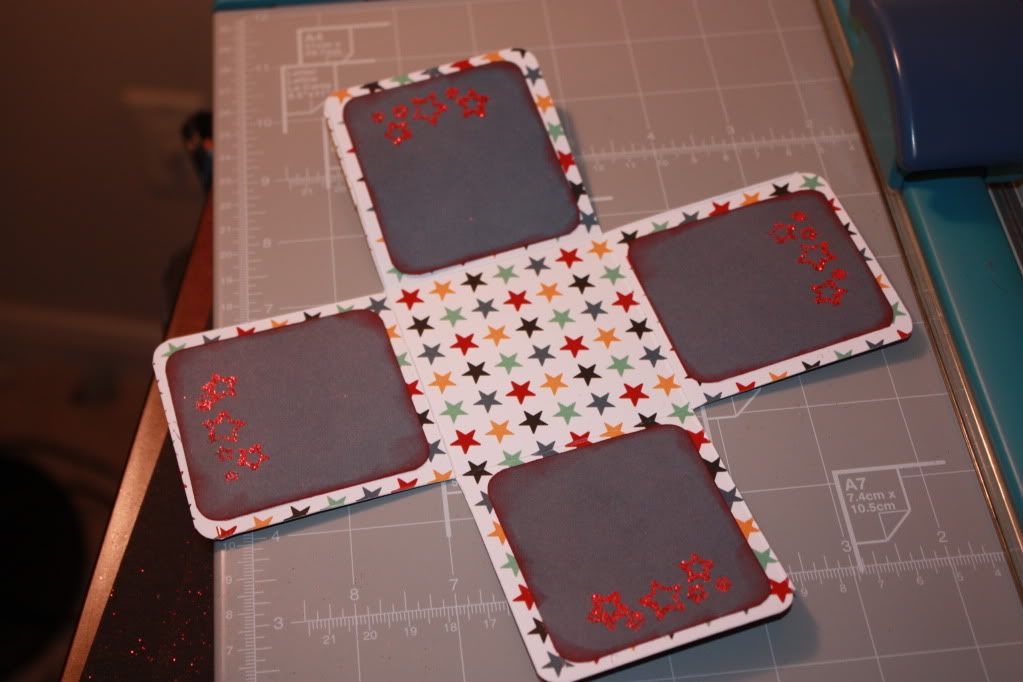
The inner most layer is pictured here. I loved using stars and stripes--thought it really was a good combo for a boy--but you could do it in holiday paper for Christmas, in pinks for a girl, in Easter prints for Easter, wedding or elegant papers and hide the ring in the center--the possibilities are endless!
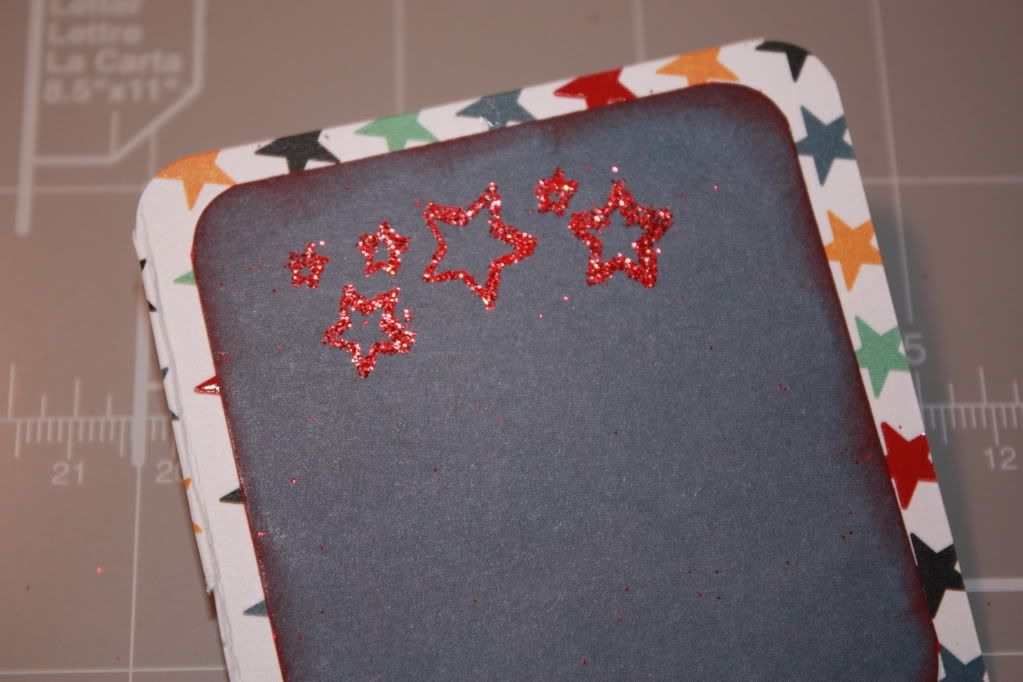
This layer was embellished with some glitter embossing keeping with the stars theme. I also inked the edges of the denim blue paper with red ink, again trying to make it all connect between the layers.
The finished inside--I really like how it turned out! Now on to the lid!
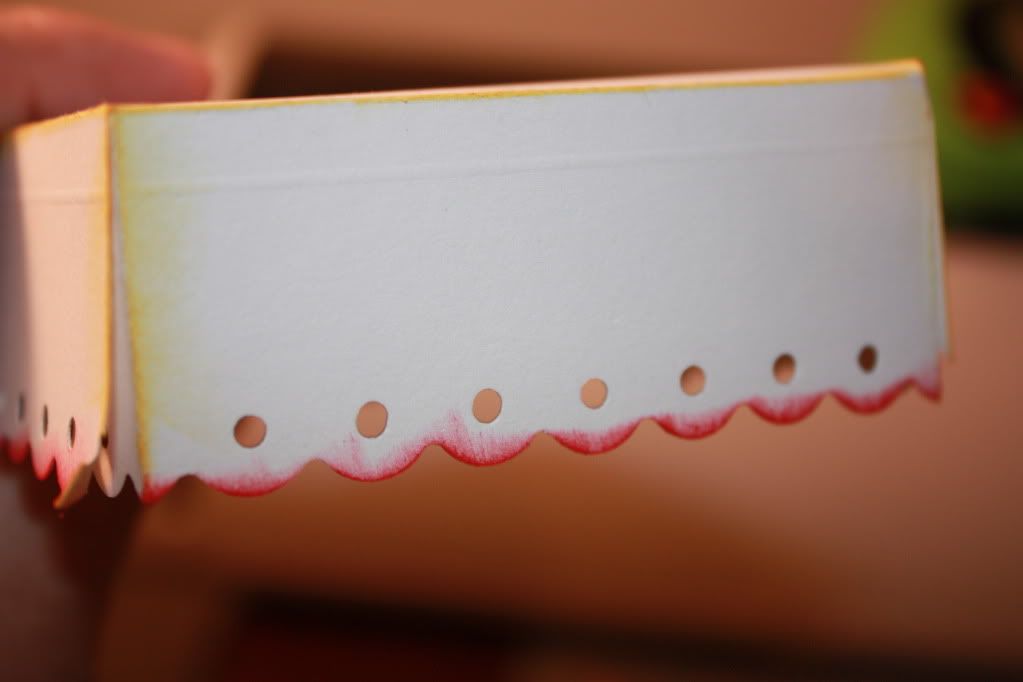
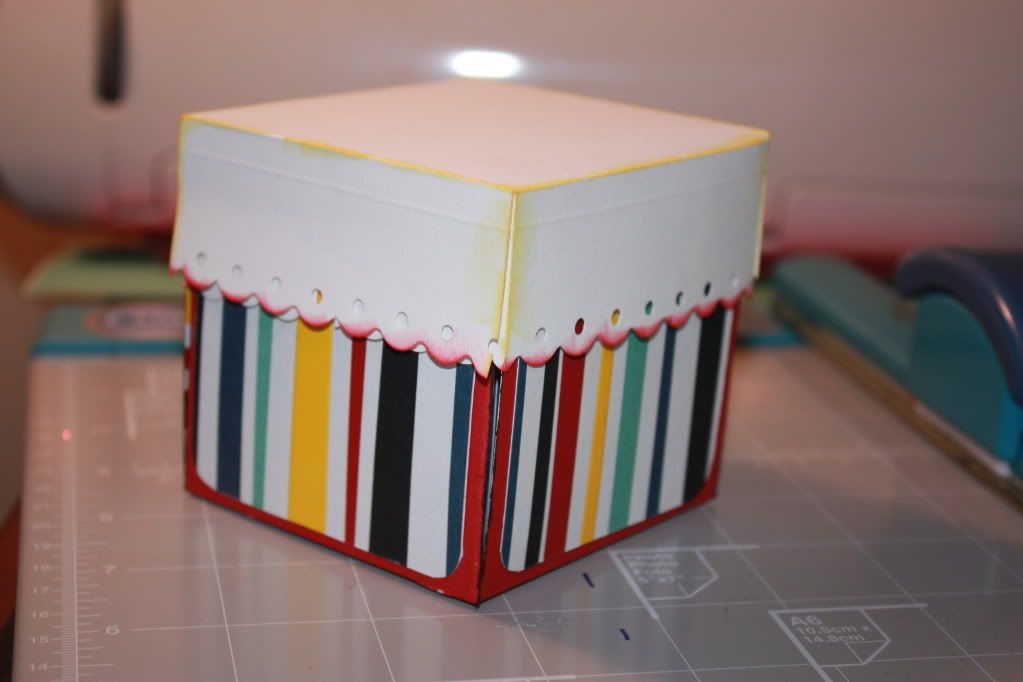
For the lid, I followed the instructions in the video. Before sticking it all together, I took an edge punch and ink to the white paper. I used red along the bottom edge since the box base was red and yellow on the top and side edges.
All put together! I started to look at it and felt there was something missing--RIBBON!
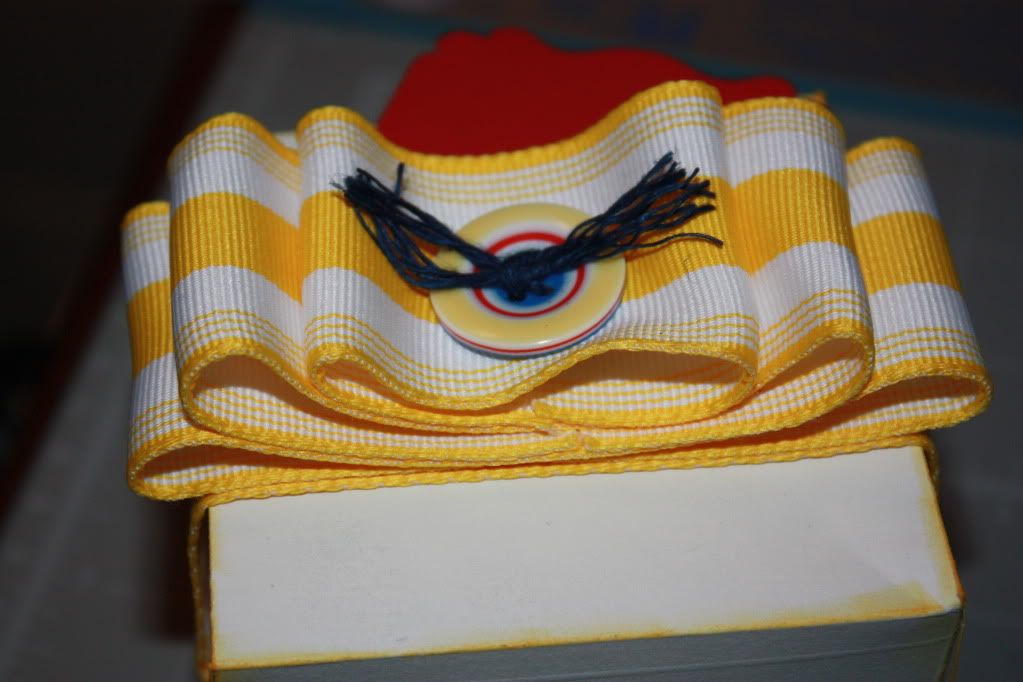
So I added this bow--ribbon is from Michael's and it is about two inches wide. The button is from doodlebug and the floss is CTMH in Navy.
Trying to use up all my scraps, I used a Fiskers Top Note Punch to add a tag to the finished box.
All the measurements are in the video--I say them a few times but I added slides for each layer and the lid to make it easy for you. I would love to see some 'exploding' boxes you all make!
Make it a great one-
Just an average guy that loves the idea of scrapbooks. I travel a lot for work so my Gypsy is never far from my side.
You can contact me at scrapguyblog@yahoo.com