Showing posts with label SEI. Show all posts

Wednesday, April 13, 2011

He Is Risen....Easter Card using Pink By Design Hoppy Easter Stamps

This card was made using last years Easter limited edition cartridge from Cricut and the new SEI Couture paper line that you all are all going to want.


Butterflies are from SEI as well and I inked the edges to tie it all together!
The sentiment is from Hoppy Easter stamp set by Pink by Design!

Thursday, July 29, 2010

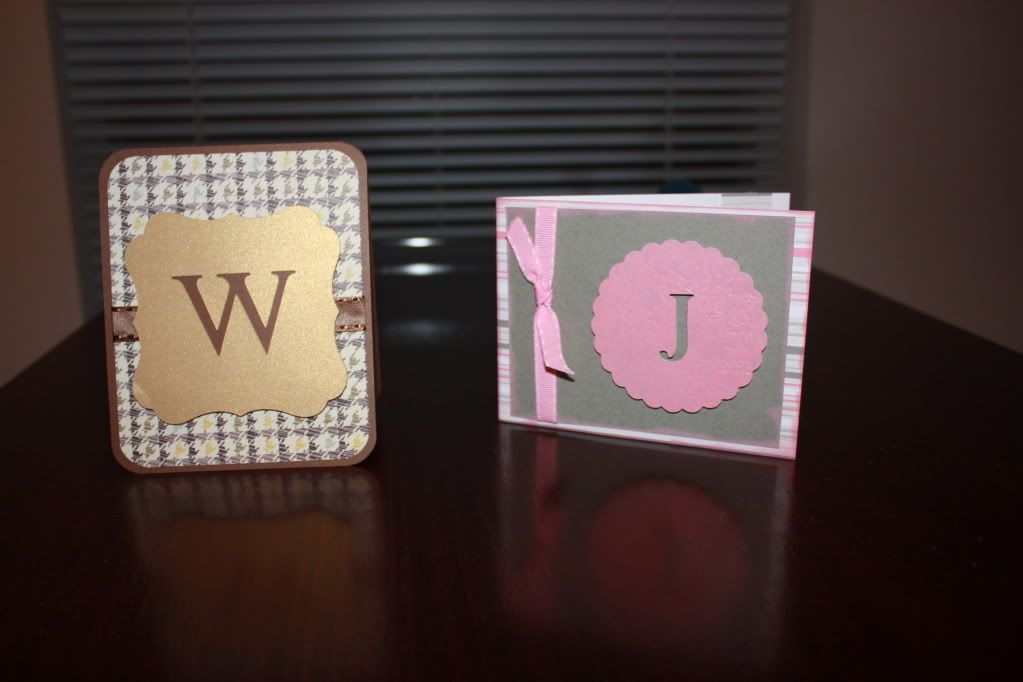
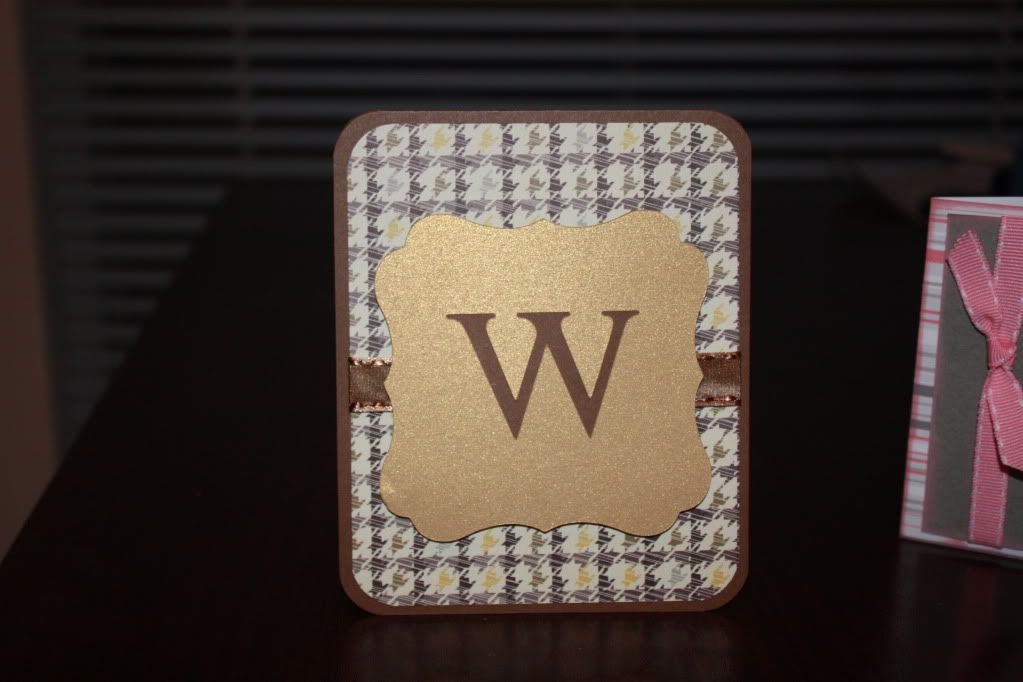
Monogram cards with Marth Stewart Elegant Cake Cartridge

Thursday is here and I am still not at CHA--LOL
I was working with the Cricut Martha Stewart Cake Cartridges and I was so set on using the new Holiday Cartridge and got a SUPER HUGE disappointment when half my cartridge was NA--so I am working with PC on getting a replacement!
Sometimes you have to roll with the punches--I still think they came out pretty nice
I did one for me--the brown one!  I use SEI papers from the Windsor collection (LOVE IT) and a little but of ribbon and of course some pop dots--Since the top note does not have a shadow I just took a scrap of paper to cover the 'W' which helped give it some substance
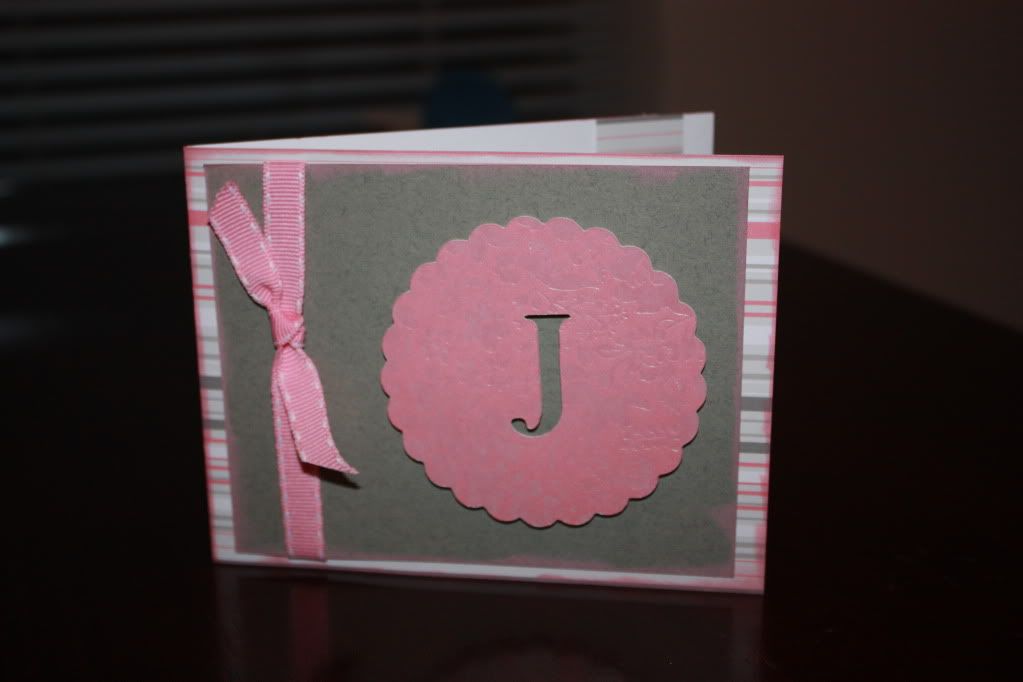
I also did one with more of a 'girly' flavor.  I used a J and will give this to the wonderful woman who sits at the front desk at my office--she is one of those people that make a company--sweet, welcoming, and just a joy to see first thing in the morning--this is SEI paper as well.
I used a stripe and a wonderful shiny tonal floral for the monogram--the rich grey gives it an elegance and i finished it of with a pink ribbon.
If you bought the Martha Stewart Holiday Cake Cartridge--I would check it out to make sure you do not have the same issue I did!

UPDATE: I spoke to a PC customer service person today and they stated that they know of the issue and they are working on the resolution.  As soon as more is known they will post on the board and website.  My rep said it is like the sweet treats issue from earlier this year! 

Make it a great one-

Wednesday, June 30, 2010

Manly Birthday Card using Cricut Songbird

A week or so a go I sent out a reverse challenge--where you all challenge me and here is my first challenge answer.  I have to admit it is one of the easier ones since I have a heavy manly hand when it comes to most cards so I thought it was win win--a challenge answered and one I feel good about!  LOL

Here is the Challenge from Ann:

Ann said...

I would like to have you do a manly birthday card!
Mstgane
Ann


My answer is as follows


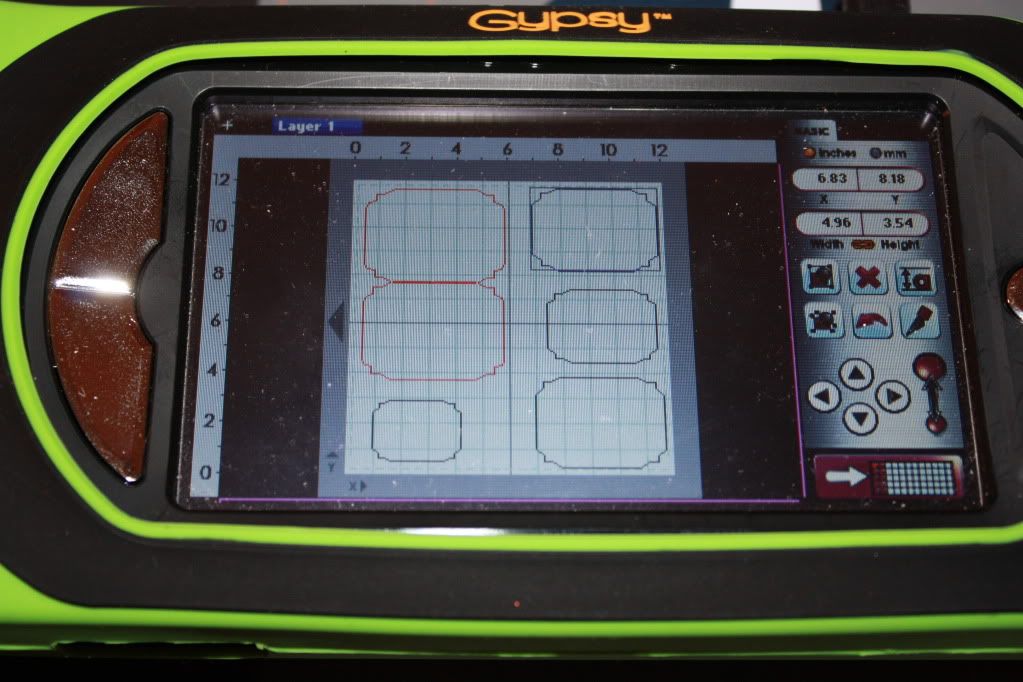
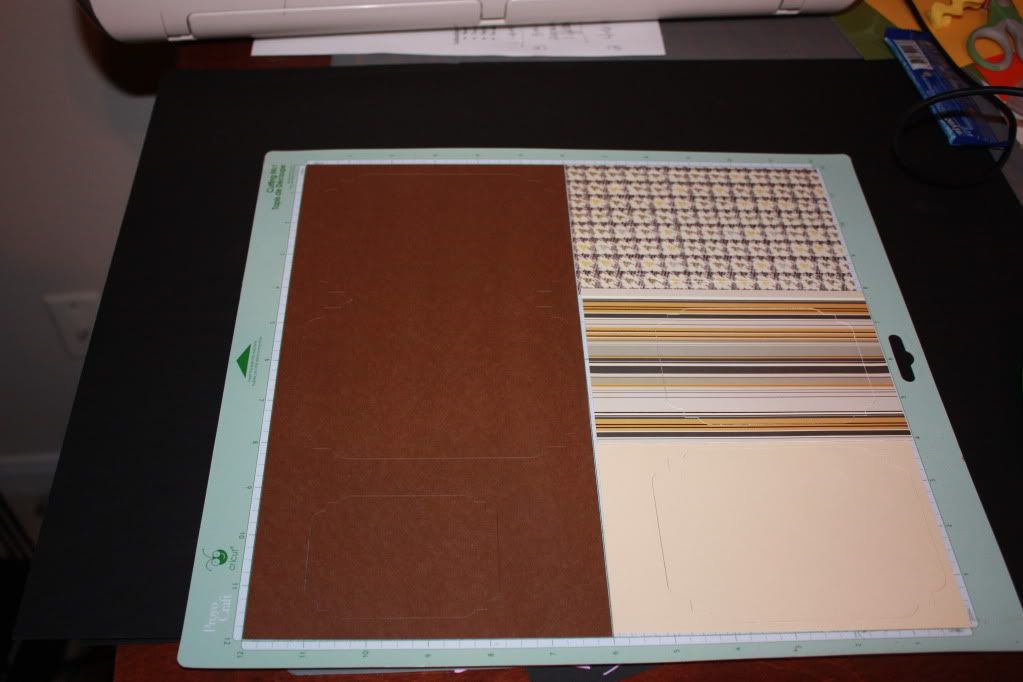
Here I used my gypsy to lay out the card and its layers on my mat.  This card is a top note shape from Cricut Songbird that was welded together
Here are my papers placed on my mat and I have already cut them

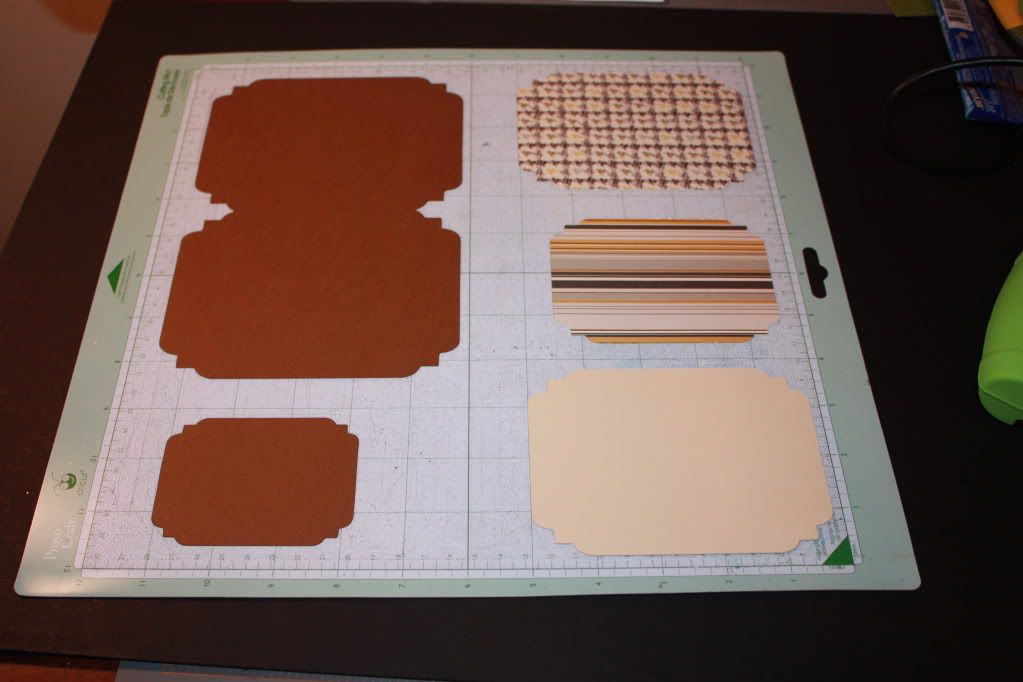
Here I removed the cut pcs and you can see the layers

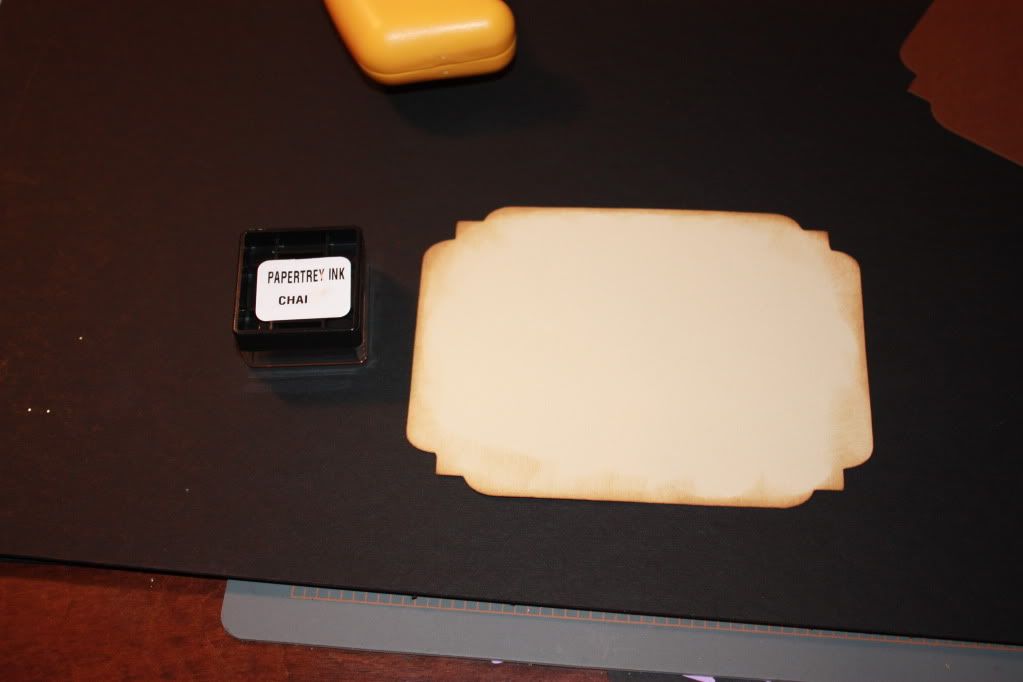
I have used Chai ink from Paper Trey Ink to age the edges of the inside layer
I used a lighter color here so you could write a message


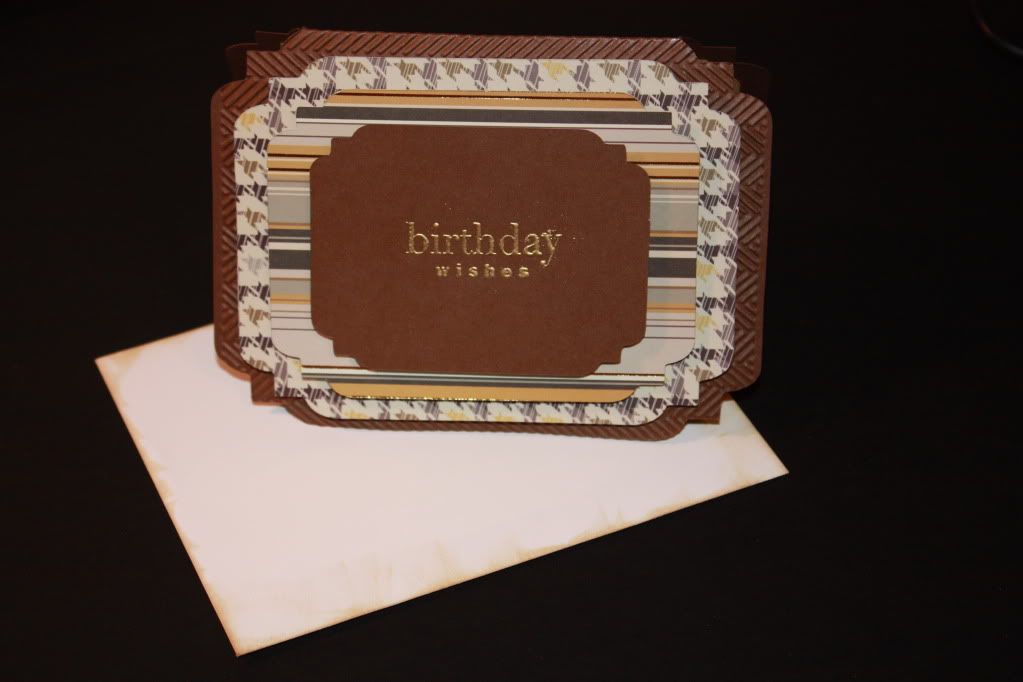
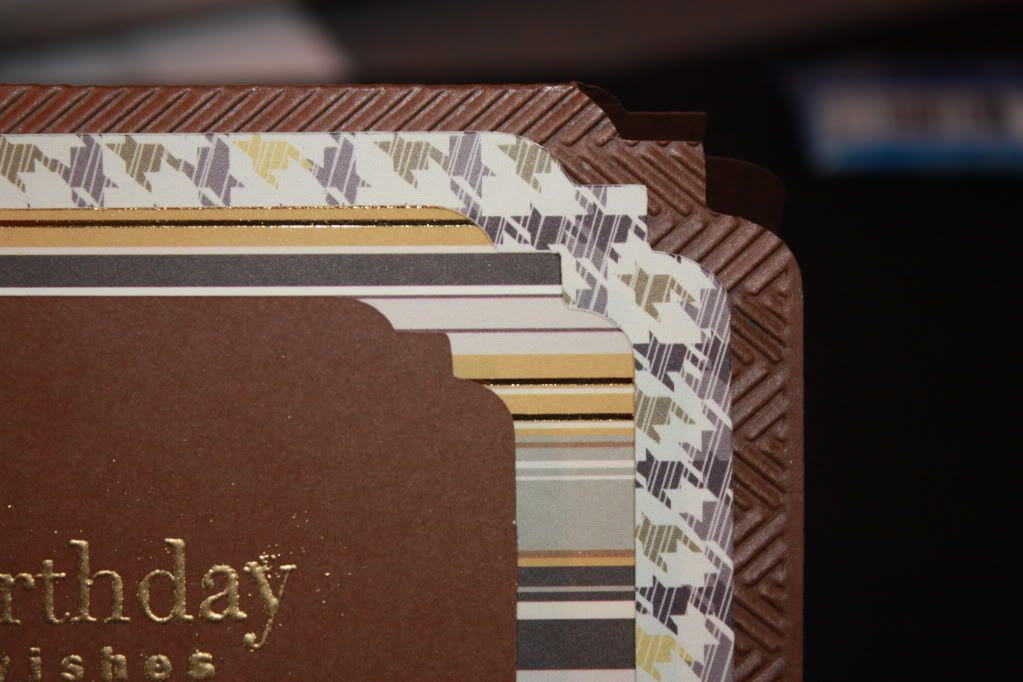
Here is the finished cards.  Base layer was a solid brown that I used the herringbone cuttlebug embossing folder on the front for texture and than layered some SEI pattern paper, topping it off with a solid brown (same as the base) that I heat embossed with a birthday sentiment. 


Here is a close up of the card so you can see how the papers work together.  The striped paper also has some foil printing that matches the antique gold embossing on the top layer.  I used a white envelope from SU and inked the edges with the same Chai Ink from Paper Trey Ink to tie it all together.  
Challenge 1 down--29 to go.  I would love to see your take on this challenge--post a link to your blog or online photo in your comments--I will make sure to visit all links! 
Thanks for stopping in and don't forget to make it a great one!

Wednesday, June 23, 2010

FInished MIni ablum on the go

Happy Wednesday and Happy Birthday to ME!!!! That is correct--today is the day I entered this crazy world 33 years ago!

I have the completed album and I really like how it turned out--I have not been a big fan of kits but i like being able to add the extras and personalize it a bit more than just following the instructions.  I may give this to my sister who is taking my nieces to NYC this summer for the first time--what a great way to capture the memories of this summer vacation.

Hope you enjoy the video--I am super sorry about the lighting--not many options in a hotel room!!!


Don't forget to leave comments each day for the chance to win some of the blog candy--if you want to know what is up for grabs click here!!!

Tuesday, June 22, 2010

Paper Crafting on the GO.........

It's Tuesday and I have a two part video to show you.  Today I cover the kit and Wednesday I will take you through the full project page by page.

Just because you have on vacation does not mean you have to leave your crafting behind.  Knitter, needle pointers, and quilters can take there hobbies with them---why can't we!  All you need it a kit--

Today's mini book kit is from SEI and has everything pre cut and ready to roll--


Hope you have a great day and don't forget to leave comments everyday this week for the chance to win some great blog candy!!!

Monday, May 17, 2010

Layered Sympathy Card

Here we are at the start of another week. I will be sharing projects this week using a selection of papers and tools that are budget friendly! I will have a paper review on Tuesday and my goal is to show that you can make a number of projects with the same papers that all have very different feelings.
Today I have a sympathy card.
Photobucket
I used a number of layers and a unique orange and grey color combo. I added some texture to the solid grey layer using the Cuttlebug and folder from the Asian bundle.

Photobucket
Using a EK Success punch, I made a 'top note' of sorts and stamped the sentiment using a Papertrey Ink stamp and the bees from an SEI set. I inked the edges twice--once with a close match orange shade and then over inked that with a dusty grey. I added some herringbone twill tape I had in my ribbon bucket.

Photobucket
Here is a close up of the layers--you can also do a lot with planning the placement of the printed paper--since I was using a paper that had a border print I made sure that you could still see the grey bees which tie the color combo together.

***Update--I have heard your comments about the black type face in the comments and it being hard to read--I did my research and found out how to change it and it should now match the text color of the main post--much easier to read and enjoy eveyone's comments--thanks for the feedback and hope you like the update!

Thanks for stopping by. I usually one post on Monday Wednesday and Friday but this week I have something to share everyday! This weekend crafting came before laundry--
Have a great day!

Monday, April 12, 2010

You used Cricut Pagoda on that card??????

Well--it's Monday once again and I am now in Delhi--on my way to the home of Gandhi for the day. So while I am away I have been featuring the Cricut Pagoda Cartridge and some of the Asian bundle Cuddlebug folders. Today's card may suprise you but I used both of them here as well--
I used the beautiful papers for SEI (Claire collection) on this one. I took that mocha steel shimmer solid and used the Blossoms embossing folder for one of the background layers. I used the same solid shimmer paper in a pink tone (double sided with two colors) and a bit of glimmer white to cute the cherry blossom bundle out in all three layers--blackout, shadow, and regular. Once I had them layered I used Viva glitter glue in the flower centers. The sentiment is also from the collection of chipboard pcs. This card does not open, so I call it my postcard style. Here are some pictures.


Have a great one-
Bryan

Friday, March 12, 2010

Silver Lining.....using Cricut Graphically Speaking

Happy Friday! We made it through one more week and the weather here in Dallas is AMAZING!!!!! I forgot how nice the sun feels on my balding forehead when my sunroof is open!
Well today's card is using Cricut Graphically Speaking, A striped sheet of SEI paper from Christmas, a sheet of clouds from the SU sale-a-brations 6x6 pad, 1 12x12 sheet of red card stock, and some very shiny paper!


The card measures 5 1/4 x 5 1/4 and the outside layers are graduated by 1/4" from layer to layer. I cut the clouds from shiny silver and glimmer white paper using the clouds on Graphically Speaking. This cut is interesting as it comes off in two pcs--an outline and a center--I used the center and ran it through the Cuddlebug with Divine Swirls (a trusty go to folder). I shadowed the clouds with shiny silver paper. I used two different thicknesses of foam squares to make the clouds look like they are floating!
The inside has it's own set of surprises!


I cut the word art at 4 1/2". I (should say we as it took a village) used a computer program to place the words so they would print right where I wanted them. I used a number of pcs of paper--but the end result was worth it! I added a couple of gems for bling and Bang! Presto! Wow! You have yourself a card!
Thanks for stopping by-
Bryan

Thursday, February 18, 2010

House Warming Card

Hi all--hope your day is off to a rockin' start! This card was for a very good friend (one of the best) who just moved into a new apartment not far from where I live. The house warming was this past weekend and this is the card I made which was paired with a lovely bottle of vodka.

The castle is cut from Life's A Beach and I used some of the papers from the SEI kit which match the colors of the new apartment. I cut the layers but there is no shadow so I just cut a pc of paper that would hide behind the castle to look like lights in the windows.

I cut the crown from Celebrations, and the font is Schoolbook and Queen is cut from Hannah Montana. I added lots of bling to help balance the colors which are really 'boy'--here are some detail shots

Added a Cindy Crawford crystal mole to the 'Q' which got more comments than anything else.

If you knew my friend you know this statement fit was a perfect fit.
Thanks for stopping in. Keep watching as there is blog candy in the not so distant future!!!!
Make it a great on-
Bryan

Friday, February 12, 2010

As promised....PROJECTS!!!!!!!!!!!!

Ok--as I promised on Monday, here are a few projects I did using the September Club SEI kit. This post is super picture heavy!! None of these projects were ones that came on the instruction guide--not that they were not great projects but I wanted to show how you could take the kit and make it your own as well. Speaking of kits--I got the February kit in the mail this week and holy cow was it packed with stuff--a full paper pad, foam letters, stickers, ribbon, boarders--so much that I could make tons of stuff from the kit!
First up is a one page layout--the basket weave stripes were used on a different project but I wanted to use it in a layout. All you do is cut strips and weave them--has a really cool look to it don't ya think! I cuddlebugged the photo mats and inked them, the elephant in the corner is pop dotted as well!


Second project is a mini album that I really tried to use only what came in the kit---the only thing I added was two 12X12 sheets of Kraft card stock and the hemp used to thread through the buttons which is CTMH, I also cut three leaves from Gypsy Wanderings which tied back to many of the pages in the kit! Cover to Cover:


I don't think I would have been able to show the full range without a card as well--I had already started this when the oh so cute elephant popped up on Holidays with the Cricut (great minds think alike) One of the sheets is all elephants and the Paisley elephant was just perfect!


Thanks for stopping by today--Have a wonderful weekend!
Bryan

Wednesday, February 10, 2010

Black and White

Hello everyone--hope all is well! Today I have a couple of cards that are done in a very simple color combo--Black and White! Sometimes the simplest combos can be the most difficult because we as scrappers and card makers tend to like to add and add and add--but some times simple is best!
These three cards were super easy and I was able to complete them all in 35 minutes and only used two pcs of s.e.i. double sided cardstock, one pc of black 12x12 card stock, one pc of white 12x12 card stock, and one pc of red 8 1/2 X 11 card stock and I still had some left over! I used Picturesque on all three!


First the small card--this one is 4X4 half fold. I used the pattern paper on one side for the out side and used the reverse side for the inside and the blackout square in the center. The cut is from pg 74 called far east.

I did a larger version of the same card at 6X6 did the same cuts as before but used a coin I had left from a trip to Hong Kong as the center. I layered red and white card stock for the inside.


The third card is a gate fold finishing at 6X6. I used the same pattern paper but flipped the inside and outside. I used the Celtic cut on pg 75 as well as the black out-these fit perfectly on the 6X6 when cut at 3 1/2". I added three black pearls to the front at the major intersections. On the inside I just layered black and white card stock cut at 5 3/4" square for black, and 5 1/2" for the white.


Thanks for stopping in today--this card making journey is fun--i really like that I can accomplish so mush in such a little amount of time! Hope you liked 'em!
 
Designed by Lena Graphics by Melany