Saturday, November 6, 2010

Thankfulness Blog Hop!!!!!

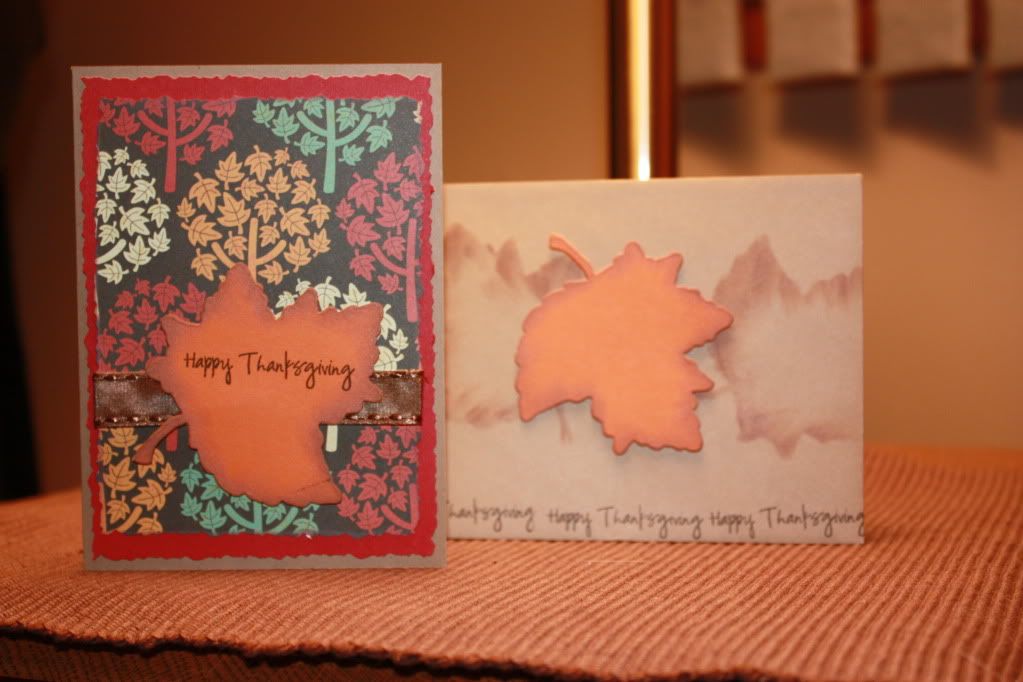
Good Saturday Morning to everyone.  Today I am part of a Thankfulness Blog Hop organized by the Sarah the Pink Cricut!  Make sure to check out all the talented papercrafters taking part (link as listed at the end of this post).  I have a fun card to share with you today.  It is super easy but I think turned out impressive!
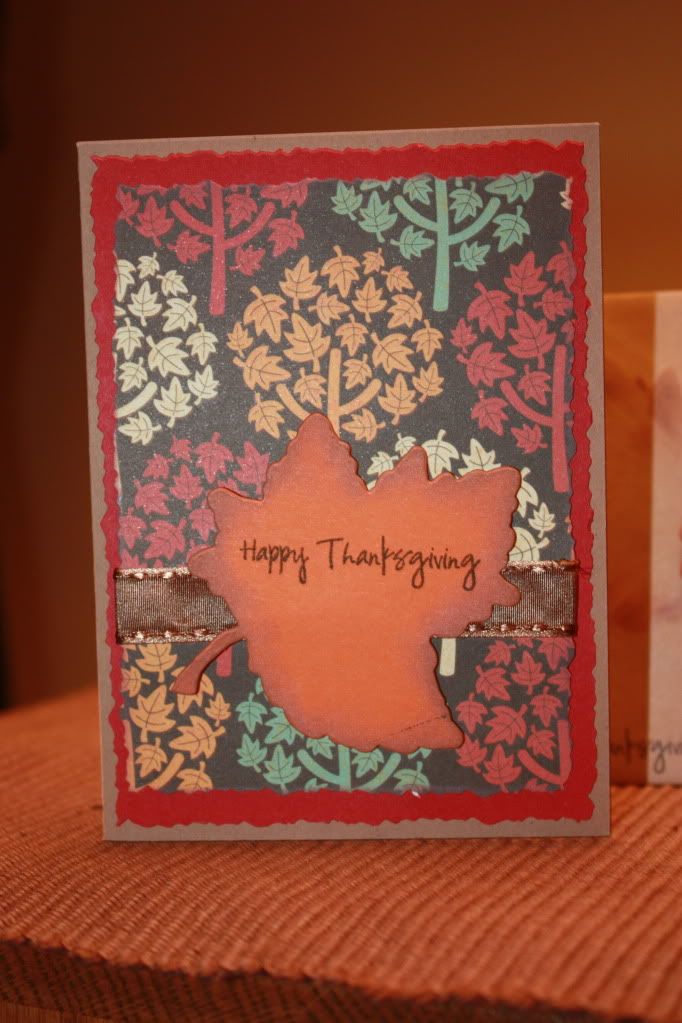
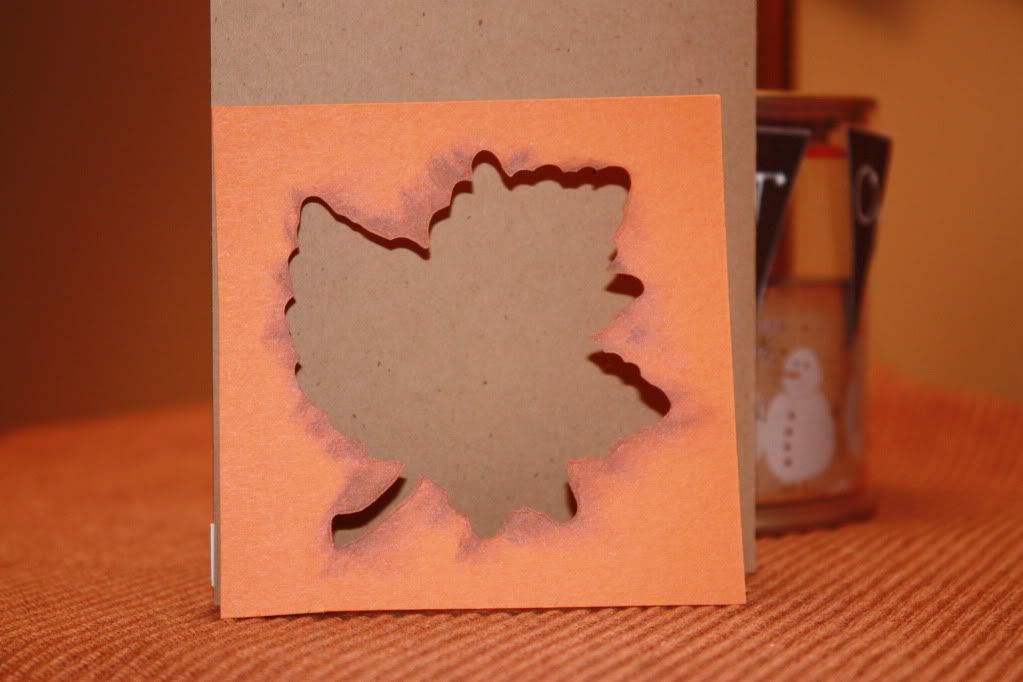
The card itself is A2 standard and I made it out of craft paper.  I used my edge scissors to 'rough up' the border.  Added a bit of my fav ribbon and used a cuttlebug die to cut the leaf.  I used Pink by Design Pink Cricut stamps from the Bountiful Blessings set for the outside, inside and the envelope.
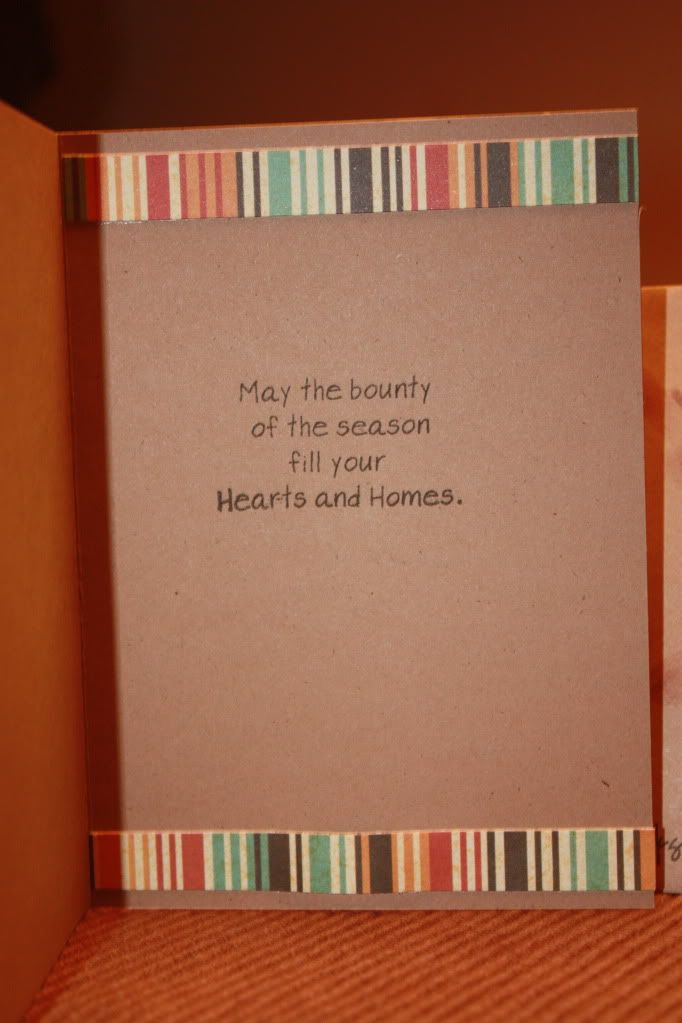
I used a strip of paper and a sentiment stamp to finish off the inside.
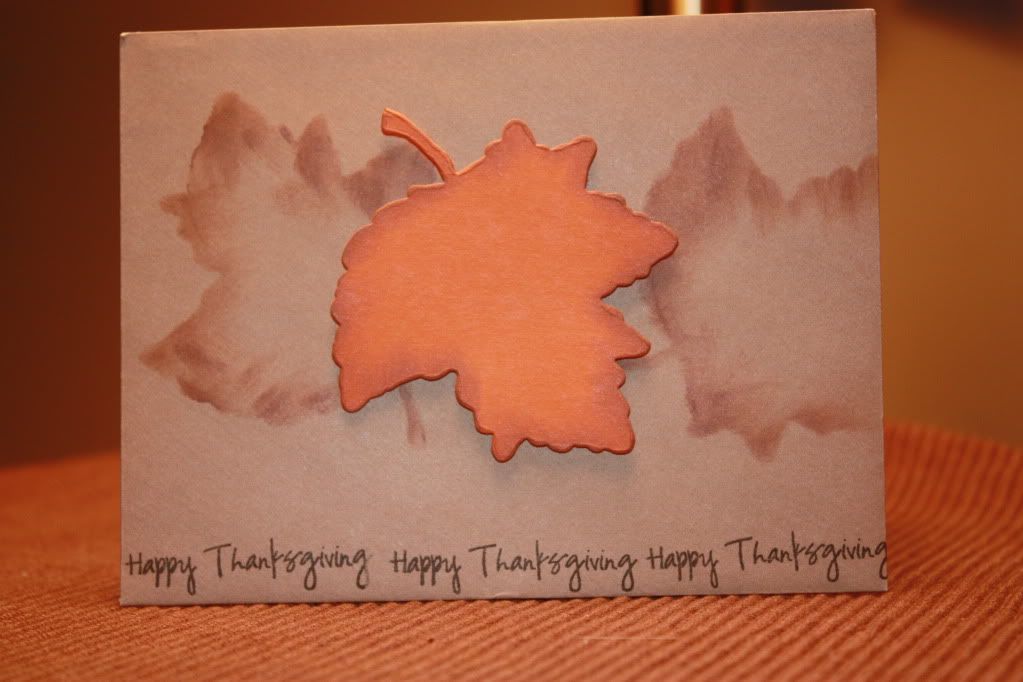
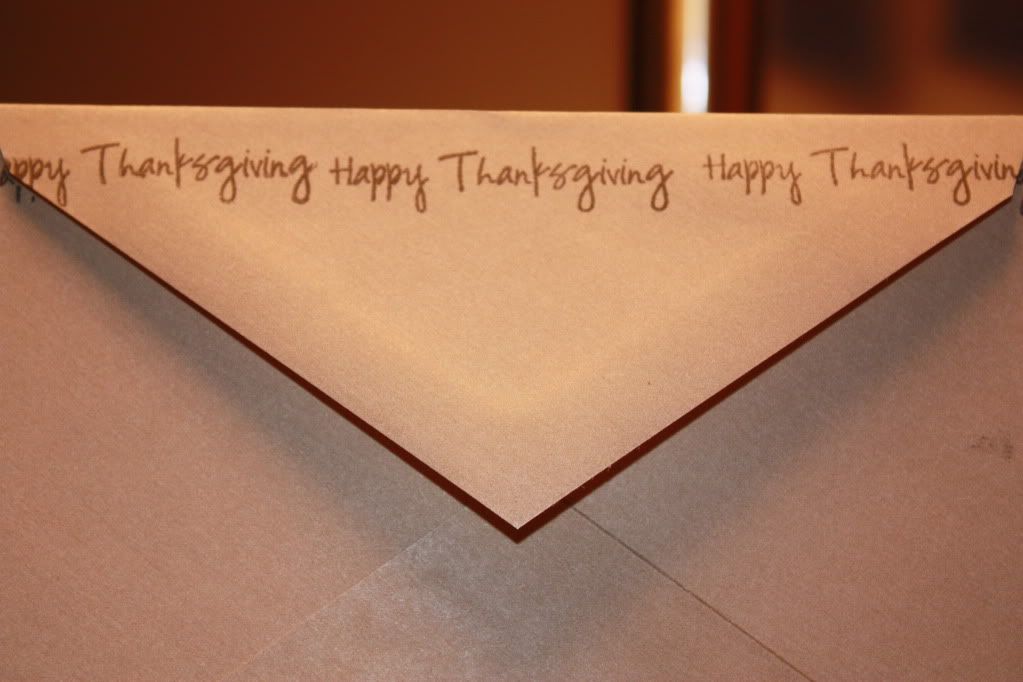
I really love the envelope.  I used one sentiment to make a border on both the front and back of the envelope.  I cut another leaf (a great place to write the name of the person getting the card) and used the negative space to ink blot leaves on the envelope.


As we enter into the Thanksgiving Season it makes us reflect on what we are blessed with.  I have been blessed in so many way through so many people it is hard to pick the ones I am most thankful for.  The song says 'count your blessing name them one by one,' so I am going to name just a few.
*my family
*a wonderful career that takes me to amazing places and allows me to work with wonderful people
*the opportunity to get to know and share this hobby with some UBBER talented papercrafters!!
What are you thankful for?  Leave a post telling what your thankful for and have a chance to win a Close to My Heart Stamp Set (my choice) and be entered into the grand give away sponsored by the Pink Cricut Sarah!

Here is a list of the other blogs with links--check them out and be sure to leave comments on each for the  most chances to win the grand give away!
Yes- I forgot to mention this is the hop order:


Thankful for you!

Friday, November 5, 2010

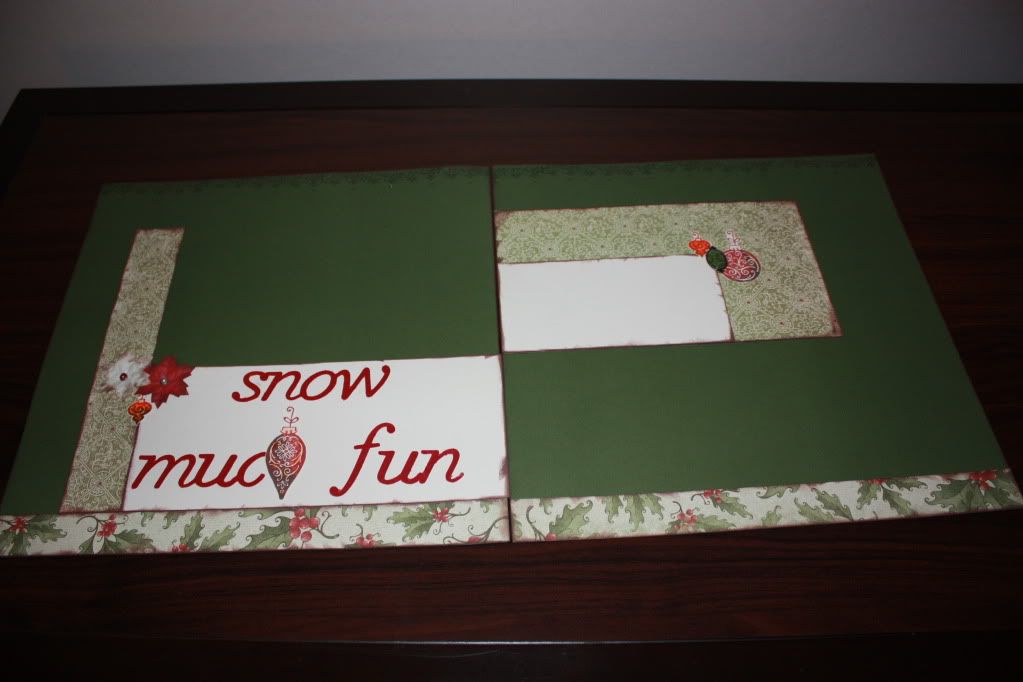
Workshop Layout-Mistletoe

Thank God it is Friday--I am in Kansas City today visiting my family as I seem to be on the road most of the remaining year until Christmas.
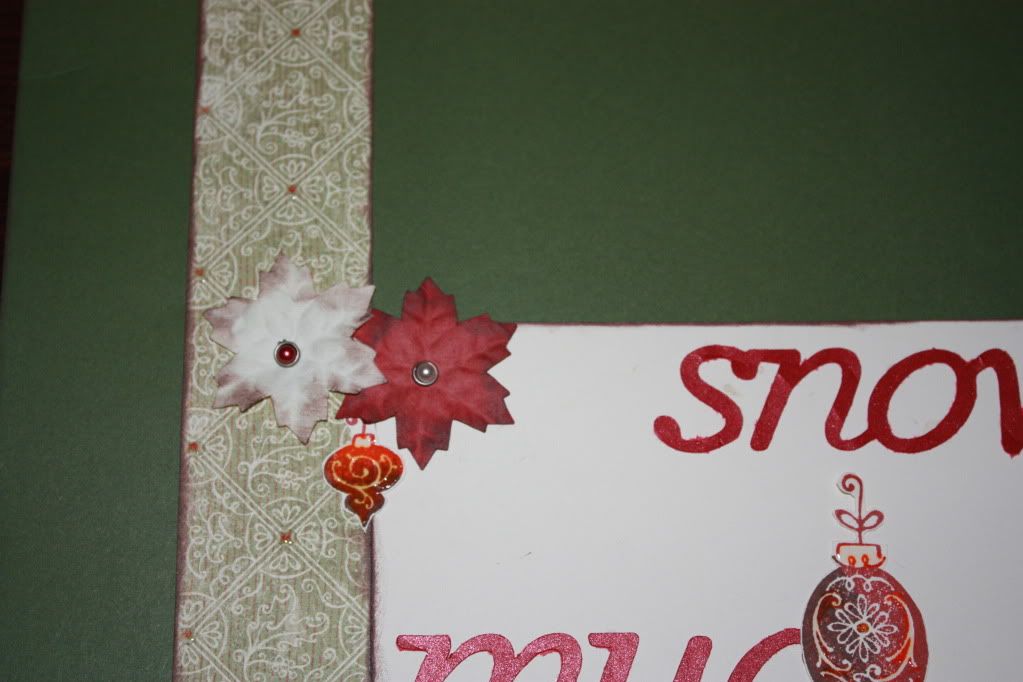
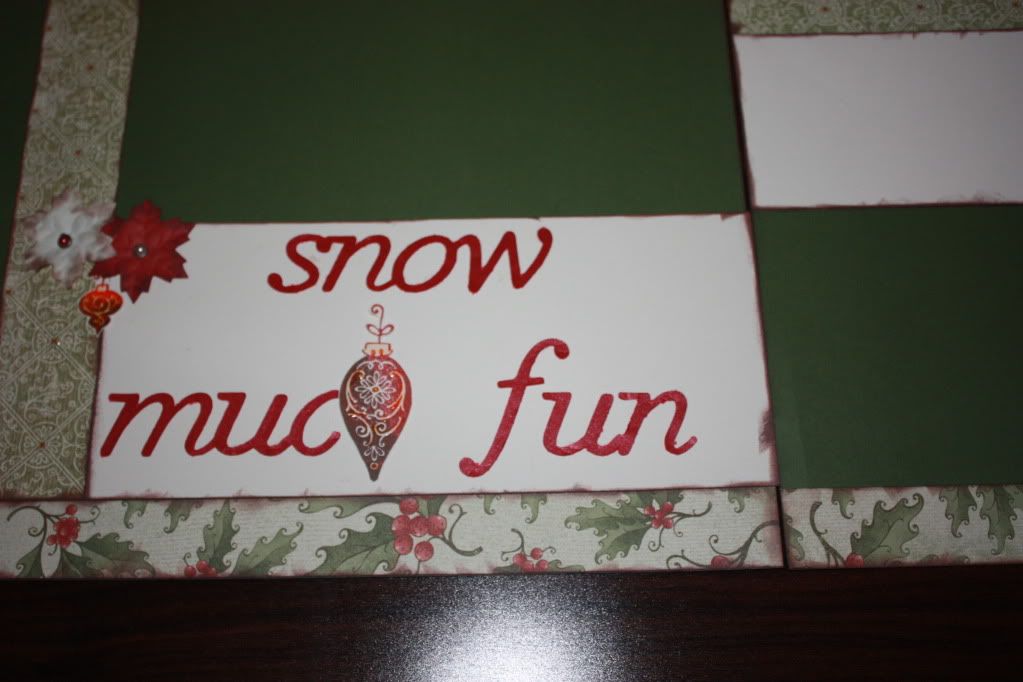
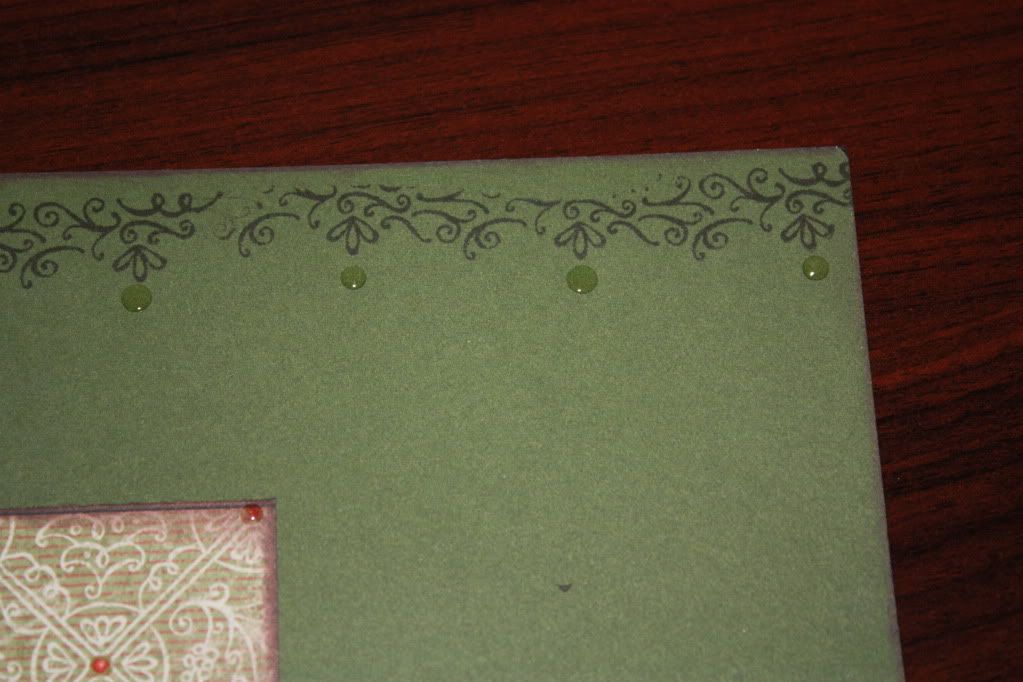
This layout is super easy and all I added that was not in the kit was the ink on the edges and the glassy accents.
I also added some ink to the paper flower edges--
I changed up the sentiment a bit--by using the Cricut I have a ton of fonts to pick from and I used an ornament for the H in must-
I think the glassy accents a lot to the top edge of the page.
Make sure to stop in on Saturday while you have a cup of coffee and catch up on the blogs--I will be part of a blog hop with the Pink Cricut and a bunch of other very talented paper crafters!!!


Photobucket
make it a great one-

Thursday, November 4, 2010

Workshop Cards...Mistletoe!!!!

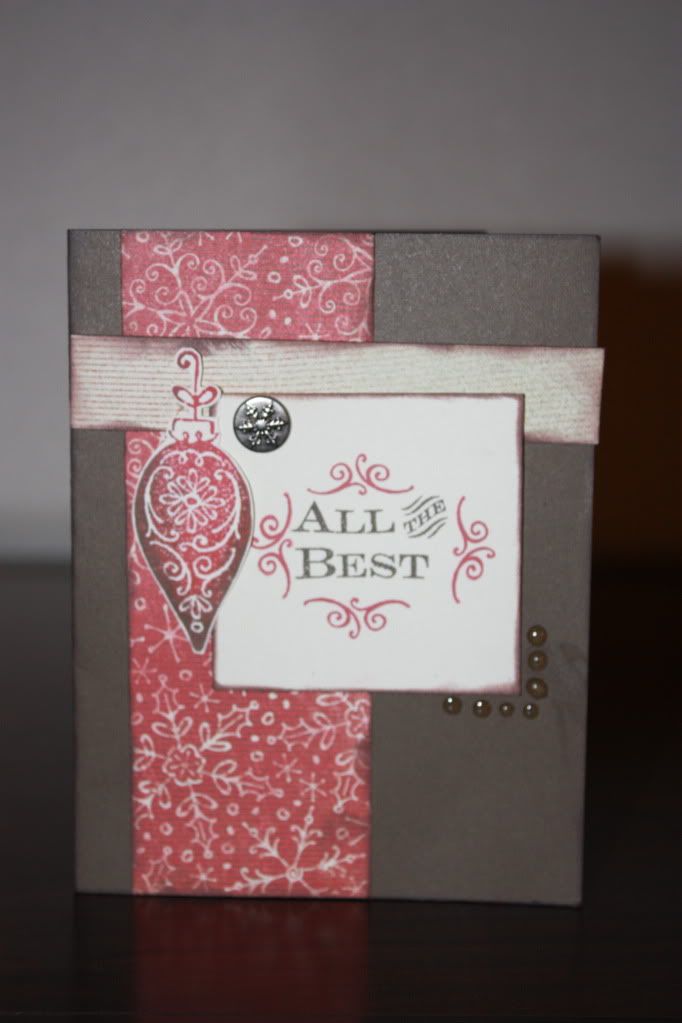
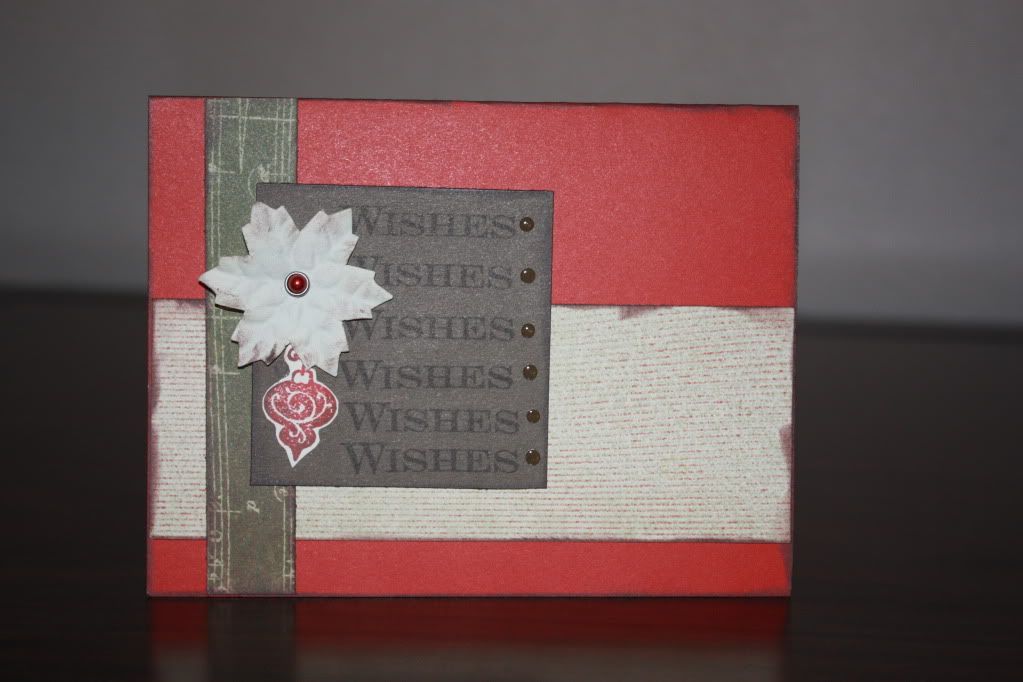
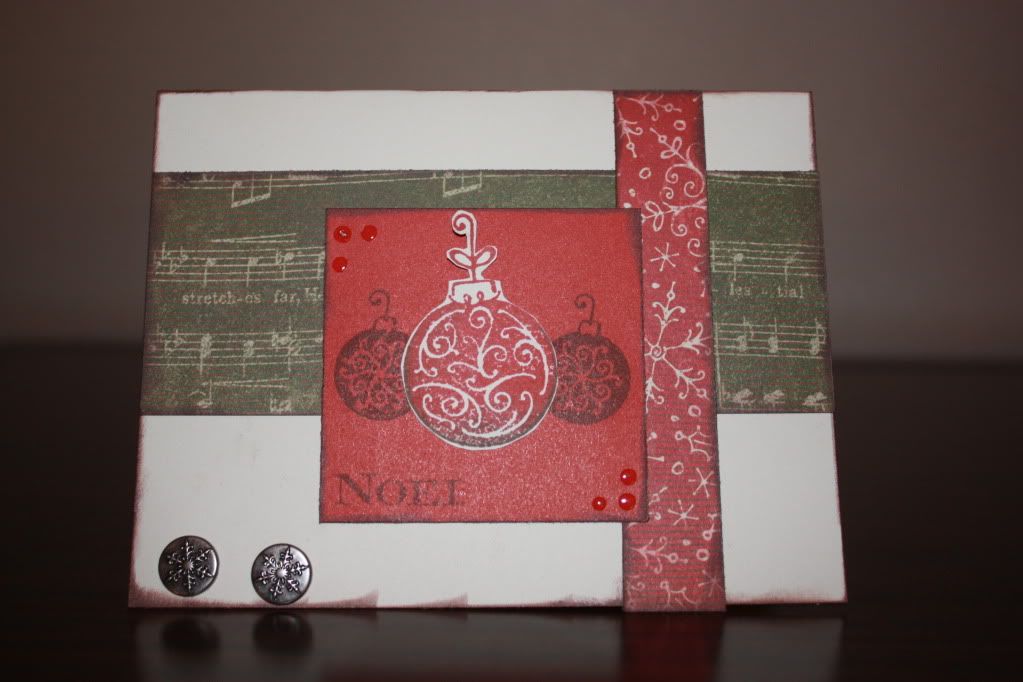
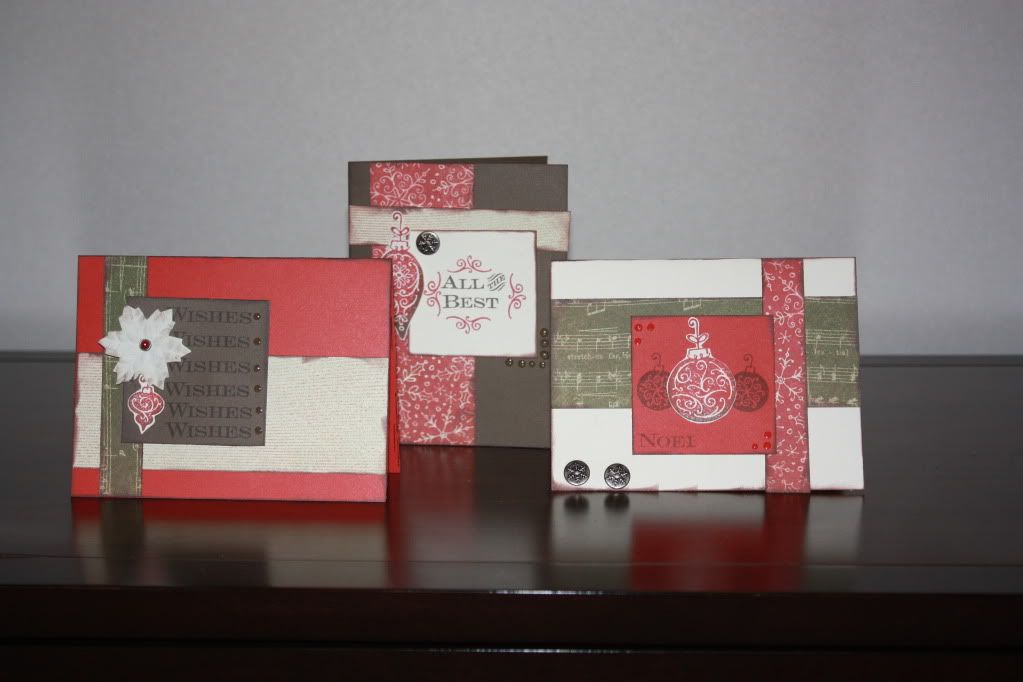
Well as promised here is the cards from this months Workshop on the go! I simply love these papers. This brown card is my fav--think it is a really fresh updated holiday card--although it is vintage in it's feel.


The workshop kit makes 2 of each of the cards and the layout I will share on Friday--and you will still have over half the paper left over!  All the stamps and brads are included in the kit, all I added was a bit of ink on the edge and some glassy accents!

Wednesday, November 3, 2010

November Workshop on the Go Kit

Hello from the big apple---on the road again this week but wanted to post a couple of videos about this months Close to My Heart Workshop on the Go kit.
Here is the over view of the kit--all the bits and bobs that are included (and a few extra add ons)


and here is the how to on one of the cards.


I will post pics of all the cards and the layout on Thursday!!!!
make it a great one!

Monday, November 1, 2010

A great haul......

Here is a video of my haul from the KC Scrap show I attened a few weeks ago.  Sorry it is so late--it has been CRAZY!!!!  This week will be packed full with videos so make sure to check in often!


Make it a great one-

Friday, October 29, 2010

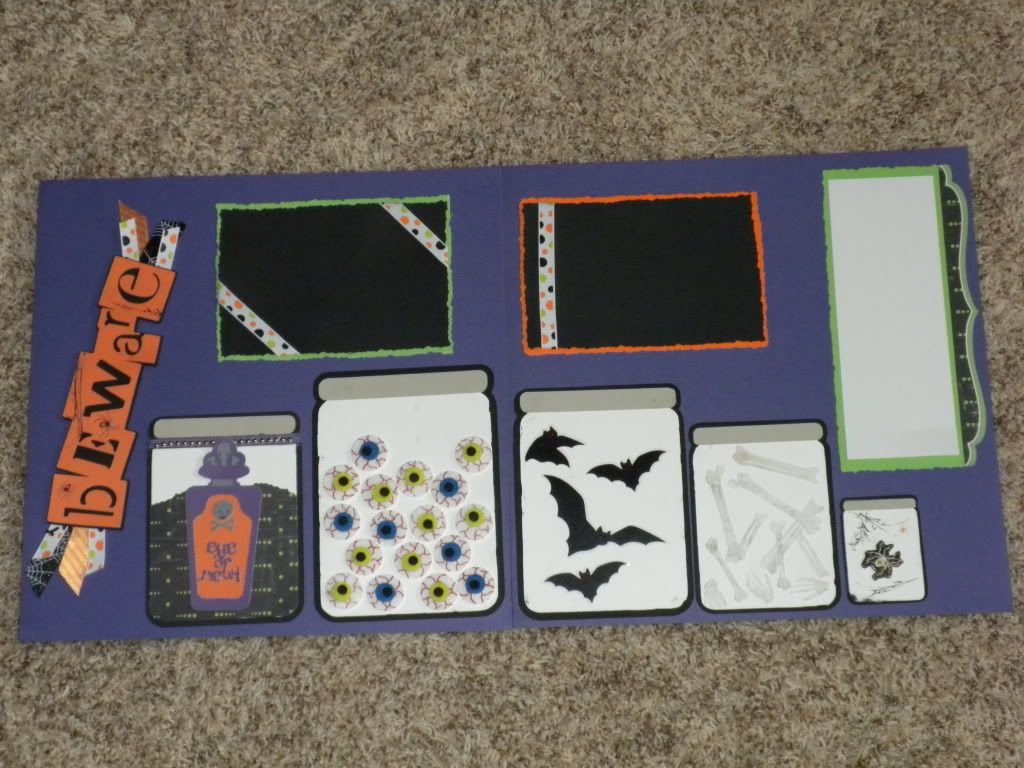
Friday Funday...Halloween Layout with the Cricut

It's Friday once again!!! In honor of the spooky weekend before us--I have a double page layout to share!
If you remember the card I showed with the jar of eyes--well the idea started as this layout!
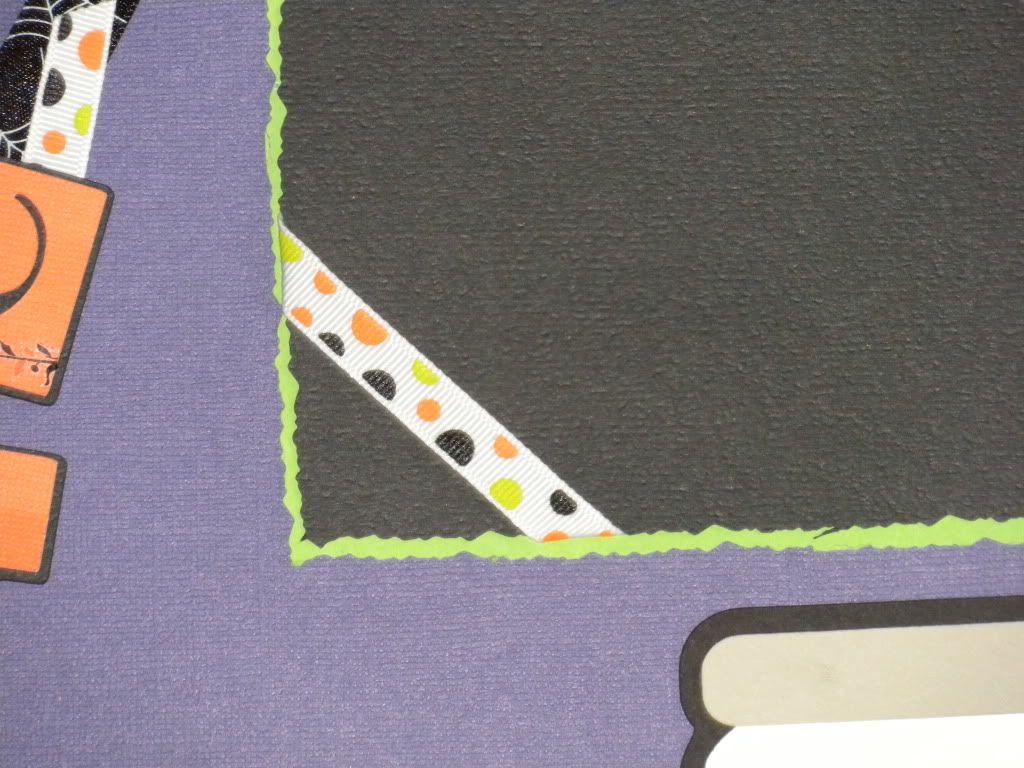
I used Cricut Happy Haunting for the word art.  I added some Basic Grey rub-ons and some fun ribbon to finish it off.
I added a bunch of jars --sort of like a mad scientist lab!
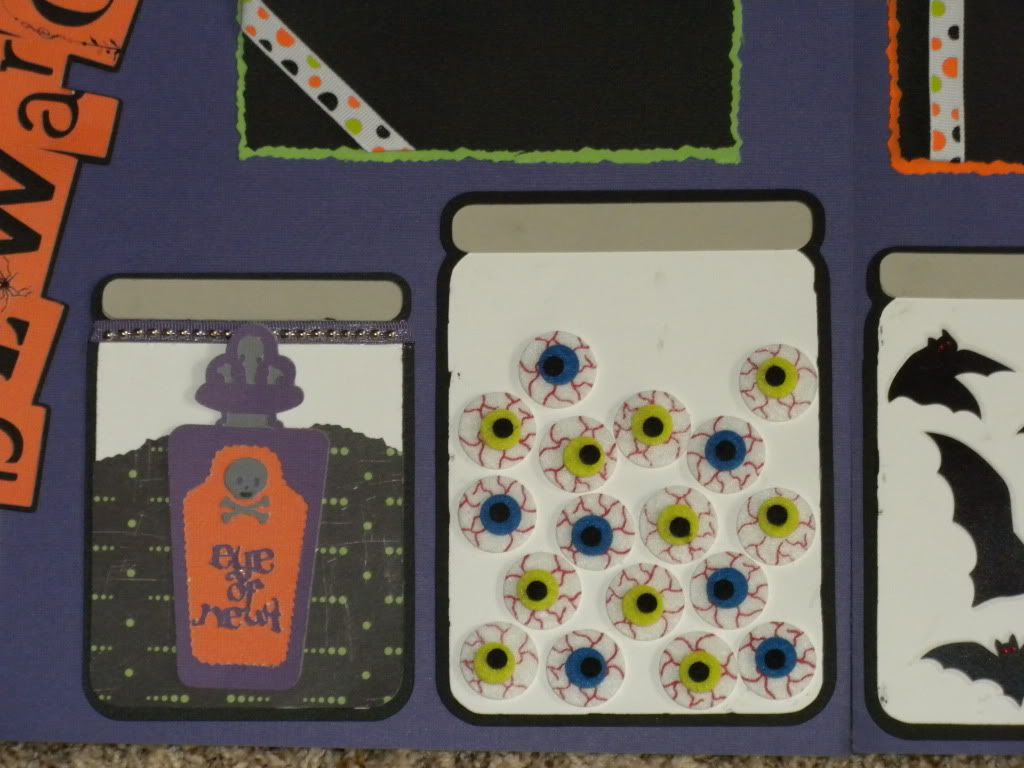
The jar is from Cricut Boys will be Boys cartridge.  I added a metal ball chain to the eye of newt so it looks like the label is hanging from it.  These eyes are felt and I got them in a bag from Michael's.
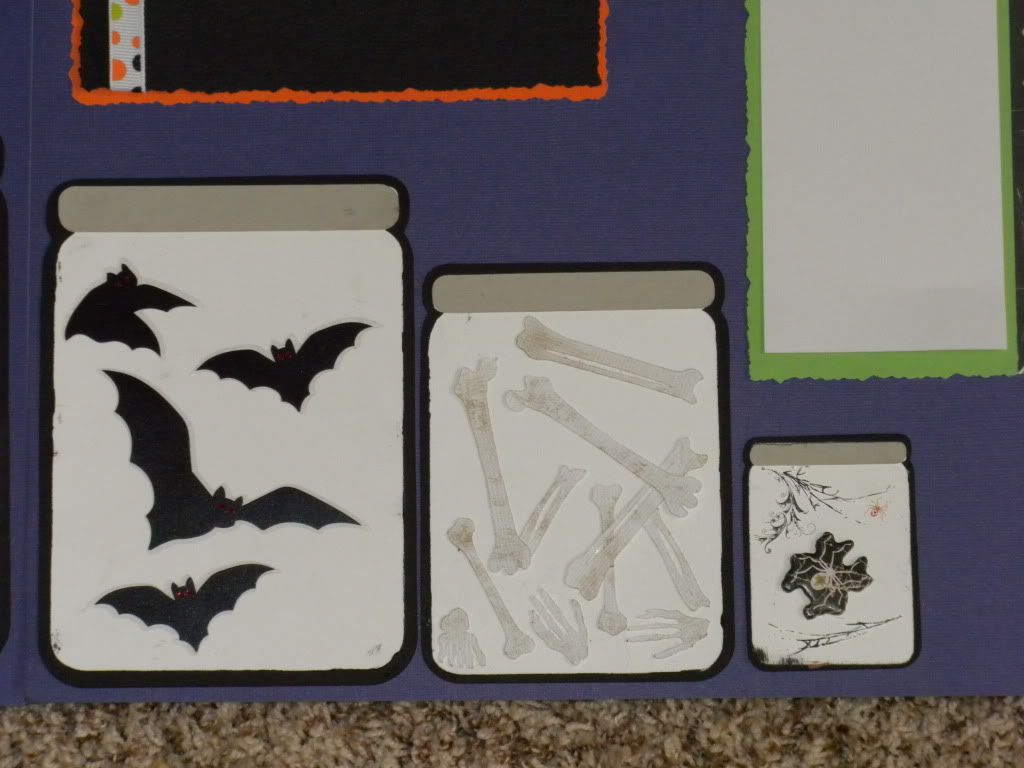
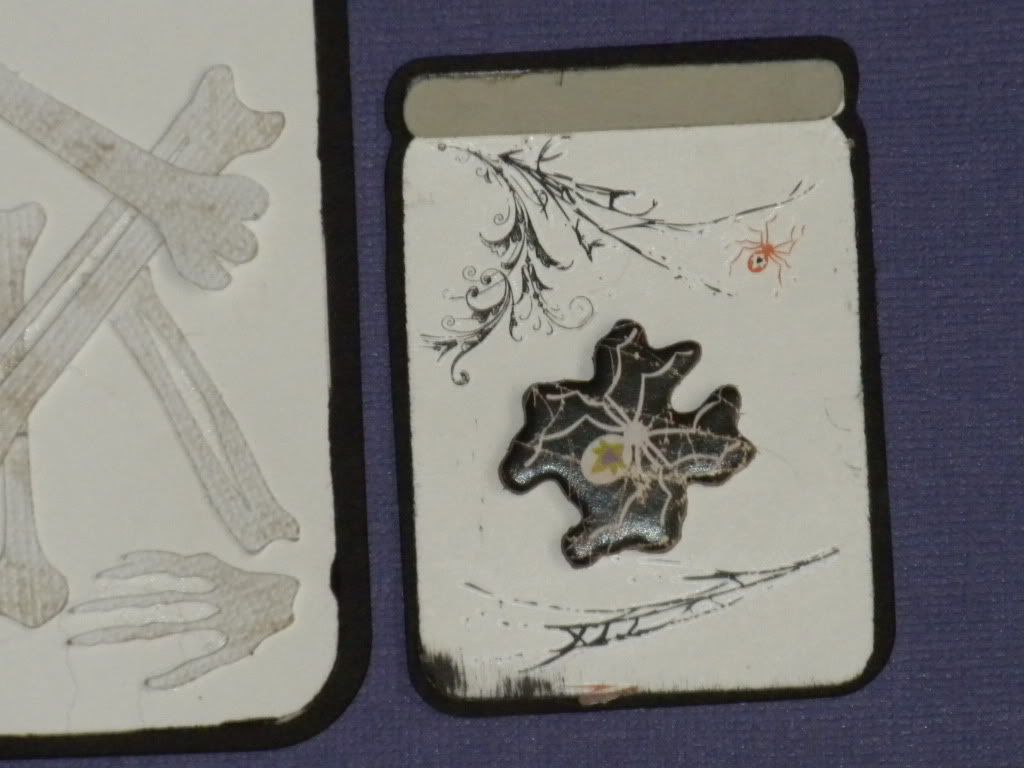
These bats are self stick plastic from MS (from Michael's), the bones were cut from the Cricut Oct 31 Seasonal Cartridge and I inked them up to add some age.  I love the spider jar.
I used Basic Grey rub-ons and Chipboard shapes for this one--
For the photo mates I used some fun scissors and ribbon to set it off.
I hope you all have a safe and fun Halloween!!!!

Thursday, October 28, 2010

Product Review: Stampin Up Printing Plate

Hello on this fine Thursday.  Today I have a review of the new Stampin Up printing plate.  This one just happens to be the Halloween plate.  I followed the instructions to a T and even used the big shot and not my cuttlebug.
First you ink the plate with the really wet ink.  I am using SU white craft pad for this project.
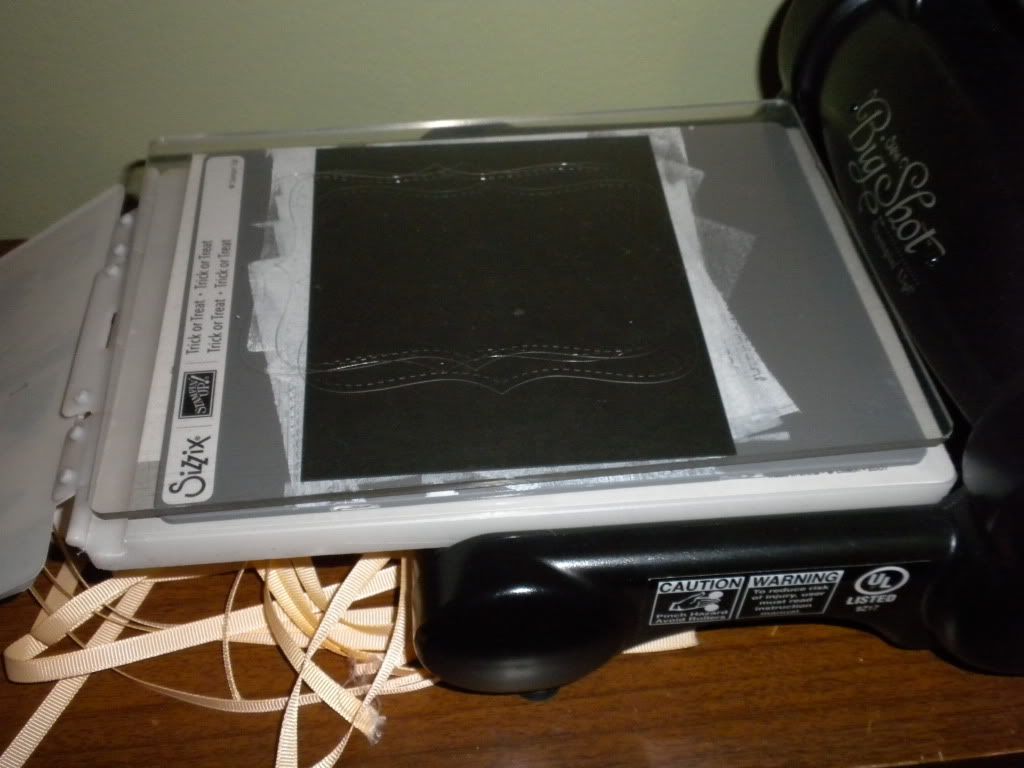
Here I have set up my plates in prep for the ink transfer
Final step is to add the paper.  Problem here is if you move the paper at all  you get 'ghost' marks as you can see here--I had to turn my paper over cause I bumped it just right.
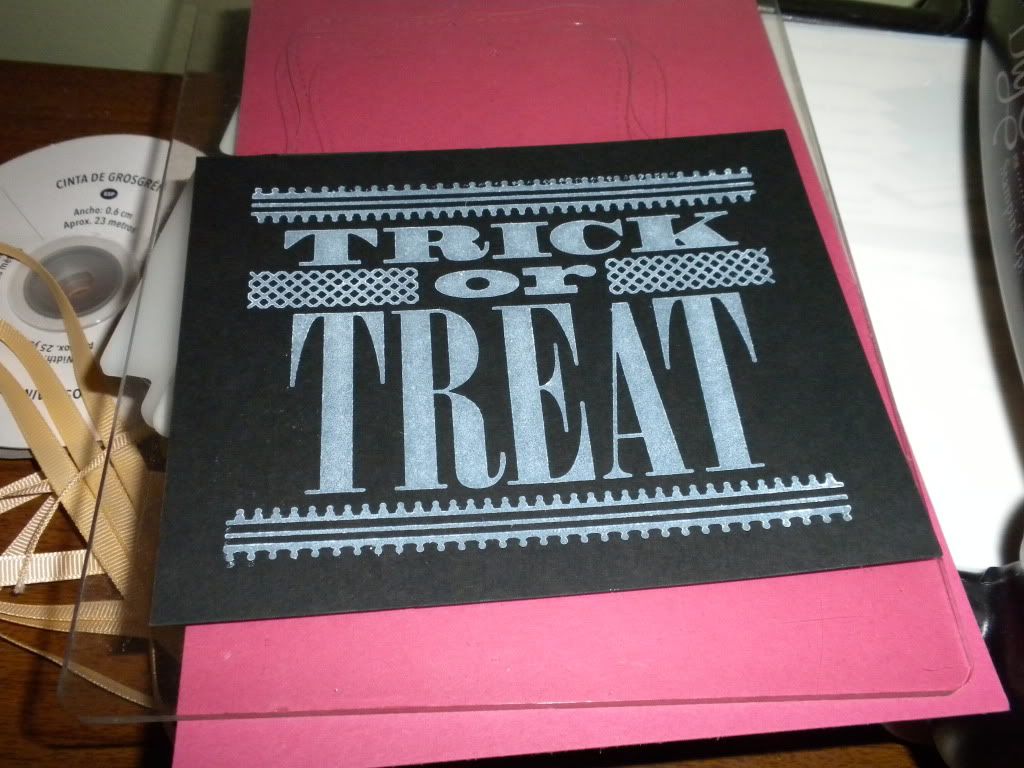
Here is the final print.  I was hoping it was going to be a clean print with full coverage.  It is not bad but I thought it was going to be better.  My expectation was higher than the real outcome.  I thought it was going to look more like the letterpress debossed printed look but there is no debossing and final print is cloudy.  If any of you have tried this and had better results--please let me know if you have any tips or tricks.  I love the concept and would love to see improved results.  Would love to hear your opinions on the SU printing plates so leave a comment--
Make it a great one
 
Designed by Lena Graphics by Melany