So it is Saturday--the best day of the week for me, and my day over at Everyday Cricut--I made three cards and three videos! When you finish here head over to Everyday Cricut and see the other video and all the detail photos of each card.
This first card has it's video over at Everyday Cricut.
I used the Lacy Labels for the large cuts and the Typeset 5x7 cuttlebug folders. I really love this new folder! Remember the video for this one is over on Everyday Cricut!
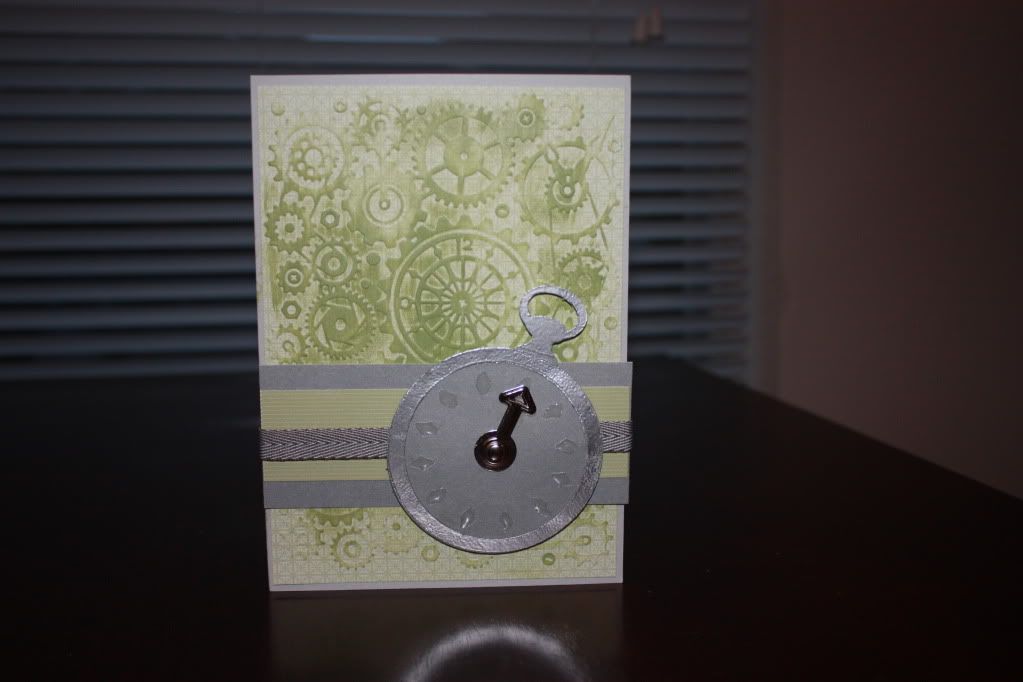
This second card is made with Stampin Up papers and uses the Cricut Heritage Cartridge and the new Clockwork 5x7 Cuttlebug folder.
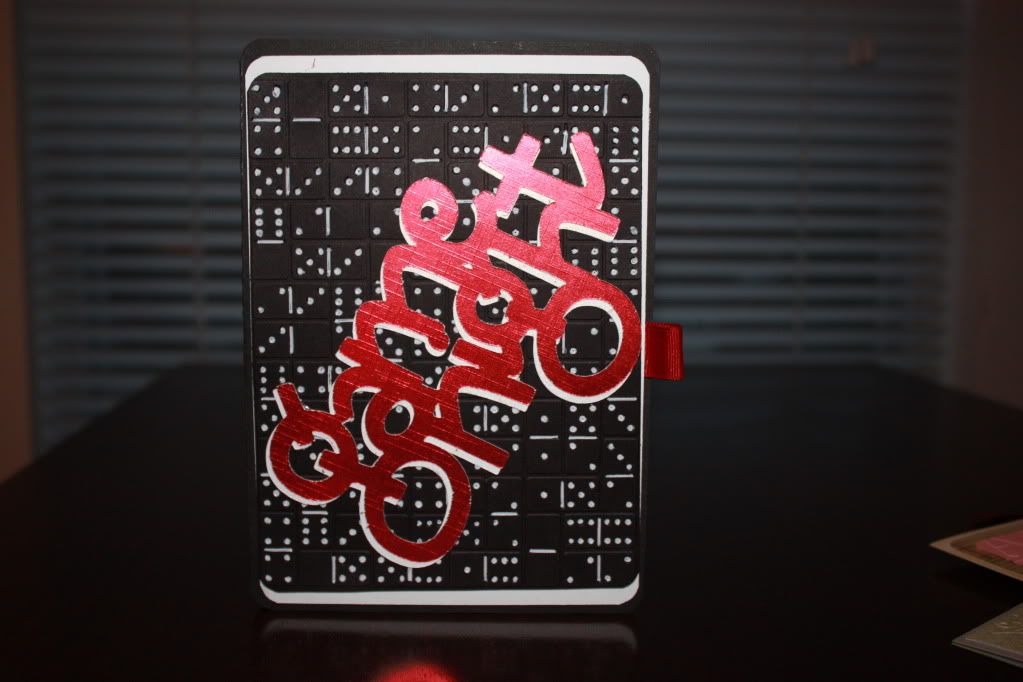
And the last is an invitation to game night--I used Cricut Designer Calender and the Domino's 5X7 Cuttlebug folder--I really love the Way it turned out!!!!
Well make sure to head on over to Everyday Cricut to check out all the detail photos and first video as well! Make it a great one!
Bryan
So it is Friday Funday..........This week has brought a lot of excitement. As everyone get ready to head to Chicago for CHA--I will be at home in Dallas preparing for a trip to Salt Lake the following week. Oh how I wish I could go. At CHA in January that is where I met so many wonderful folks and made some awesome friends (that I have lunch with often)! I hope you all have fun and when you are at the dollar pearls think of me---I love that booth! Oh the papers at SEI, and Clear and Simple stamps, and the amazing amount of glimmer mist in one location is a scrappers dream come true. Have fun and be sure to post all your wonderful new finds!
I love these--when you click the link it will take you to Provo Craft and the handbooks for each where you can lust after all the borders and amazing fonts and shapes.
Now I have two questions--
1) How many of you got caught up in the excitement and ordered them? One, two, or all three--fess up!
2) How many of you think I got caught up in the excitement and will be getting a package from HSN next week?
Remember this is my Saturday over at Everyday Cricut so make sure to stop in and see what I have done with a few of the new Larger Cuttlebug Folders! I will also post the how to videos here on my blog!
Make it a great one and we will see you on Saturday!
As I troll the previews for CHA and the blogs of all the paper companies (cause you know I have a soft spot for paper) I had a whole new reaction to the new Graphic 45 collections, feel free to click on the link to take you to their home page
This collection has a beautiful range of colors on this great tea stained looking back ground. Graphic 45 has a heavy art deco hand most of the time but these papers a pretty--and i don't say that about Graphic 45 often!
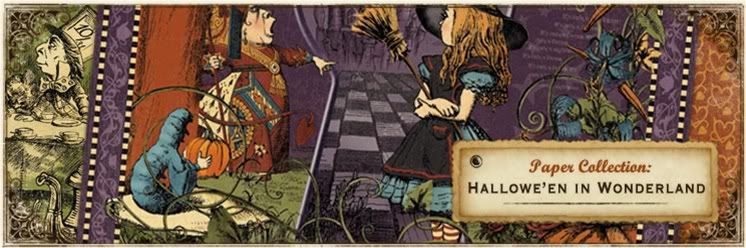
This is one of the cutest Halloween collections ever--how can you not win with Alice in Wonderland combined with Halloween. There are a lot of great patters that have nothing to do with Alice but they are super cute--lots of green, purple, and black but a whole different feel than any other Halloween collections I have seen!
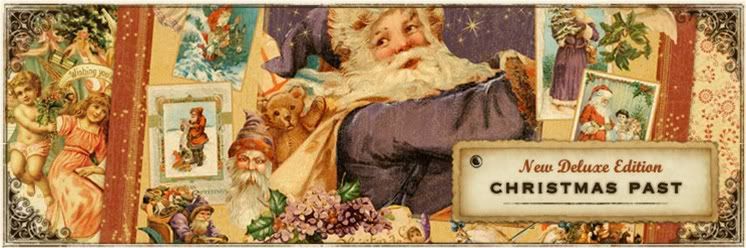
I love Christmas paper (i have three cropper hoppers full) but this collection gave me warm fuzzes. I lost my last grandparent last year and this collections makes me think of all the wonderful holiday memories we have in our family. All the old Christmas cards, rolls of paper, and Christmas advent calendars.
I could tell you all about each page in these collections but I would not do them justice--In all honesty I have not been a HUGE fan of Graphic 45 but these collections are unique and very beautiful--I like fun paper but sometime you want something with a little more sophistication. You are going to get that here with out it looking old! I highly recommend you check them out. If your looking to buy--head over to Embellish It! where they have the Halloween collection and Christmas collections by the sheet or the paper pad ( I love ordering from them fast, easy, and free shipping if you buy $65).
Make it a great one!
Tuesday, July 20, 2010
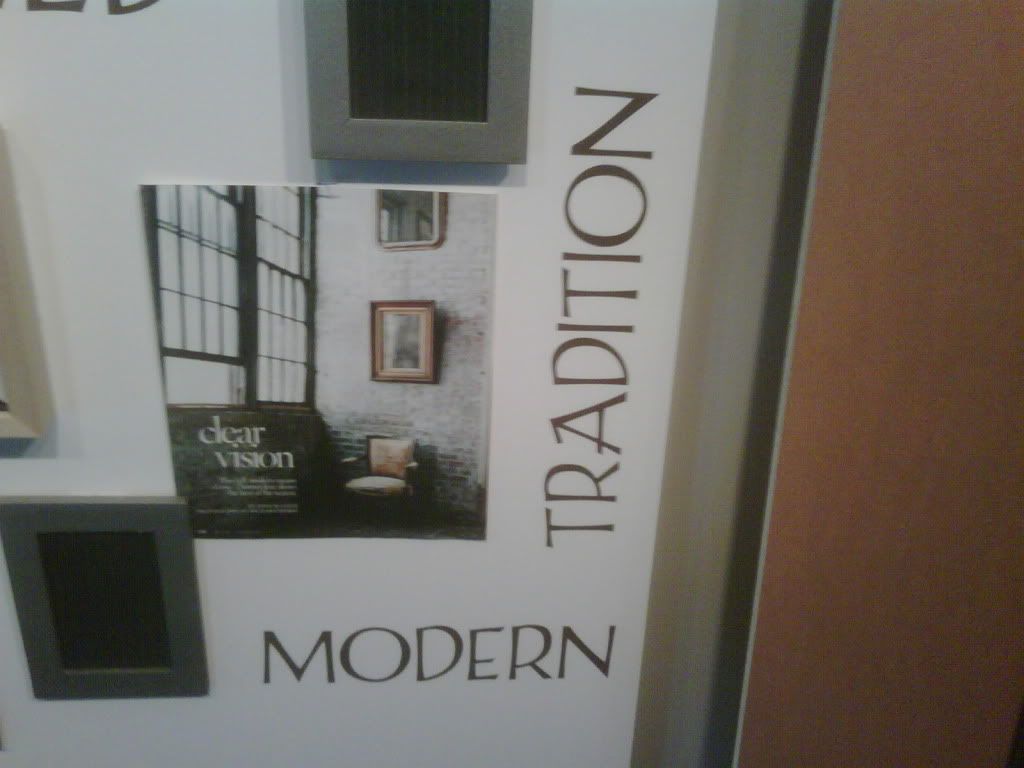
It's Tuesday--one day down and four to go! So today I am sharing how I use my most expensive toy not only for all the fun crafting, scrapbook pages, and cards--but for work as well.
I have to make presentation boards a few times a year and this time I wanted the type face to be on the board, not paper than glued--so I used some Provo Craft vinyl and made it happen.
The one thing I do HIGHLY recommend is to use the transfer tape--no matter how good you think you are--the transfer tape makes everything so mush easier--and faster!!!!!!!
I also wanted to let everyone know that I have changed my feed burner delivery time. I guess I can not tell the difference between AM and PM so everyone was getting it super late in the evening! Well now you should have it early morning--If your anything like me--I check the blogs while I eat breakfast (and sometimes at lunch) so hope you all like this better!
Hope your Monday is off to a great start. I am super excited to share this one with you all. One of my blog, Cathy, gave me this challenge!
My youngest grandson is turning one soon and I challenge you to come up with a super special card design. I have been making him a new card to celebrate that month's birthday and have tried to keep them exciting. So......I have run out of ideas. Please help! Have a great trip! Seems like you spoke about a store in NYC that had vintage stuff too. Enjoy!
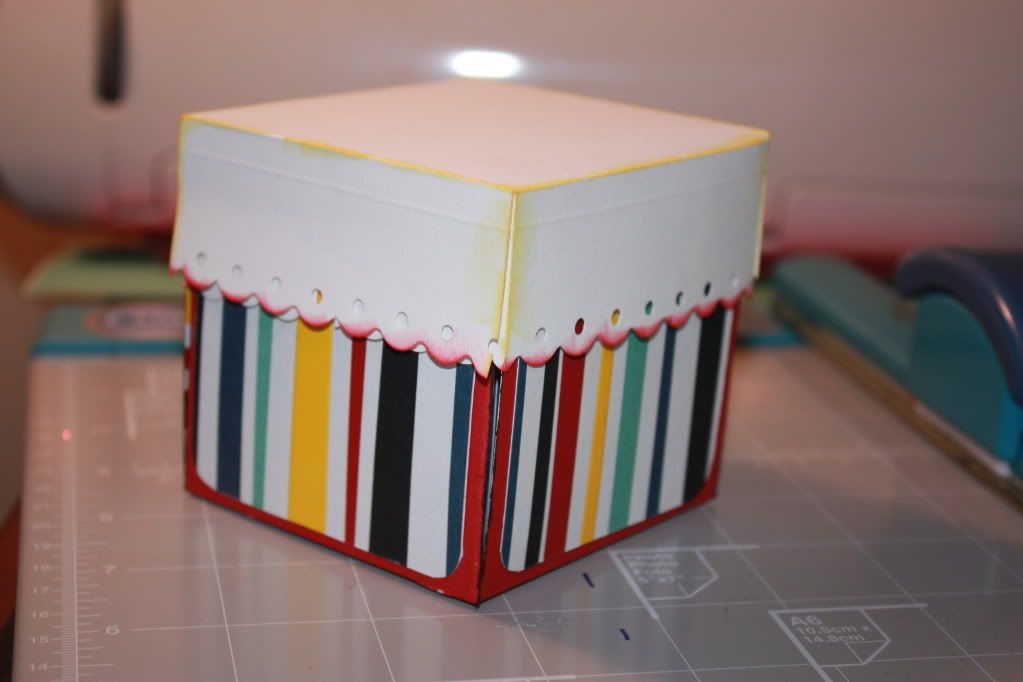
So I thought what better than an exploding box. Not only will it make a super cool card (and be the talk of the party) but a great place to put keep a picture from each month of his first year!
The box is pretty simple to make--in the video I only used solid paper--hoping your creative juices will be flowing and you will see the limitless opportunities for this project!
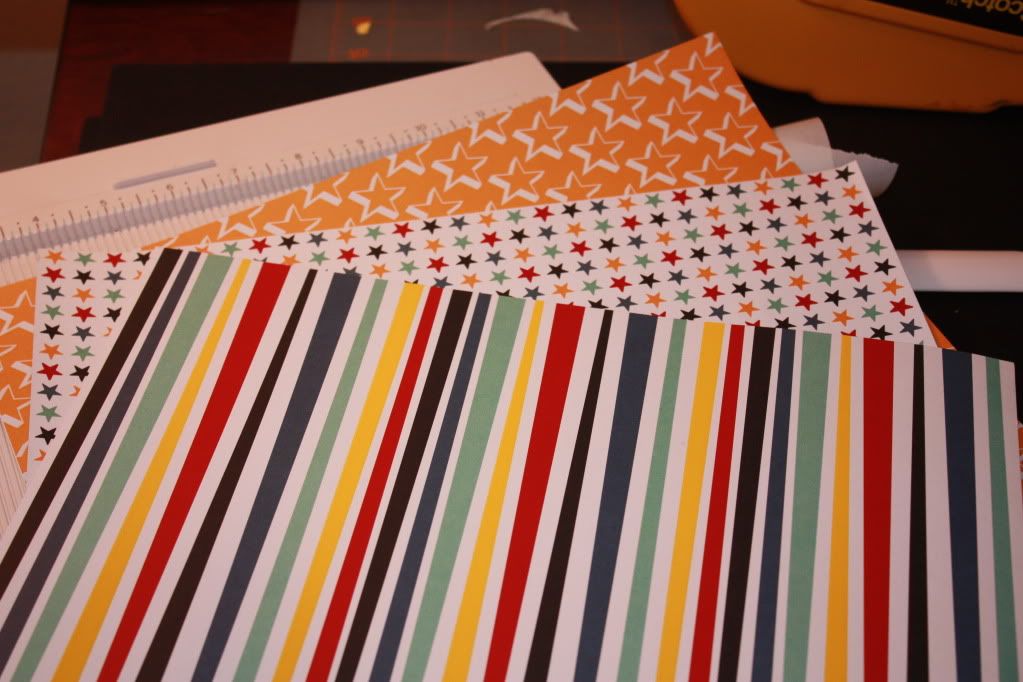
These instructions were given to me and I thought it was going to be a tough project--boy howdy was I wrong! It was really easy and a lot of fun. I started mine with three sheets of American Crafts paper from Michael's and one sheet of solid white
These are double sided--solid color on one and pattern with UV print (glossy) on the other. I want the patters to be visible inside so I will use the solid side of one for the outside. I am going to start with the stripes.
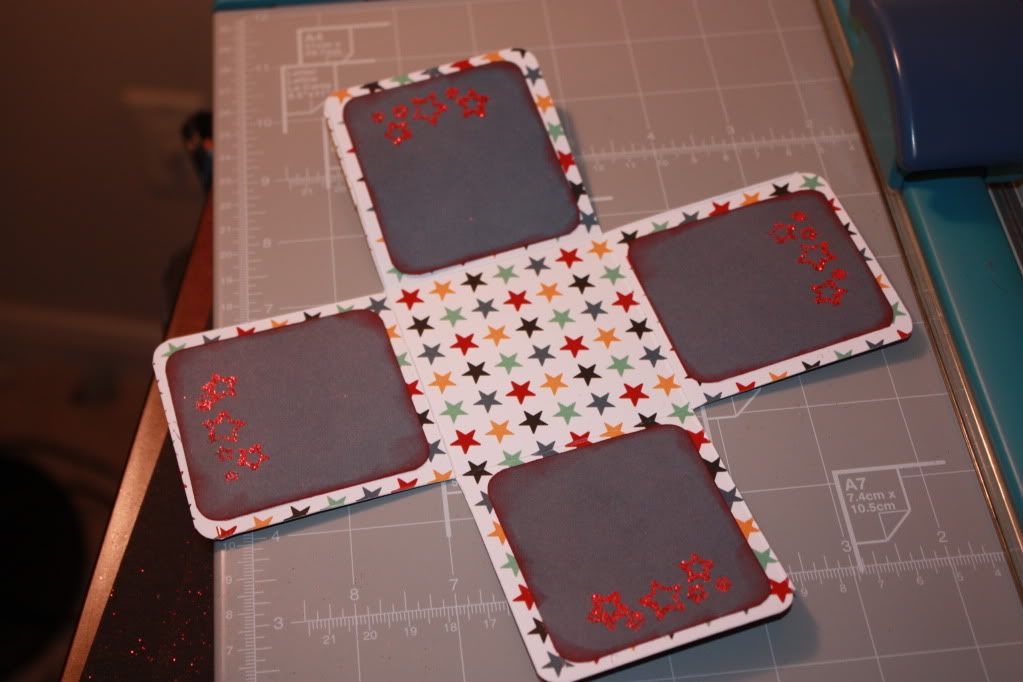
Once I finished cutting and scoring my bottom layer--I lightly inked the outer edge of the red, rounded corners, and used the scraps to accent the outside. I used each layers scraps, just the reverse side on each layer.
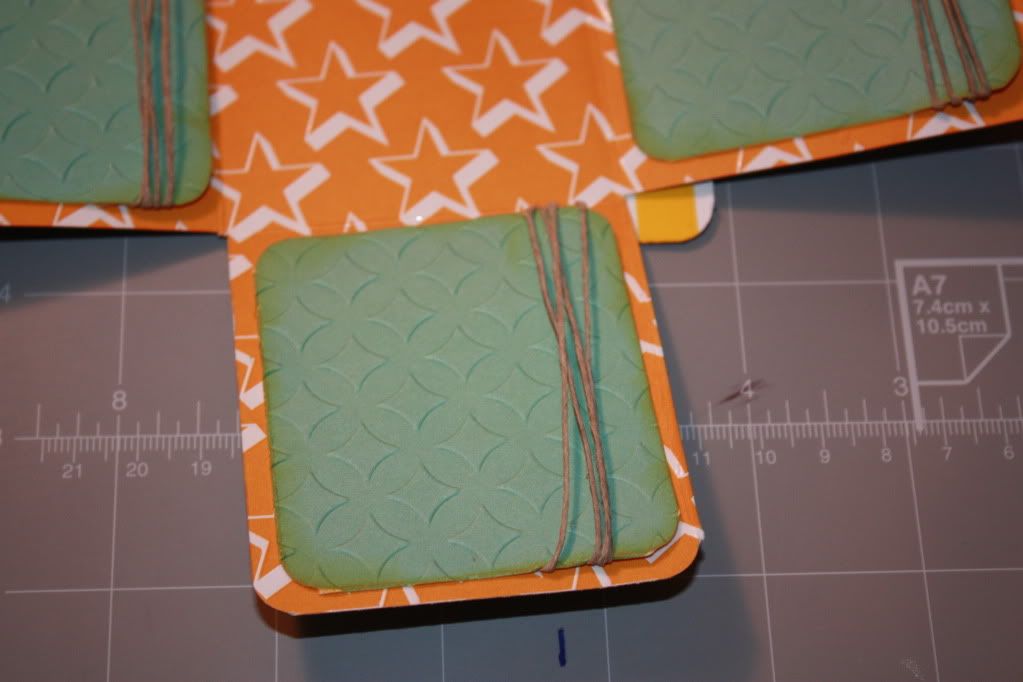
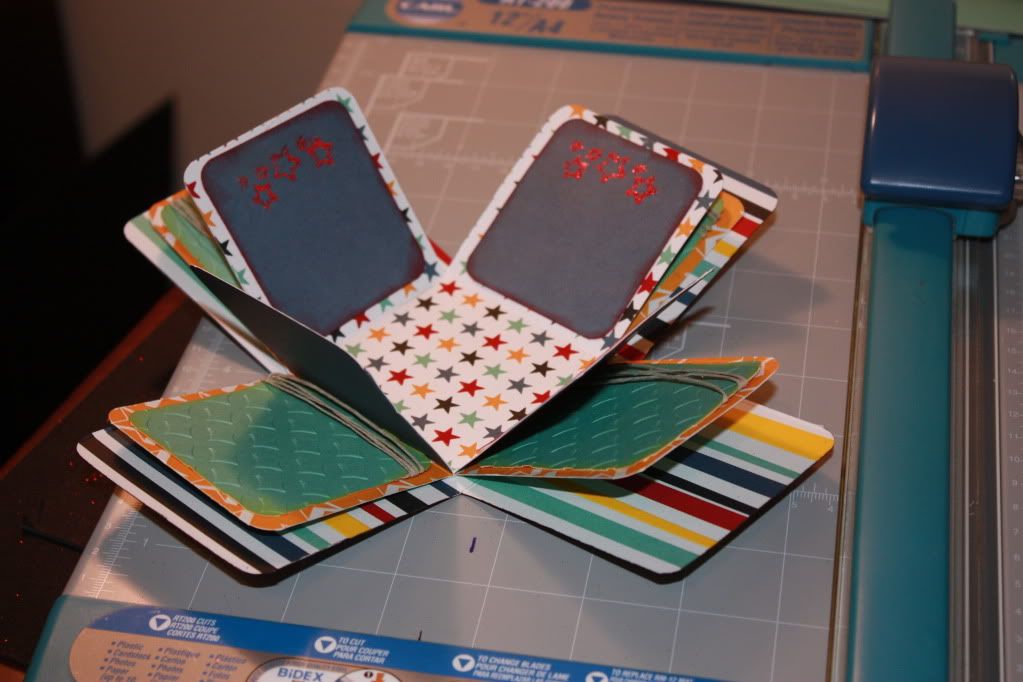
Here is the second layer--again I used the solid side of the scraps to accent this layer. I sent them through the cuttlebug using an embossing folder (not Cuttlebug) and wrapped the edges with twine--you can still slip photos in under the twine.
Here you can see the embossing. I also inked the edges with yellow ink to tie it back to this layer.
The inner most layer is pictured here. I loved using stars and stripes--thought it really was a good combo for a boy--but you could do it in holiday paper for Christmas, in pinks for a girl, in Easter prints for Easter, wedding or elegant papers and hide the ring in the center--the possibilities are endless!
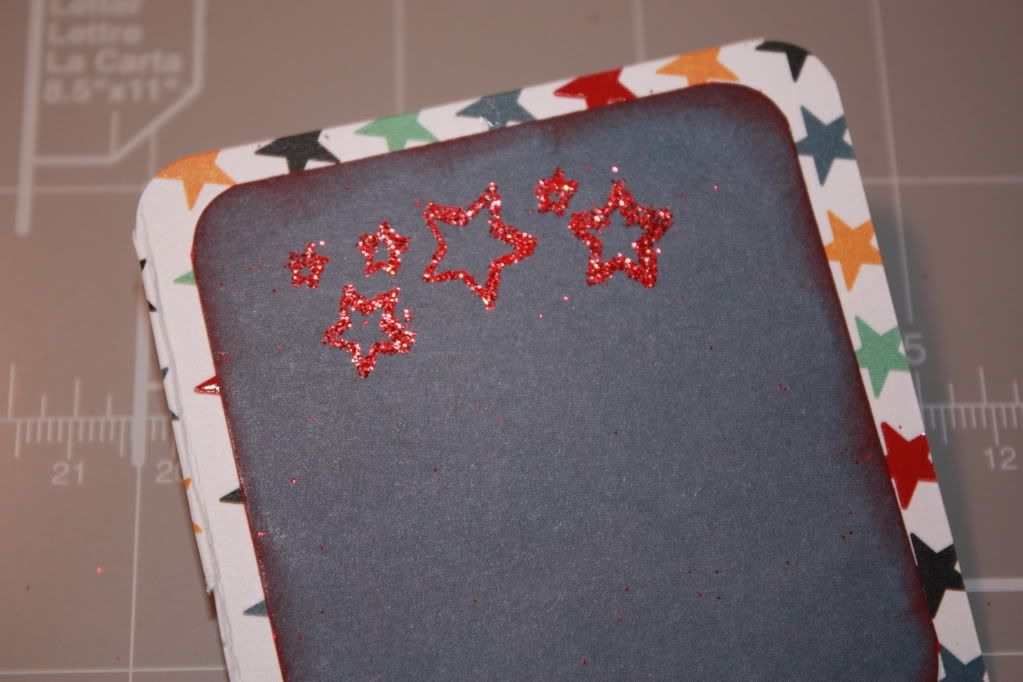
This layer was embellished with some glitter embossing keeping with the stars theme. I also inked the edges of the denim blue paper with red ink, again trying to make it all connect between the layers.
The finished inside--I really like how it turned out! Now on to the lid!
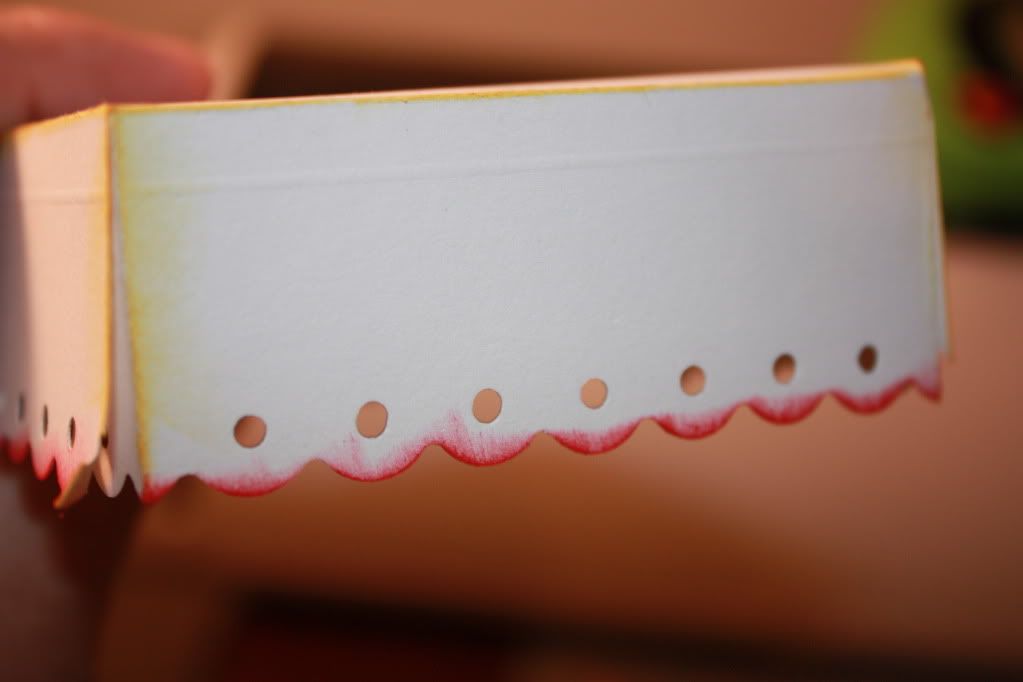
For the lid, I followed the instructions in the video. Before sticking it all together, I took an edge punch and ink to the white paper. I used red along the bottom edge since the box base was red and yellow on the top and side edges.
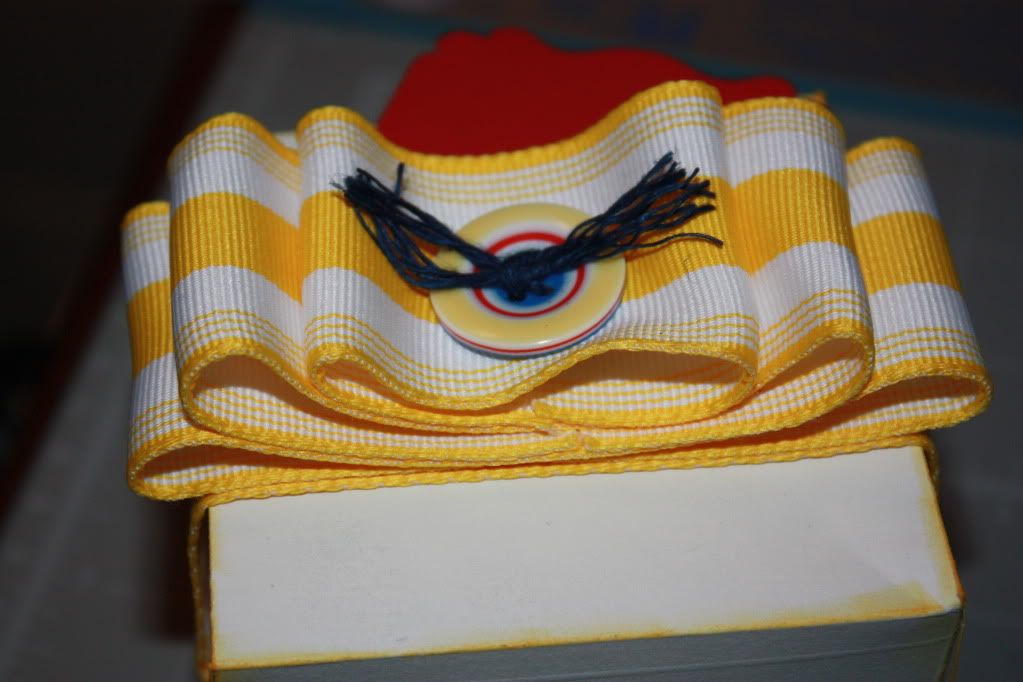
All put together! I started to look at it and felt there was something missing--RIBBON!
So I added this bow--ribbon is from Michael's and it is about two inches wide. The button is from doodlebug and the floss is CTMH in Navy.
Trying to use up all my scraps, I used a Fiskers Top Note Punch to add a tag to the finished box.
All the measurements are in the video--I say them a few times but I added slides for each layer and the lid to make it easy for you. I would love to see some 'exploding' boxes you all make!
Make it a great one-
Just an average guy that loves the idea of scrapbooks. I travel a lot for work so my Gypsy is never far from my side.
You can contact me at scrapguyblog@yahoo.com