
It seems as though when you plan something and it should be easy to complete-something always happens to make it not so easy. I took the pictures, had everything ready, and when I went to go post the blog candy-no internet. Thank heavens for the IPhone!
So to make it up to you in my Monday post there will be double blog candy so two chances to win!
I'm a man of my word and hate that this delay happend. One of the many things on must face when on the road! Thanks for understand and being AMAZING followers!!
Saturday, October 9, 2010
Friday, October 8, 2010
Ittsy Bittsy Spider Halloween Card
It's Friday and I am on my way to Kansas City--Looking forward to some family time and some crafting with my niece, a visit to my favorite scrap store (the scrapbook page in Shawnee), and just being home!
Today's card was a lot of fun to make--here is the break down
-card base (black) was is Close to My Heart
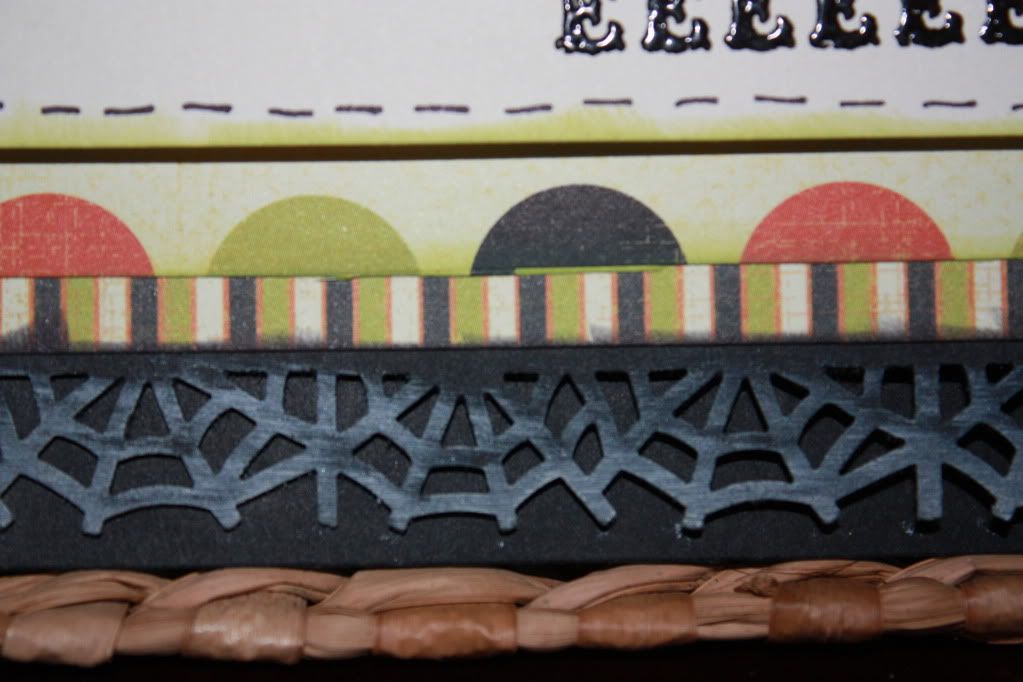
-Patter paper (double sided/used both sides) My Mind's Eye Blackbird "big dots"
-cream rectangle was colonial white from Close to My Heart
-3D wooden spider from Michael's
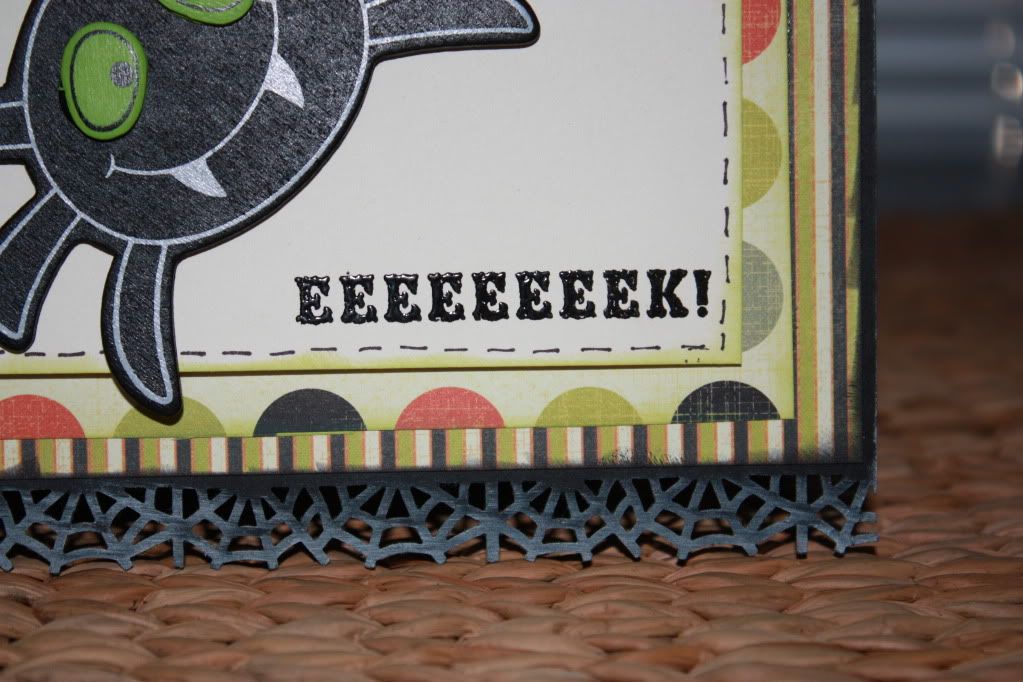
-EEEEK stamp is Martha Stewart
-Black embossing powder Close to My Heart
-Inside sentiment stamp by Basic Grey
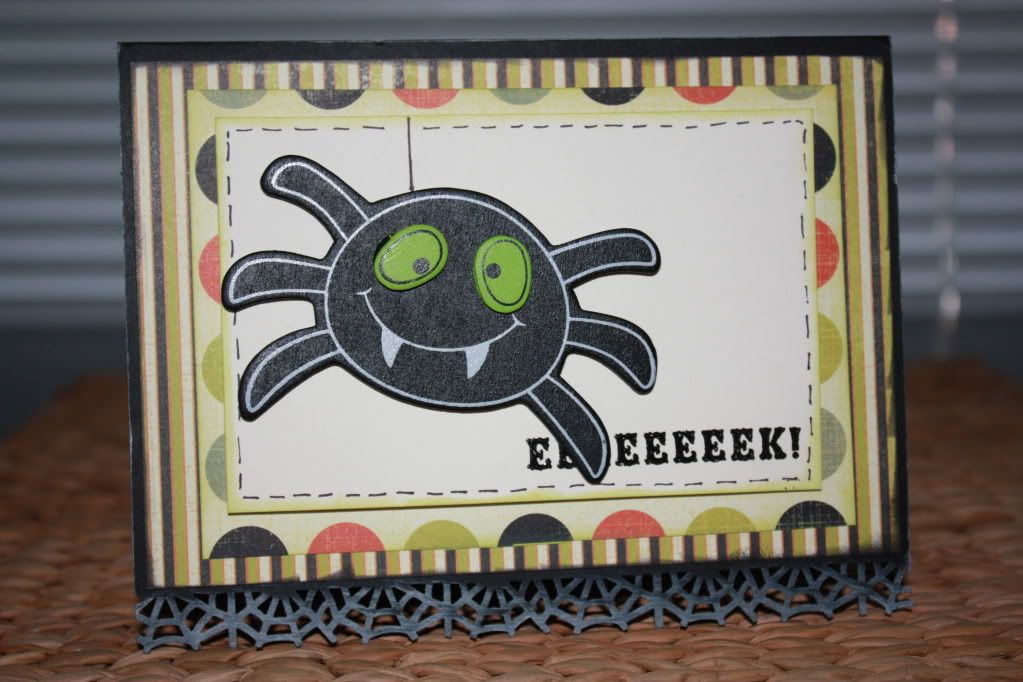
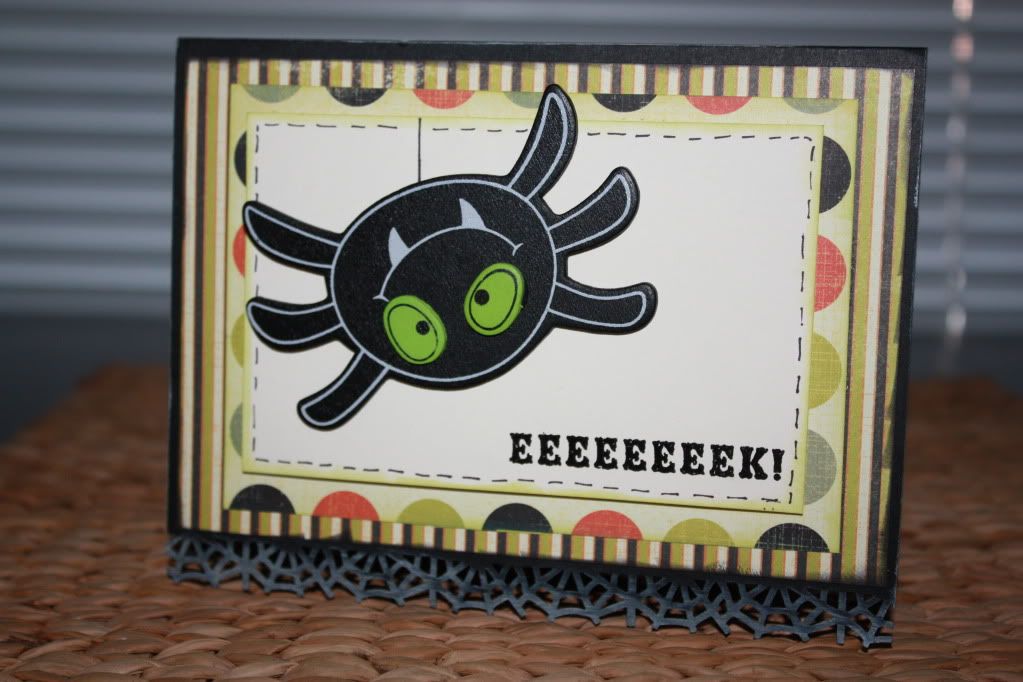

I love this stamp by Basic Grey--the font and flourish are simply perfect!
Check back on Sunday for the bolg candy--you are going to want this limited stamp set for all your halloween projects!!!!
Have a great one-
Wednesday, October 6, 2010
Super Simple Halloween Card
Today's card is super simple and packs a punch! The base card is daisy white card stock from CTMH, the black star print and the orange polka dot print are from Paper Trey Ink (LOVE LOVE LOVE this paper pad) and the glitter white paper is from Cord'ination (used as a layer with the bracket edge).
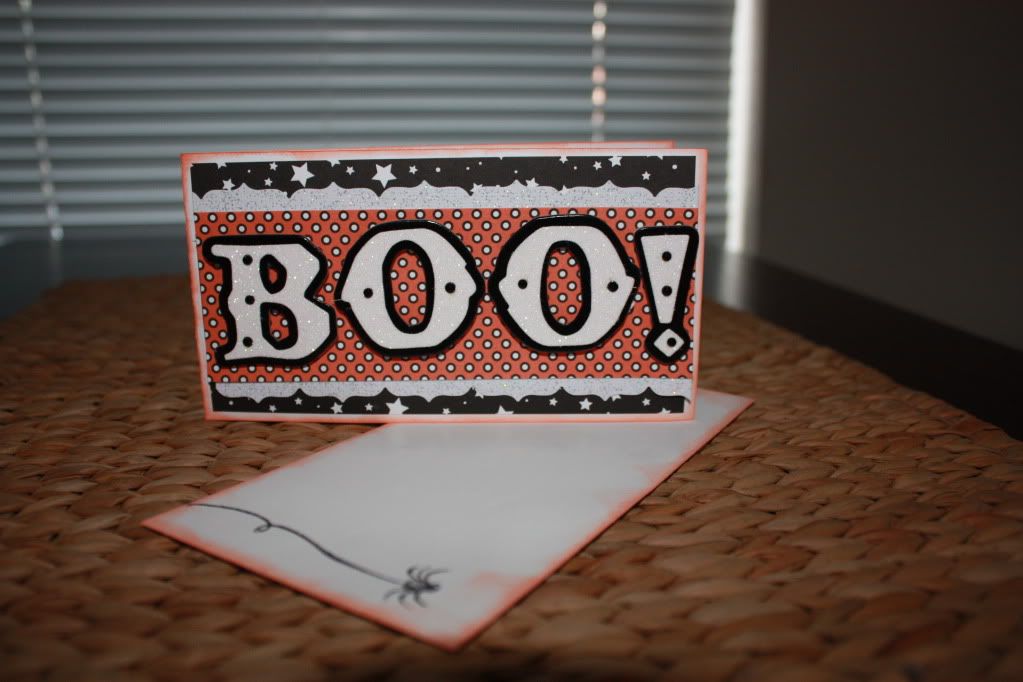
I inked the edges with orange chalk ink from Color Box. The "boo!" I got at Michael's fro $1.00! The bottom layer is a gloss black topped with a glitter white and then some small black bling!


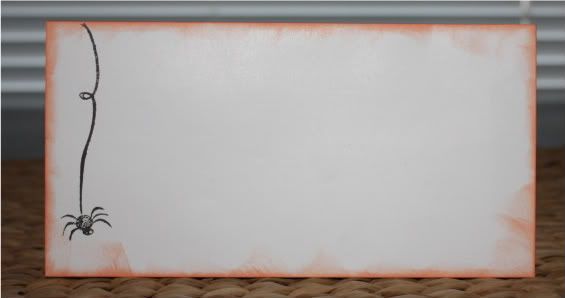
I am on this kick where the envelope needs to be finished as well! so where I used a stamp from CTMH for the spider and its web and inked with the same orange as the card--this envelope is from Stampin Up.
Thanks for stopping in and make sure to check back on Friday as there will be blog candy to be had!!!!
Make it a great one-
Monday, October 4, 2010
Trick or Treat Bucket using Cricut Oct 31st Mini and MS Seasonal Cake Cartridges
Monday Monday....so good to me. Monday morning is all I hoped it would be!! We sort of, I thought starting off on a positive note would help this crazy week get off to a good start!
It's October and I am in a very busy travel cycle so there is another Where in the world is Scrapguy coming!!!!! This time I will be in London, Amsterdam, and Shanghai starting a week from Wednesday! This coming weekend I will be in Kansas City to see my family and there just happens to be a CK Scrapbook Show!
OK on to today's project--I love how easy this one was! Easy and cheap--just the way I like my projects!
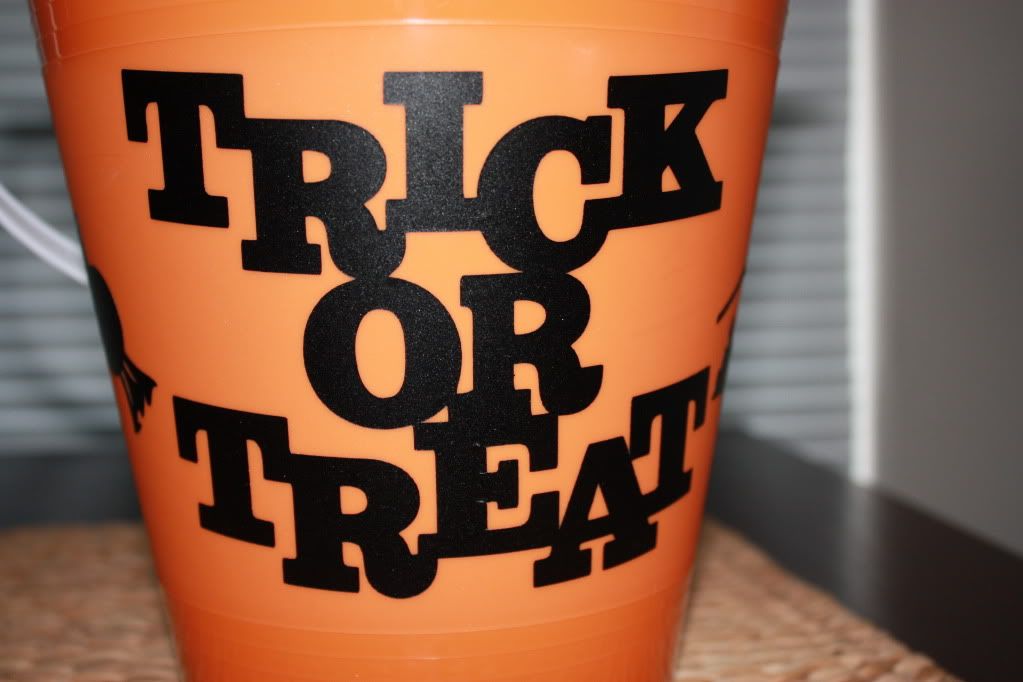 Since Halloween is coming up, and those nasty plastic bags are so not the accessory our little monsters need to be collecting their candy in--I got this bucket at Michael's for $1!! (they also had black, green, and purple). I used Provo Craft black vinyl for all the cuts.
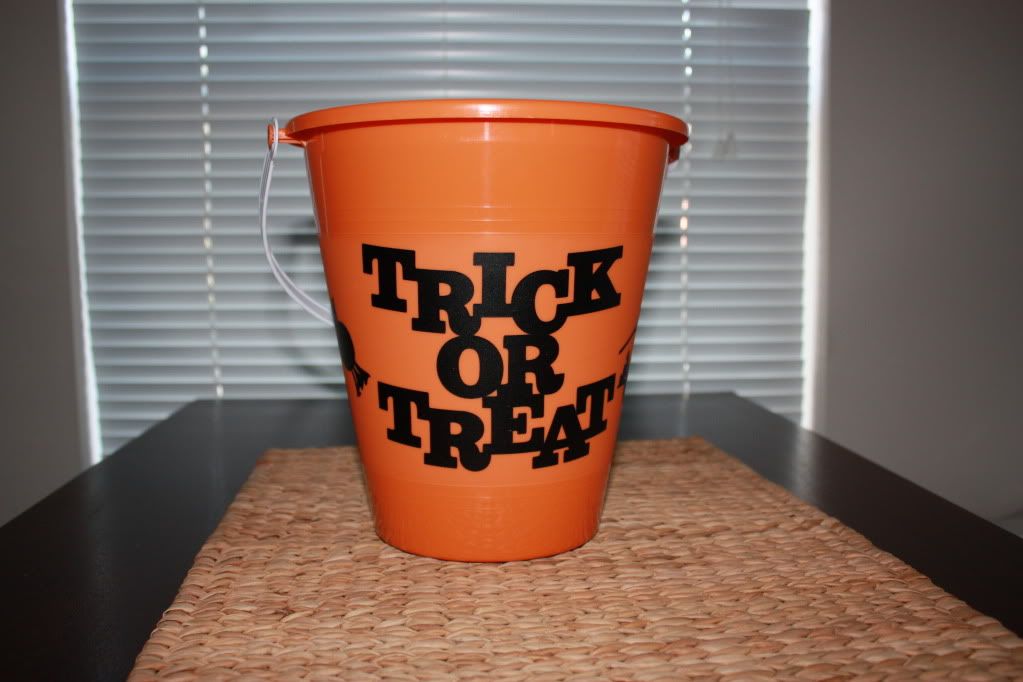 The trick or treat was cut from the Martha Stewart Seasonal Cake Cartridge (a true gem of a cartridge) at 4". If you have never worked with vinyl, once you do--you will wonder "what was I afraid of?' I have to say I have yet to have a bad cut when using vinyl.
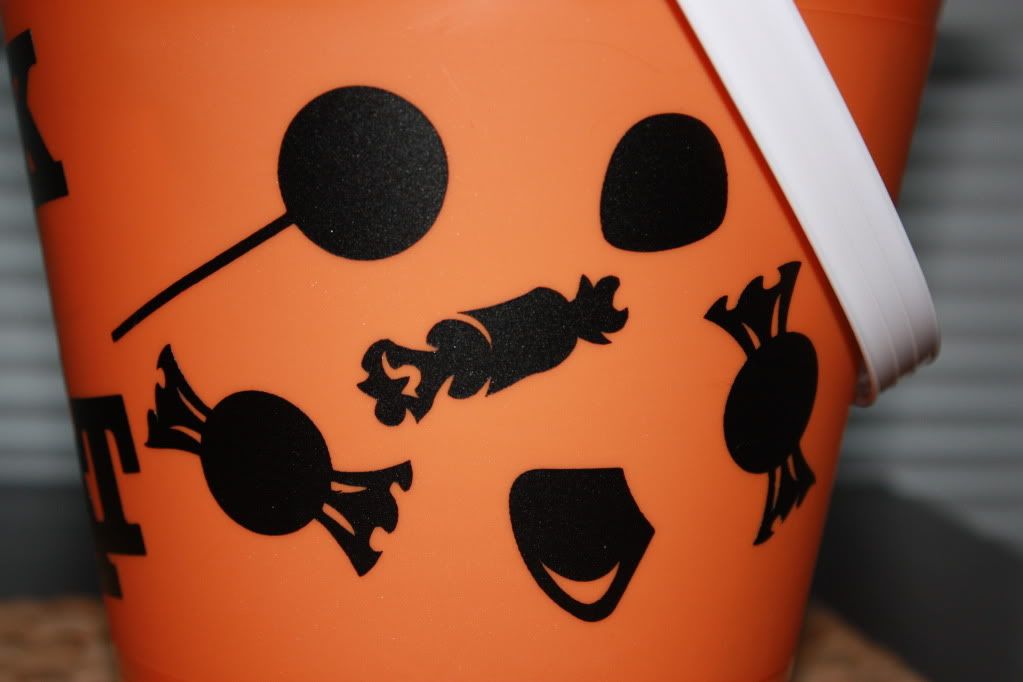
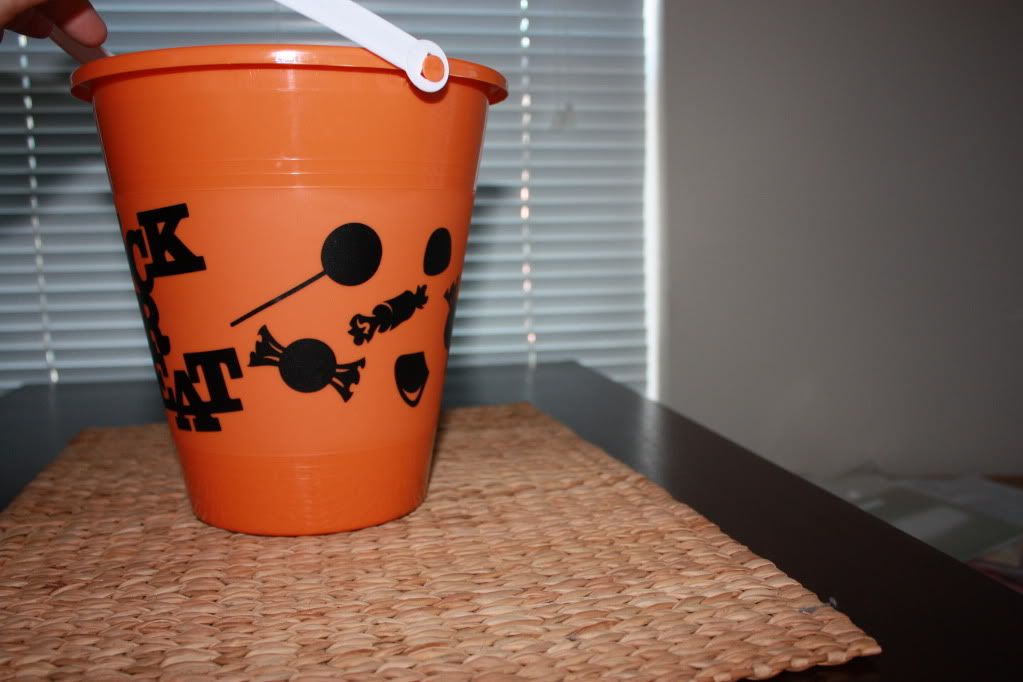 The candies were cut at 3.5" off the Oct 31st seasonal mini cartridge! How fitting, candy on a candy bucket! I did use the transfer tape to apply all the vinyl to the bucket--I promise you it makes the entire process go so much quicker, and placement a breeze!
Since I had everything but the bucket--the project cost only $1 and took 15 minutes max!!!
Make it a great one-
It's October and I am in a very busy travel cycle so there is another Where in the world is Scrapguy coming!!!!! This time I will be in London, Amsterdam, and Shanghai starting a week from Wednesday! This coming weekend I will be in Kansas City to see my family and there just happens to be a CK Scrapbook Show!
OK on to today's project--I love how easy this one was! Easy and cheap--just the way I like my projects!
Since I had everything but the bucket--the project cost only $1 and took 15 minutes max!!!
Make it a great one-
Subscribe to:
Posts (Atom)


