It's Fun Fold Friday and the last post before the big Cricut Imagine drawing!! Exciting if I do say so myself.
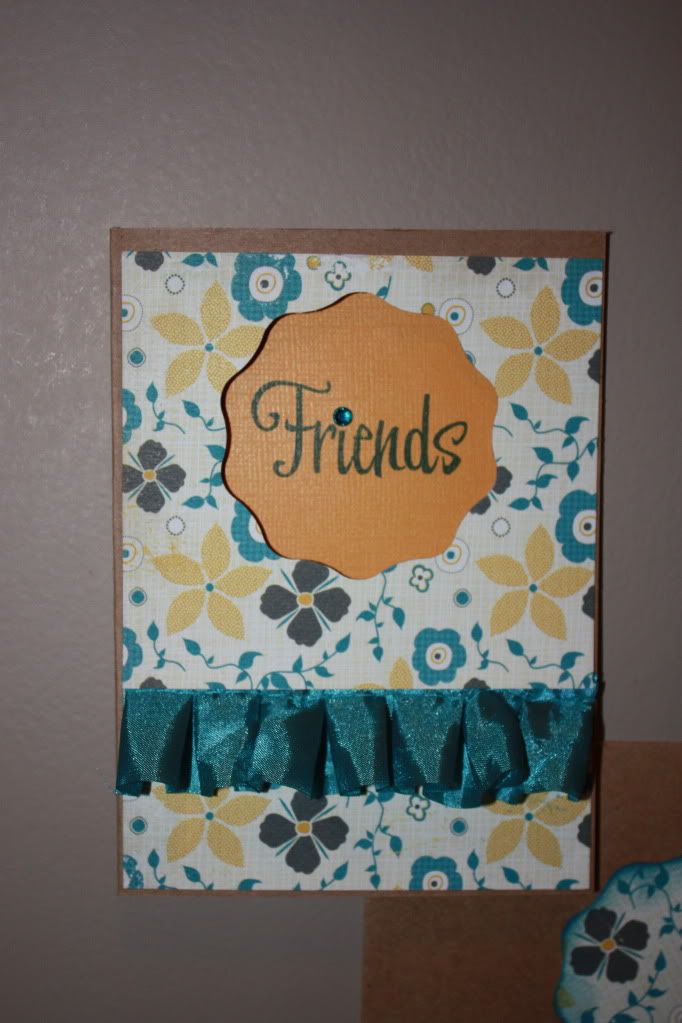
Today I have a simple gate fold the one below is using the Pagoda Cartridge and some origami papers (the floral pattern).
Gate folds are very easy to make!

First you decide what size you want to make the base. Say you want to make a 6x6 gate fold--you will to start with a strip of paper that is 6" wide by 12" long. To form the gates you will score at 3" and at 9". Pretty simple right--so what ever your base is add half to each end and you have it made.
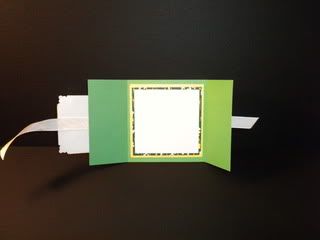
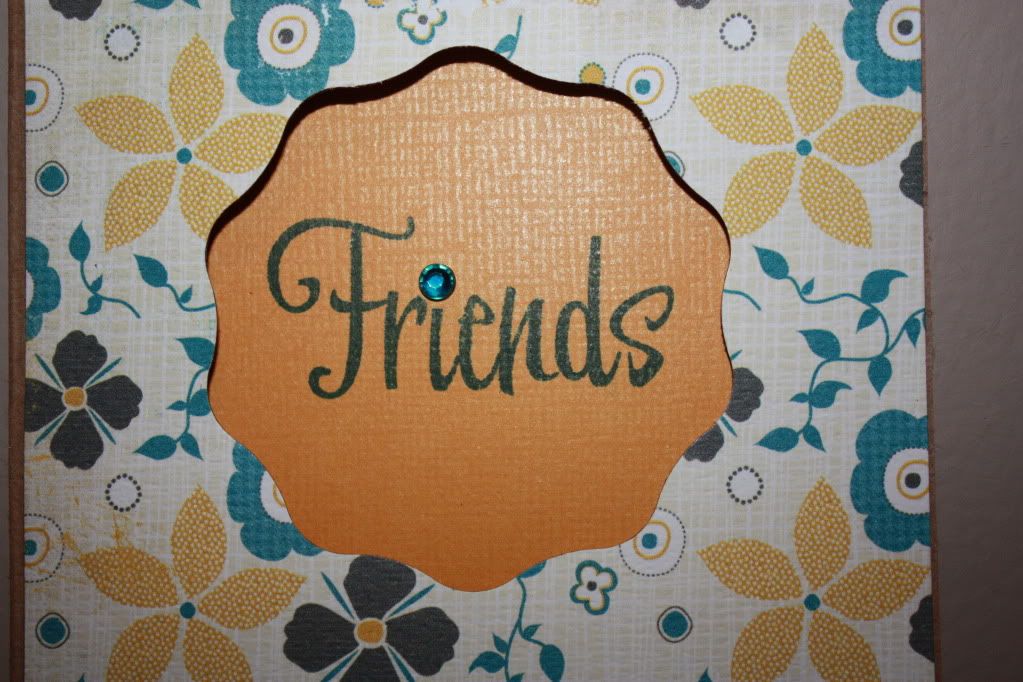
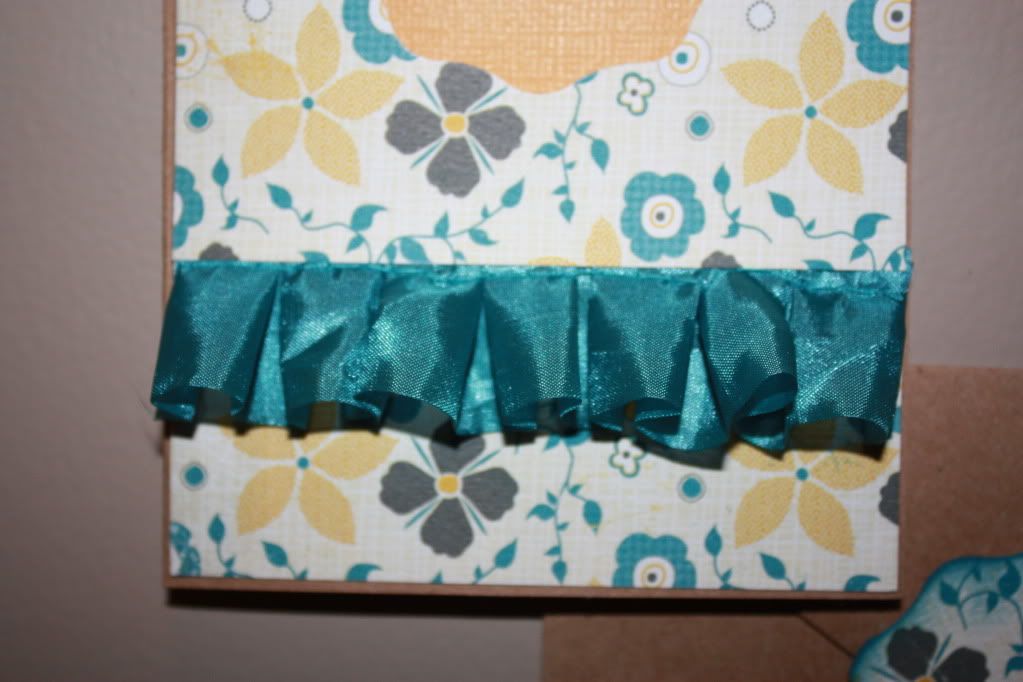
You can close it with ribbon, a big die cut, a spellbinders cut or a stamped image on paper you attach to the front. This one I used a square of white paper and added a die cut on top. I also added some ribbon but that is not needed.

I always like to finish off the inside of my cards so here I did multiple layers and some edge inking. As soon as I get back from Europe I am going to work on videos for each of the fun folds I do. I know some of y'all like to see it done and trust me this one is super simple--anyone can do it.
Remember to leave those comments and we will see you back here Monday for the big Imagine giveaway!
Make it a great one-
Today I have a simple gate fold the one below is using the Pagoda Cartridge and some origami papers (the floral pattern).
Gate folds are very easy to make!
First you decide what size you want to make the base. Say you want to make a 6x6 gate fold--you will to start with a strip of paper that is 6" wide by 12" long. To form the gates you will score at 3" and at 9". Pretty simple right--so what ever your base is add half to each end and you have it made.
You can close it with ribbon, a big die cut, a spellbinders cut or a stamped image on paper you attach to the front. This one I used a square of white paper and added a die cut on top. I also added some ribbon but that is not needed.
I always like to finish off the inside of my cards so here I did multiple layers and some edge inking. As soon as I get back from Europe I am going to work on videos for each of the fun folds I do. I know some of y'all like to see it done and trust me this one is super simple--anyone can do it.
Remember to leave those comments and we will see you back here Monday for the big Imagine giveaway!
Make it a great one-