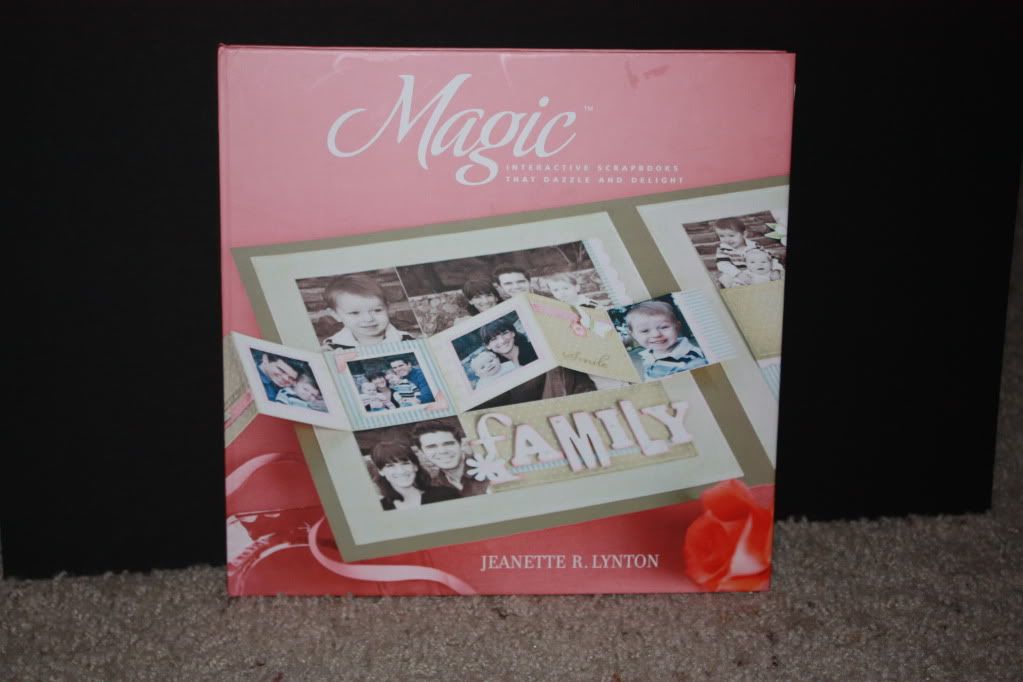
Yes--it is true-- your going to want to make them to! Close to My Heart is releasing their newest book 'MAGIC' on September 1st and it is filled with layout ideas that you can add movable parts to make you layouts CRAZY COOL and the talk of the crop!
The books has is 128 pages of scrapbooking goodness. With more than 35 layouts and just as many detailed instructions on how to add movable parts you will be turning out full finished jaw dropping scrapbooks like never before. A CD that demos the techniques and has tons of templates is also included.
The books goes on sell on September 1st and the item number is 9034! You can order it or any of your CTMH needs by visiting my website--www.bryanwyatt.myctmh.com!
Head on over to Everyday Cricut to see one of my favorite layouts from the books that I put my own spin on.
When I saw this one in the book I knew this was going to be the first of many waterfall projects! This layout can hold up to 12 photos! Not only does it have a WOW factor with the movable part but you can load it with pictures too!
It's Monday, and I am off to the races this week. On my way to Salt Lake City early this week and then off to Canton Ohio--yes Ohio, for the Nation Football Hall Of Fame Weekend!!!!!!!
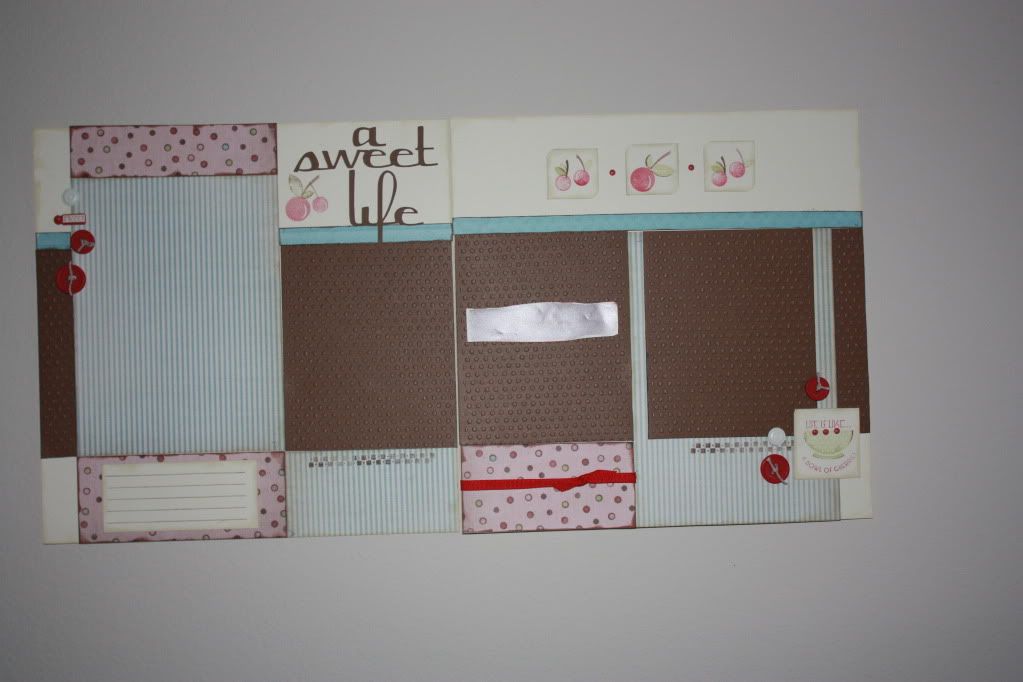
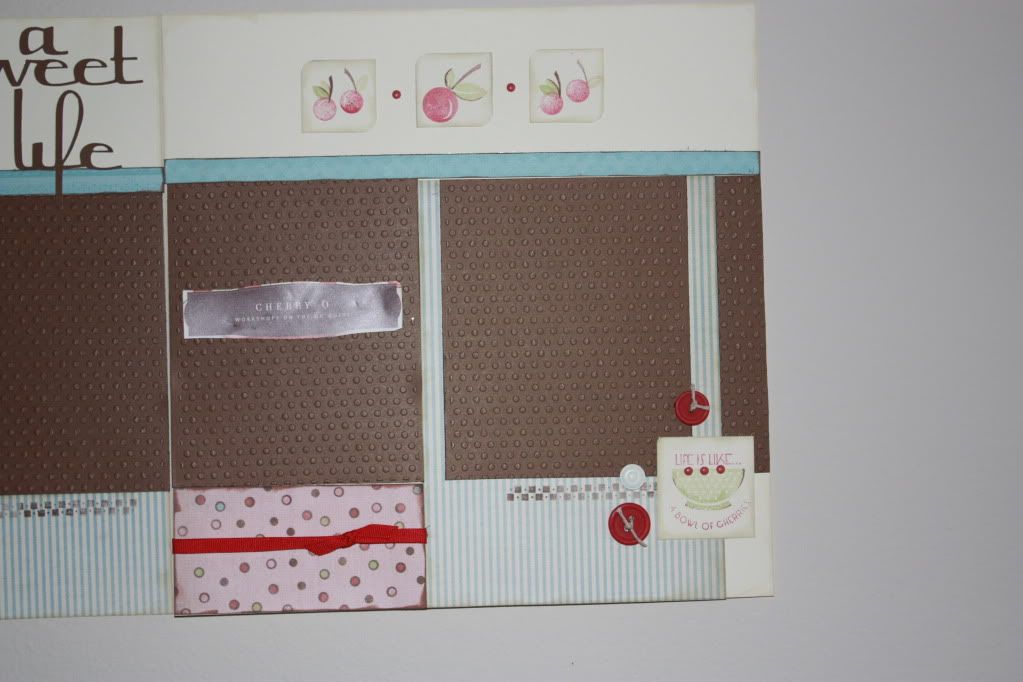
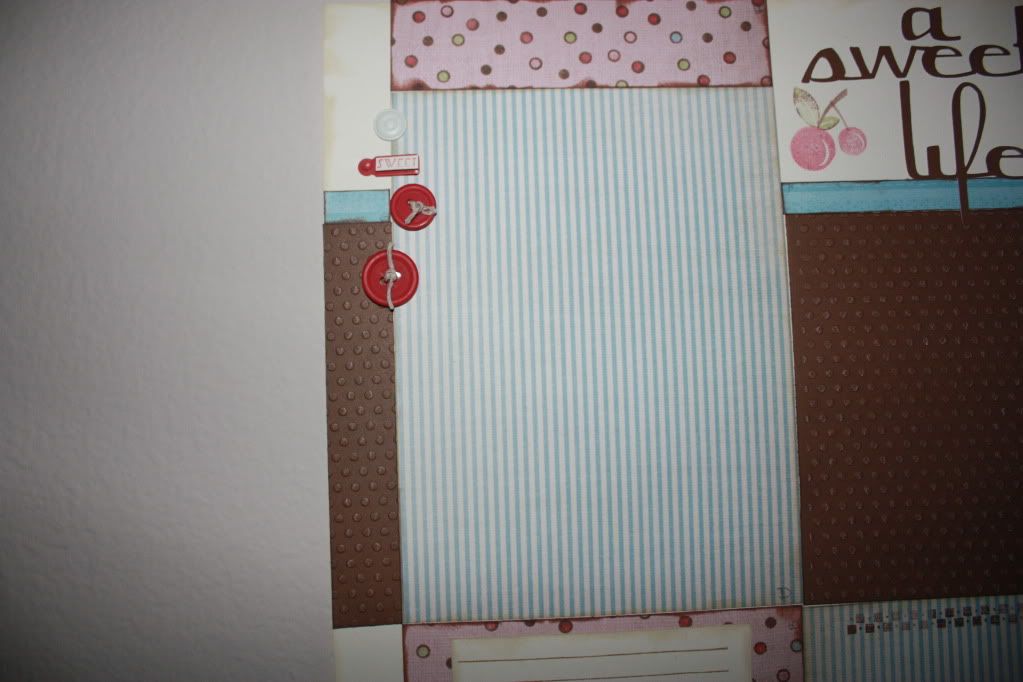
Last Friday I posted about the Close to My Heart Clubs I have going. I have had a number of questions and I will try to answer them at the end of this post. I really want to show you what the Workshop On the Go can do! In the workshop guide there are detailed instructions for a double page scrapbook layout as well as directions to make 6 cards (2 each of three designs)--and you still have more than half of the paper left! Here is the layout from the Cherry-O Workshop On The Go:
There is room for 4 photos and a journal spot! Here is a short video-
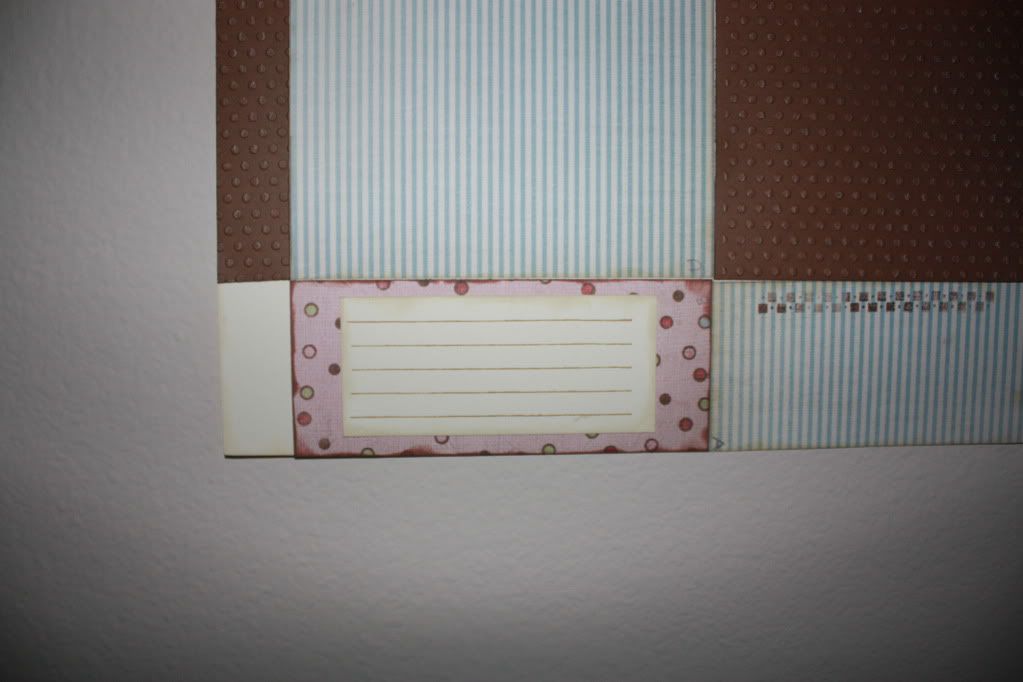
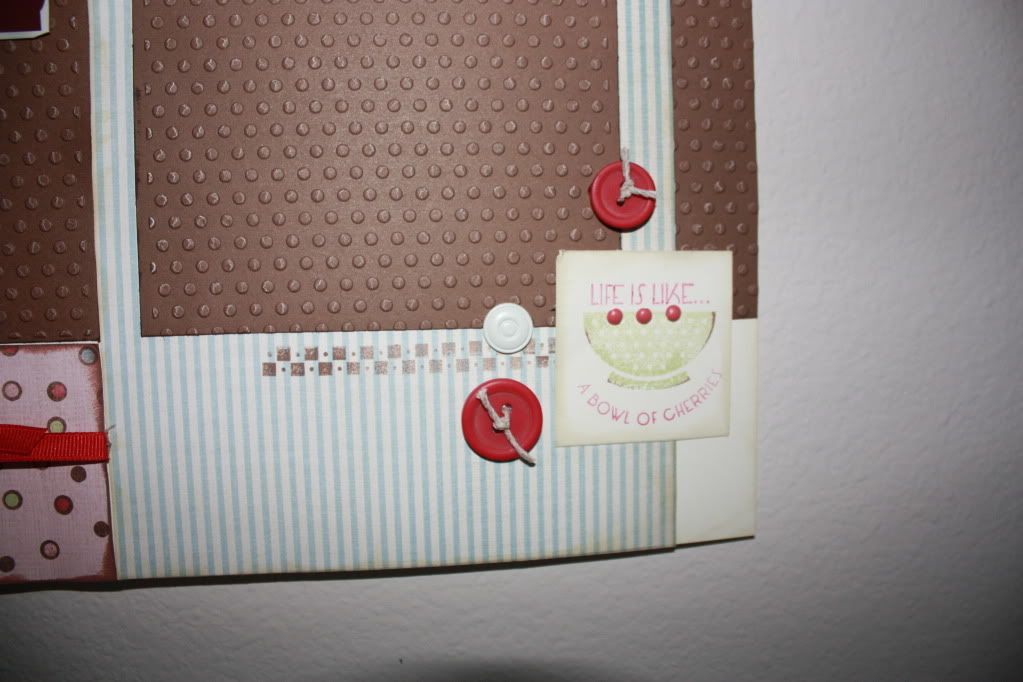
Here are some detail shots-
I used my expression to cut the title--you could also stamp this
I also used the cuttlebug and the new polka dot 5X7 embossing folder
I used another CTMH stamp to add lines for the journal block--
Some of the great embellishments included in the workshop kit
Even after I did this double layout and made 6 cards (that I will post on Wednesday) I still have more than half of the paper left! Think of the projects you could still do with the left overs!
Let me try to answer some of the questions: How much is shipping?
Depending on the zip code it will be between $6 and $8. It also depends on what all you purchase. I will ship the most reliable and inexpensive way I can. Is this only for US Customers?
If you do not live in the US--please let me know what country and I will let you know the shipping that would be. If you are interested, e-mail me (scrapguyblog@yahoo.com), to every problem there is a solution! What is the size of the paper pack and what can it make?
All of the papers are 12X12. There are 12 double sided pattern papers, 10 sheets of solid card stock that work back to the pattern paper, the workshop guide, an exclusive B sized stamp set that can not be purchased any other way but through the Workshop On the Go kit, and some sort of embellishments. The kit has directions for one double page 12x12 layout and 6 cards, but there are enough papers to make more than double that!!!! What benefits do club members receive?
Right out of the gate you will get the new idea book that starts September 1--and let me tell you it is GREAT!!!!!!!!!! Each member will be a host/hostess for one month and receive all the hostess rewards for that month, a minimum of $25 in free select product. I will be doing videos for each workshop as well as one additional project with the workshop papers. There are lots of other things...email me and I can send you a full breakdown of the additional benefits.
To all you who have already said sign you up--watch for an email from me with more details! Thanks so much for stopping in today! On Wednesday I will share the cards made with the Cherry-O Workshop and Friday is an additional project using the papers!
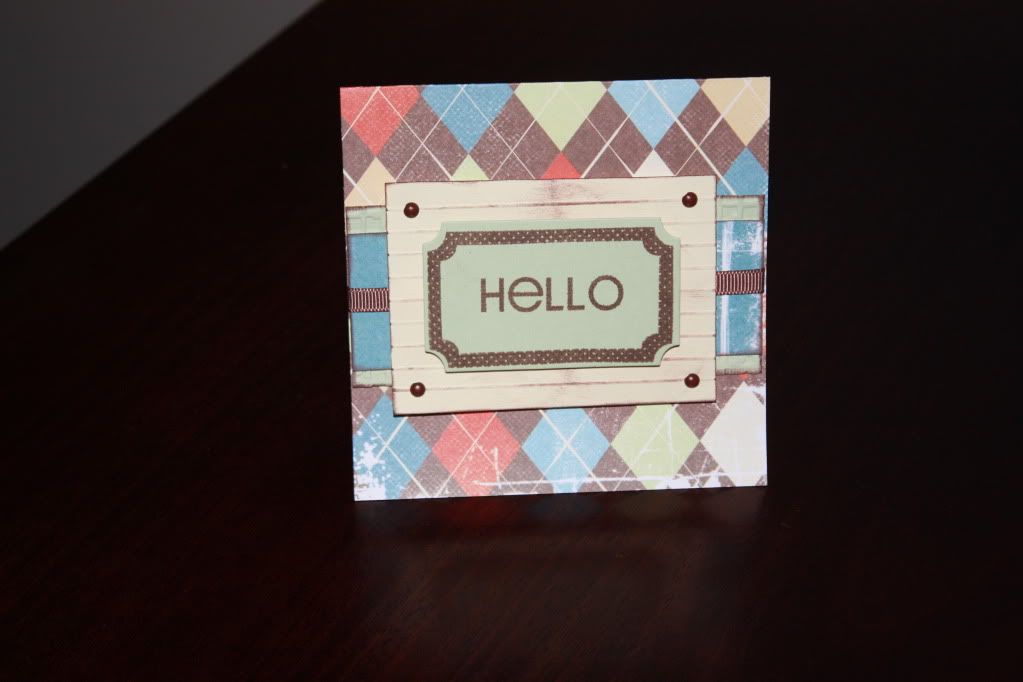
Good Monday morning to you all--hope your weekends were great and filled with at least a little craft time. I made this quick and simple card.
I used a double sided paper for the base. picked up a couple accent colors.
Base is 4 1/2" square. Let me show you the layers:
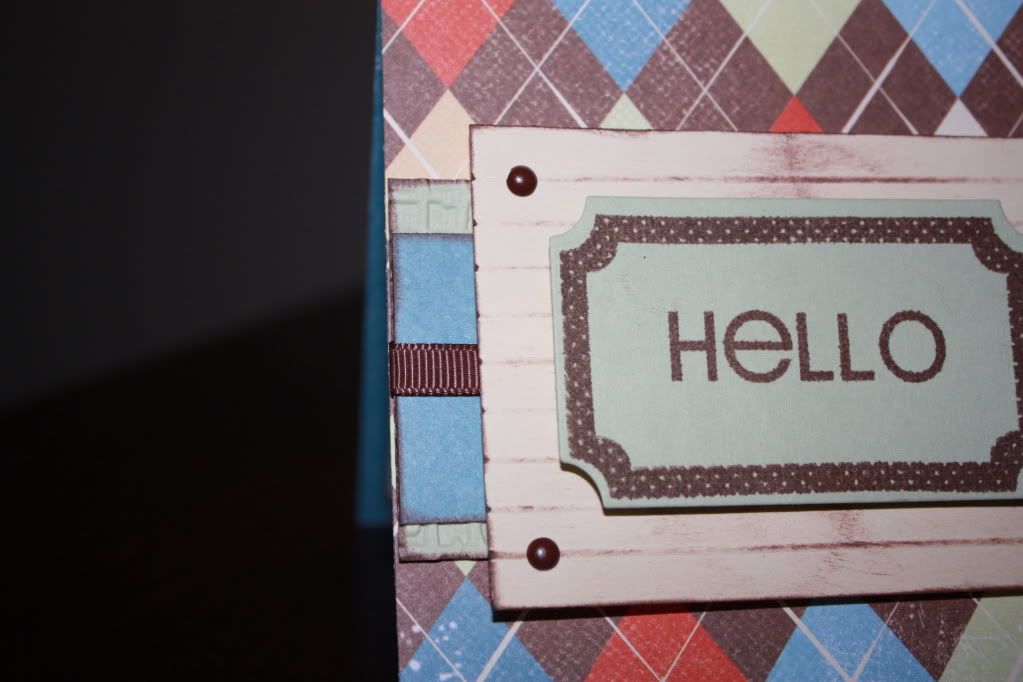
The green layer is 3" x 4 1/2"; used a Tim Holtz embossing folder to add a little texture, and ran ink around just the edge.
The blue layer is actual the other side of the pattern paper (using up scraps) with ink around the edge cut at 2 1/2 X 4 1/2".
I then added 1/4" gross grain ribbon
The creamy yellow layer is 3 1/2" x 2 1/2". I used my MS score board and scored the paper at every 1/2" inch and took my trusty ink to the paper for an aged look.
The sentiment is done on the same green as the blow layer and cut/stamped with a Paper Trey Ink Fillable Frame and stamped in CTMH chocolate ink.
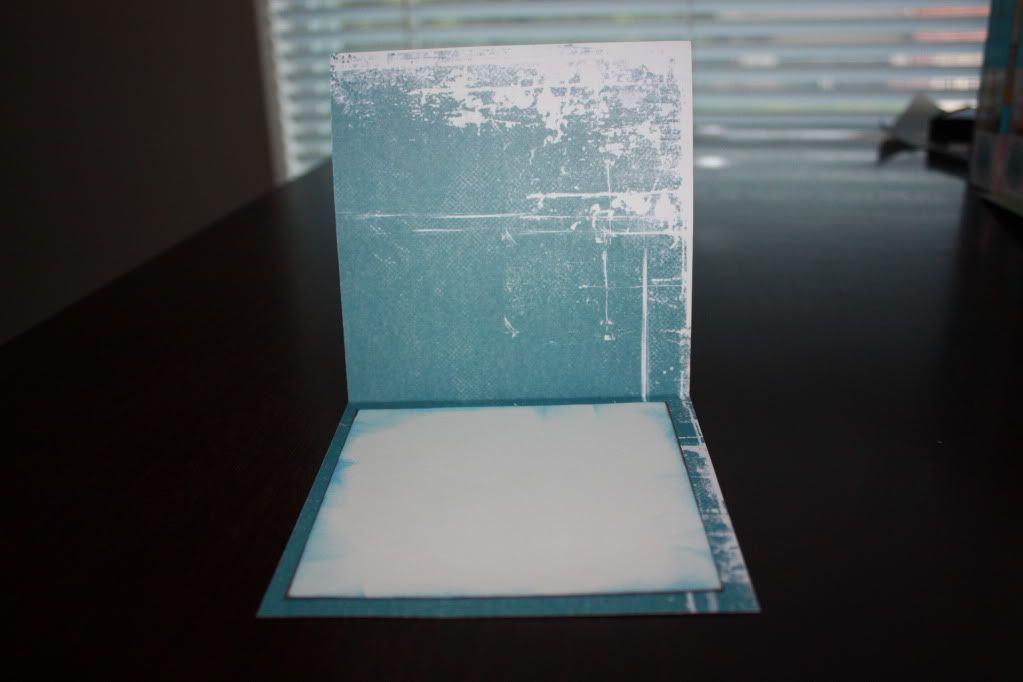
I added a 4" x 4" square of white inside and double inked the edges with denim and chocolate ink.
Super Simple.
Make it a great one!
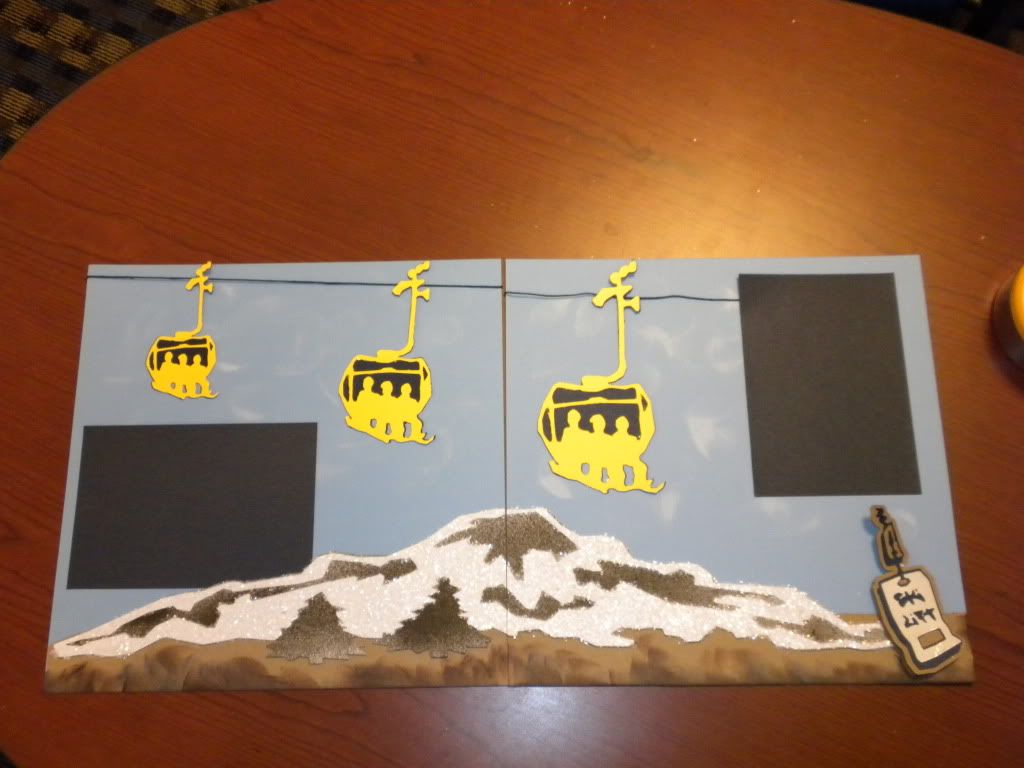
OK--so I have the finished layout and a video of how it is put together.
It is a double page layout with two photo blocks for a 4*6 photo. Photo mat is 4.5*6.5!
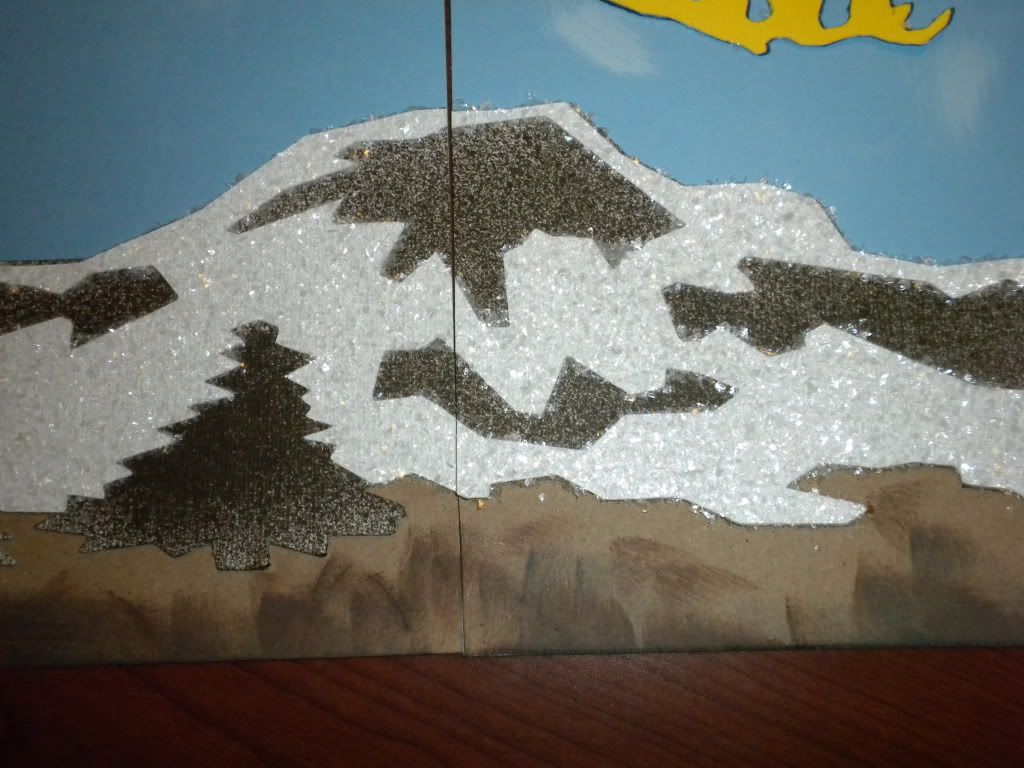
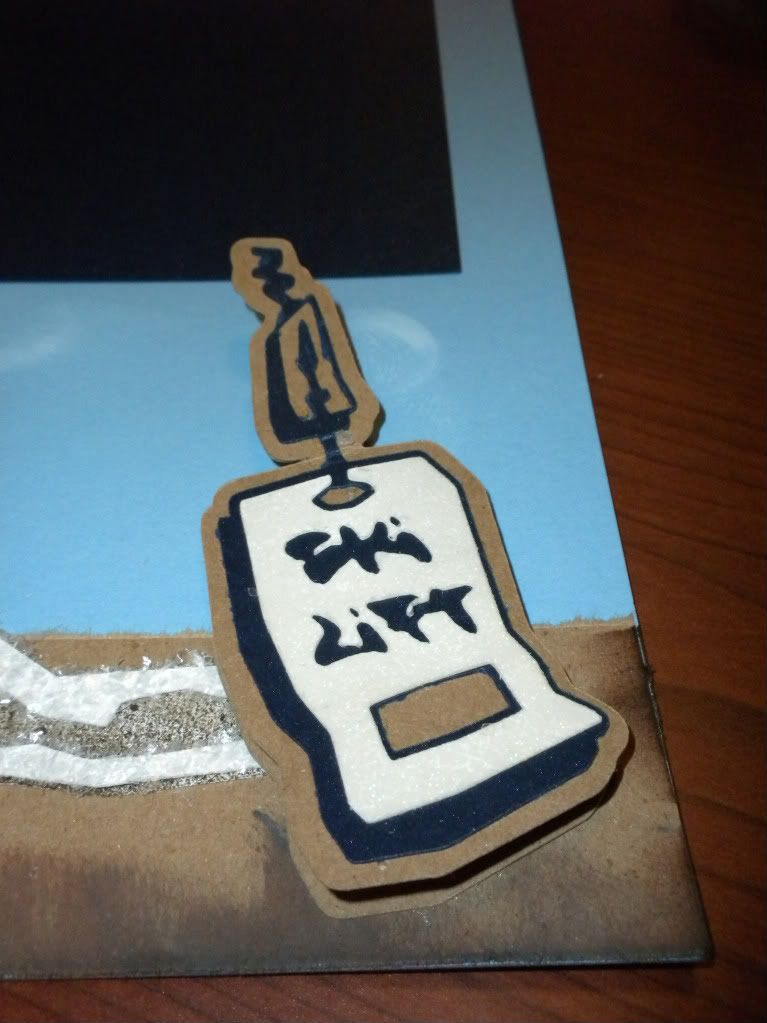
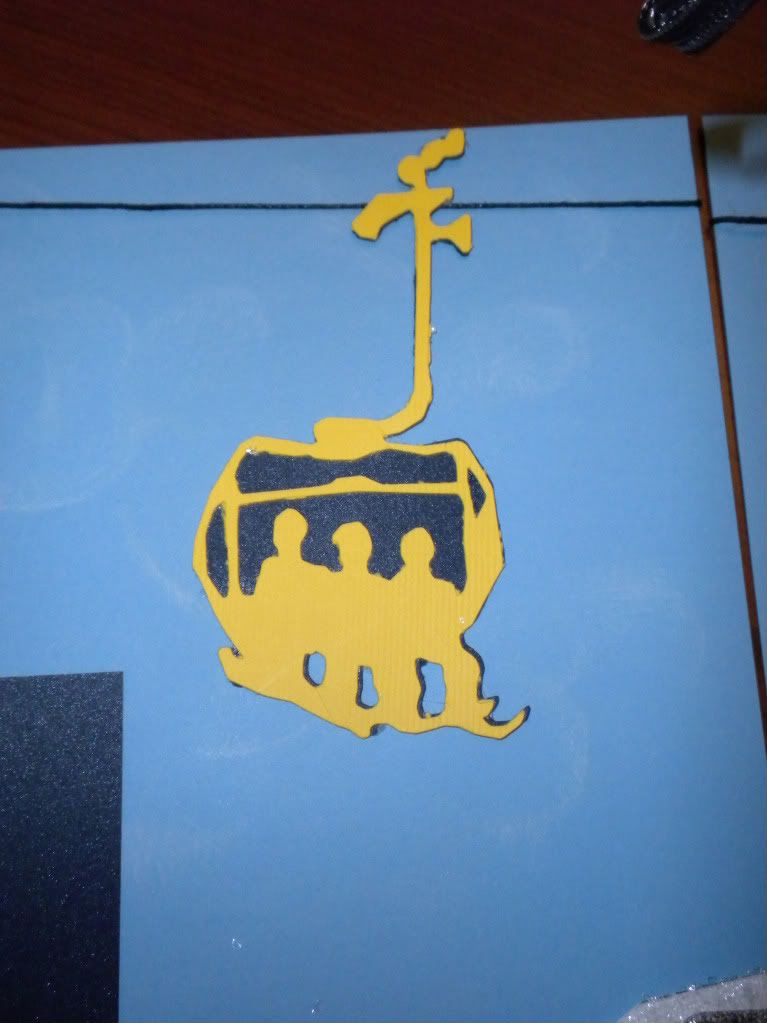
I used some twine for the lift wire and flake glitter from Martha Stweart for the snow.
To expand you photos on this layout you can use Clost to My Heart Photo Flip Flaps (item Z4114). These can be used right on top of your sheet protector. Not only do they give you more spaces for photos but they also can make your scrapbook interactive and 3D!
YEAH--it's friday! Hope you all had a great week. I am so excited about today's layout I almost showed it to you all yesterday. I want to make sure to give credit where it is due and the idea for the honeycomb cut out did not come from me but I have added my personal touch to it.
Double layout where I used the Cricut Just Because Cards Cartridge for the sentiment and the honey pot and I used Cricut George for the octagon. I used my gypsy to place the cuts for the honeycomb and then used one of the scraps to trace the rest to form the pattern.
I the detail shots below you can see where I used a CTMH bee stamp and used clear embossing powder and my heat gun to finish off the bees. I added two tones of yellow bling because everything is better with a little bling! All of the sections that have bling are also pop dotted to add some 3D effects. I love my cat eye chalk ink so i used them there as well.
The honey pot was cut at 15", yes 15". Because the items on this cartridge(for the most part) cut in relation to the size of the card--I had to play with it a bit-
I used the stencil and stencil shadow for the sentiment and it was cut at 4". Of course I inked this cut as well.
I used a triple layer photo mat for 4X6 inch photos. I added a 1/4" to each layer (4 1/4" x 6 1/4" for the top mat add 1/4" for each additional layer). I used two prints and a solid middle layer that I sent through the cuttlebug using the screen folder from the asian bundle and a little chalk ink.
Hope you enjoyed this layout--I love the way it turned out! Don't forget to check out Everyday Cricut in the morning as I have a few fun Father's Day items to share!
Have a great day!
One day closer to the weekend!!!!! Today I have a card that I made using my cuttlebug to cut rather than emboss.
I found a great deal on a die at Oh My Crafts for next to nothing and thought it would be perfect for this group of projects. I sent them through the sticker maker to make it easier to attach to the card base.
I cut the bee hive from the Cricut Sentimentals Cartridge. I cut the shadow in a rich orange color and sent it through the cuttlebug to add texture. I cut the base base cut in a scrap of brown shimmer card stock which I think adds a little bling but not to much!
I added a strip of ripped kraft card stock along the base to allow for a grounding layer. I used some deep brown ribbon and the same CTHM stamp set I used yesterday. As I looked at the finished card, or what I thought was finished, i thought there was something missing--and I decided that it was the buzz lines that were missing--used a brown marker to add them in!
I have been making a lot of cards lately and this has to be one of my top 10. It's not perfect but it is unique!
I have a great two page layout to share with you to round out the week. Don't forget to check out Everyday Cricut this saturday for some great Father's Day treats!
We have made it to Wednesday and I have a super simple card today. I am still using the same papers from yesterday's video.
It is simply two cutes on my paper trimmer. I wanted to break the two blue papers up so I took a scrap of paper and punched it with the SU edge punch. I used the EK Success punch that I showed in yesterday's video for the tag. The stamp set us from CTMH and was the small set on the back of the first book this year. Simple and fast!
Thursdays card is a keeper and Fridays layout makes me smile--see you in the morning
Wow! This week is going to be crazy--as I am leaving on a business trip to Asia on Aprils Fools Day! Before the worry of the week distracts me--I wanted to send a BIG THANK YOU to all of you who left comments this weekend on Everyday Cricut and here on my blog! The response was overwhelming and more than I ever thought! I have read every comment (over 700 in all) and have taken notes of some requests for more VIDEOS!!! I hear ya and promise that in the coming weeks I will address this request!
So here is your thank you!
I used the same top note card I posted a cut file for on Saturday! This time it is much more casual!
I used Core’dinations card stock for the solid aqua blue and My Mind’s Eye pattern paper (a multi color stripe and an orange polka dot). I stamped THANKS using this month’s exclusive set of stamps from Close to My Heart (so glad they showed up on Friday!) and a button with Jillibean Soup wooly twine in chocolate!
Again Thanks a Million for the words of support and encouragement! I am so excited to be sharing with all of you! Come back on Wednesday to see haul video from Two Peas in a Bucket!
Just an average guy that loves the idea of scrapbooks. I travel a lot for work so my Gypsy is never far from my side.
You can contact me at scrapguyblog@yahoo.com