Showing posts with label Card. Show all posts

Thursday, November 17, 2011

Siple card and a give away

Happy Thursday--so glad the week is almost over. It seems I have I have been on the road and in big meetings for the past month for work but all have paid off with some great new business and strong existing sales. Got to love when business is good.
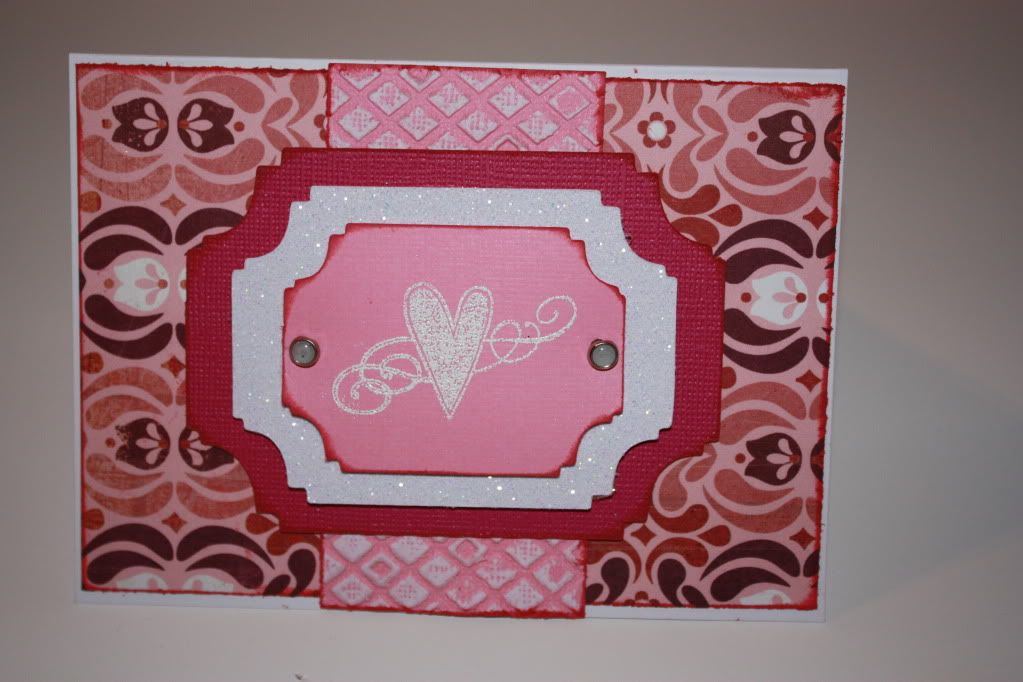
Today I have a simple birthday card to share.
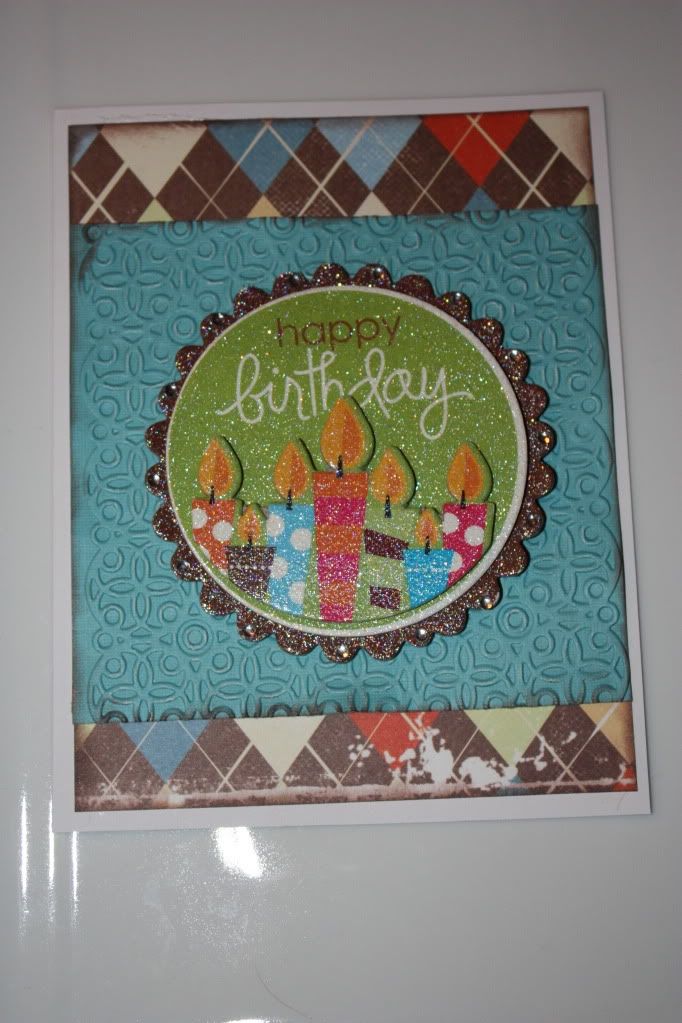
The paper was scraps that I combined with a large store bought accessory. Took only minutes but supplied a last minute card with some punch.  I also added texture with an embossing folder and my cuttlebug.


On to the give away. Sarah and Kyle at Pink By Design are super awesome people and have been kind enough to give me an opportunity to do a give away. Here is how this will work. Be a follower and Leave a comment here and over at the PBD blog (here is a link) and you will have double the chances to win a $25 gift card to the PBD store to pick up some pre holiday goodies. I will announce the winner on Friday so this is a one day give away--so leave the comments and come back to see if you are the winner!

make it a great one-

Monday, March 28, 2011

Trying it out---not sure it worked

Greetings from Barcelona Spain.  Weather here is BEAUTIFUL!!!! I went to the Picasso museum and had to wait in line for over an hour!  It was crazy busy but soooo worth it. 
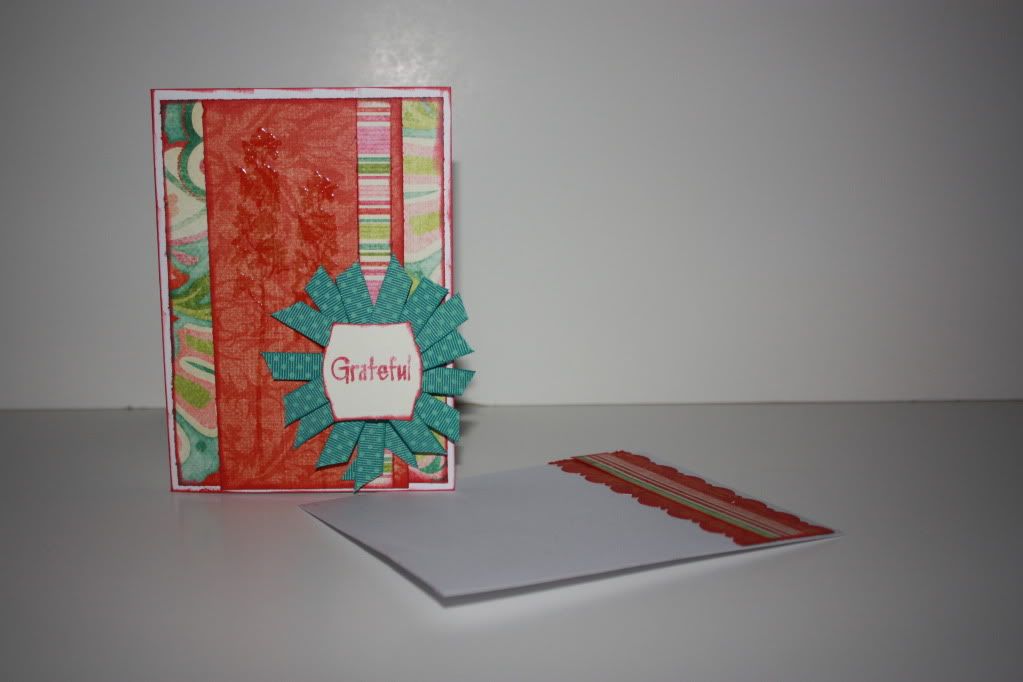
OK so I thought I would test out my theory that heat embossing works on every project-esp if the clear  powder is used.  I used some My Minds Eye paper and some Doodlebug Ribbon, my spellbinders and of course some CTMH stamps!
I have to say the flash has helped out the embossing but I sort of like the results. 

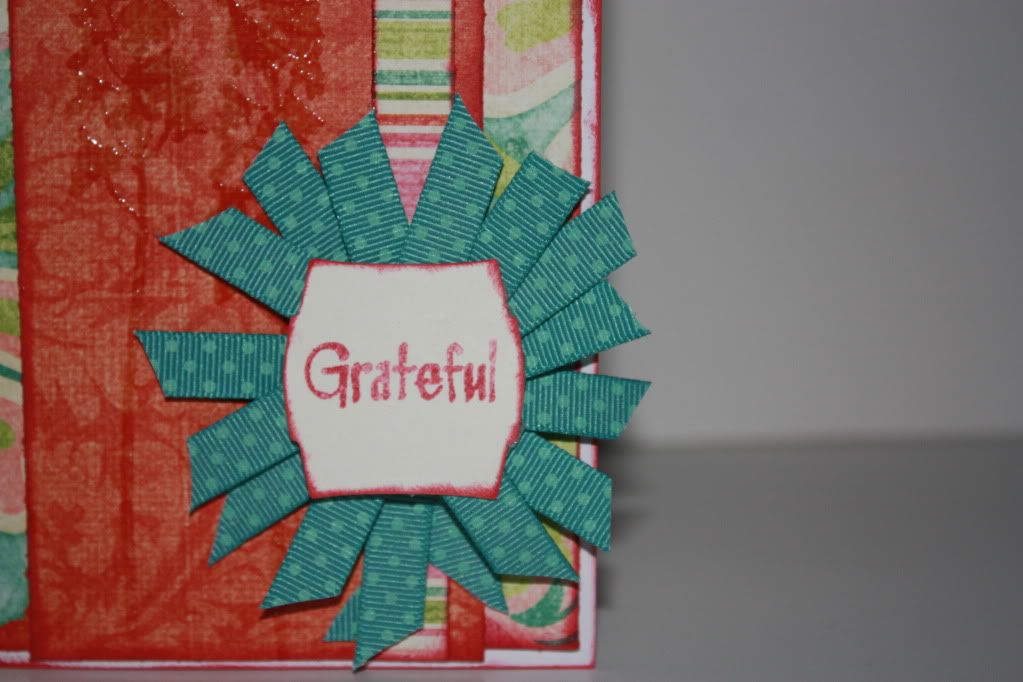
A close up of my home made ribbon embellishment.  My tiny stapler from Tim Holtz and a few sticky dots work wonders!
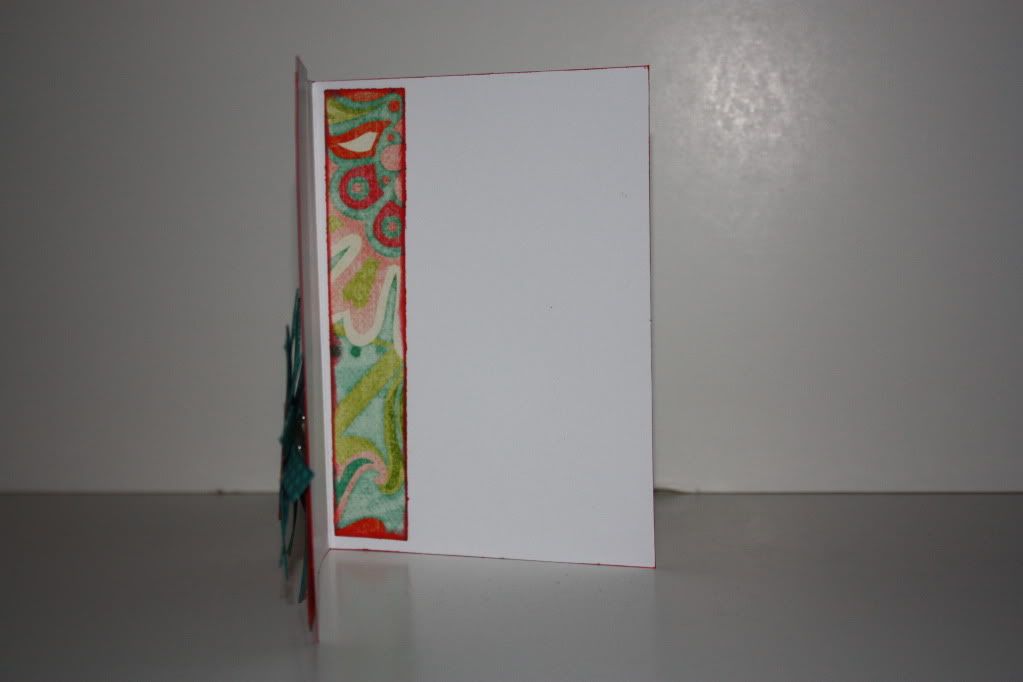
I finished off the inside with a bit of paper and inked edges.
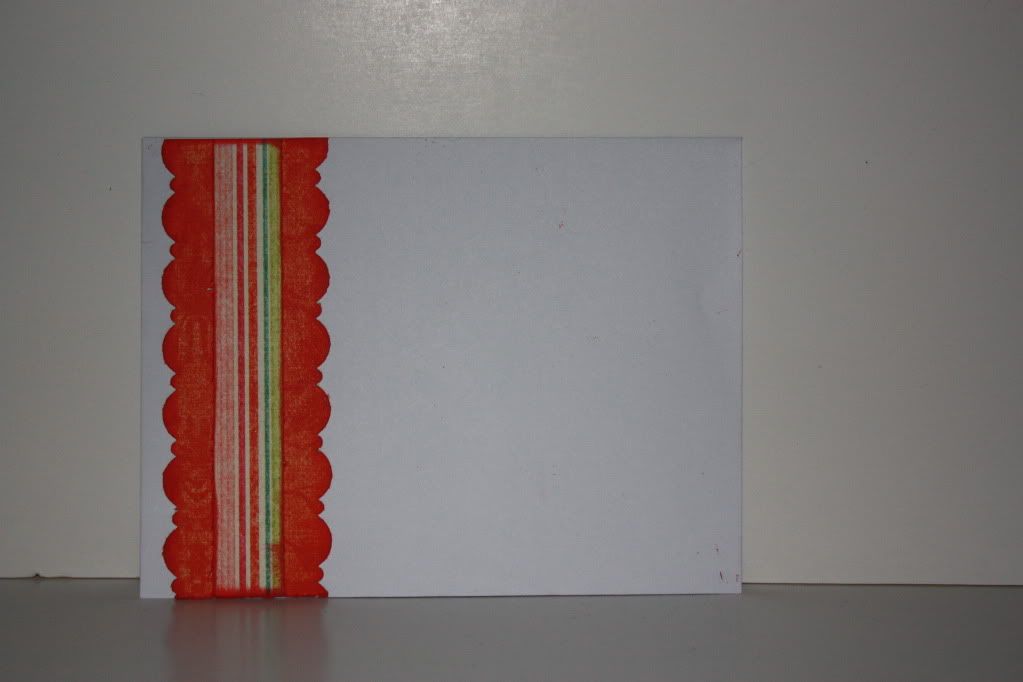
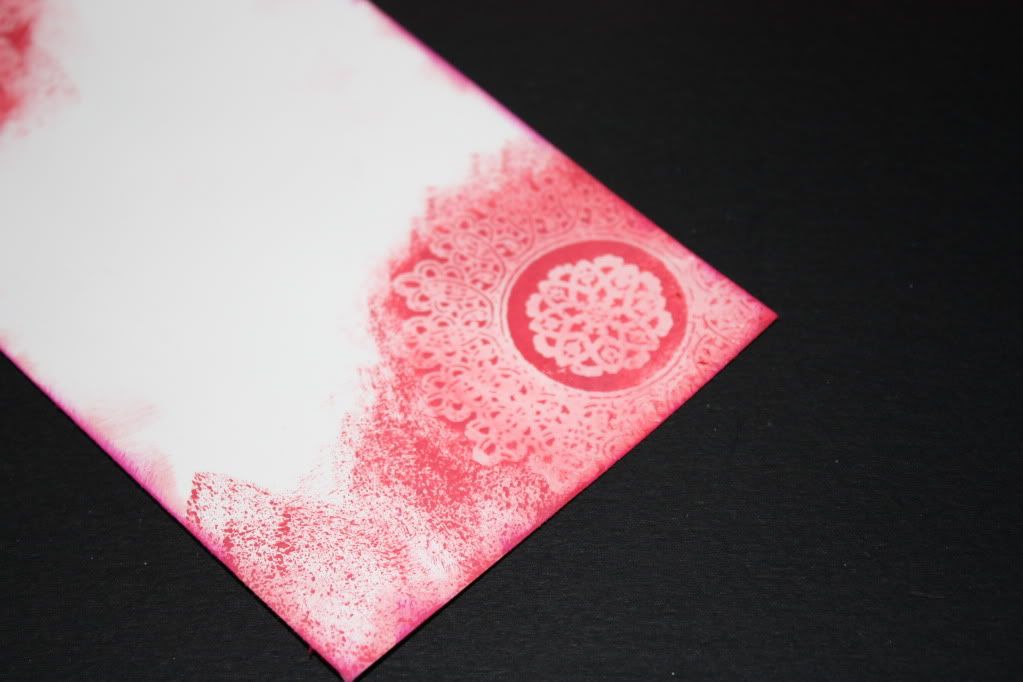
I had to make the envelope nice as well--here I used a fiskers edge punch and some ink.  Nothing fancy just enough to make it pretty!
See ya back here on Wednesday--I will be in London and packing to return home but I made a project before I left so not to leave  you all high and dry.  LOL. 
Make it a great one


Friday, March 25, 2011

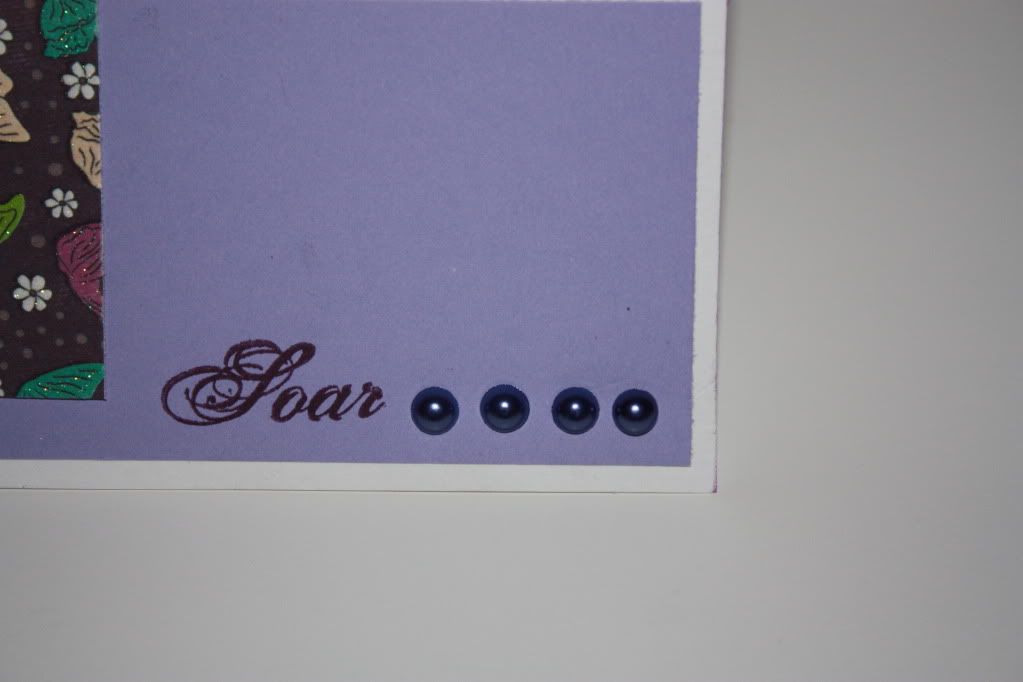
soar.........

It's Friday and I am in Italy--can I tell you how much I LOVE PASTA AND WINE!!!!  Headed to Spain over the weekend but man I could just live in Italy!!!!  OK on to the card for today.
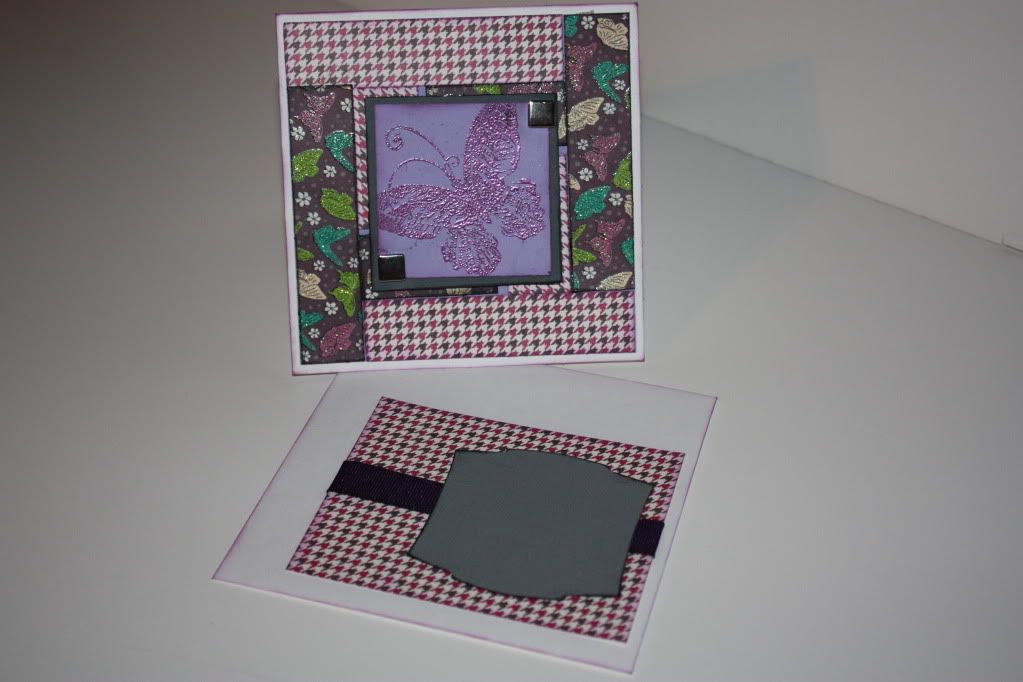
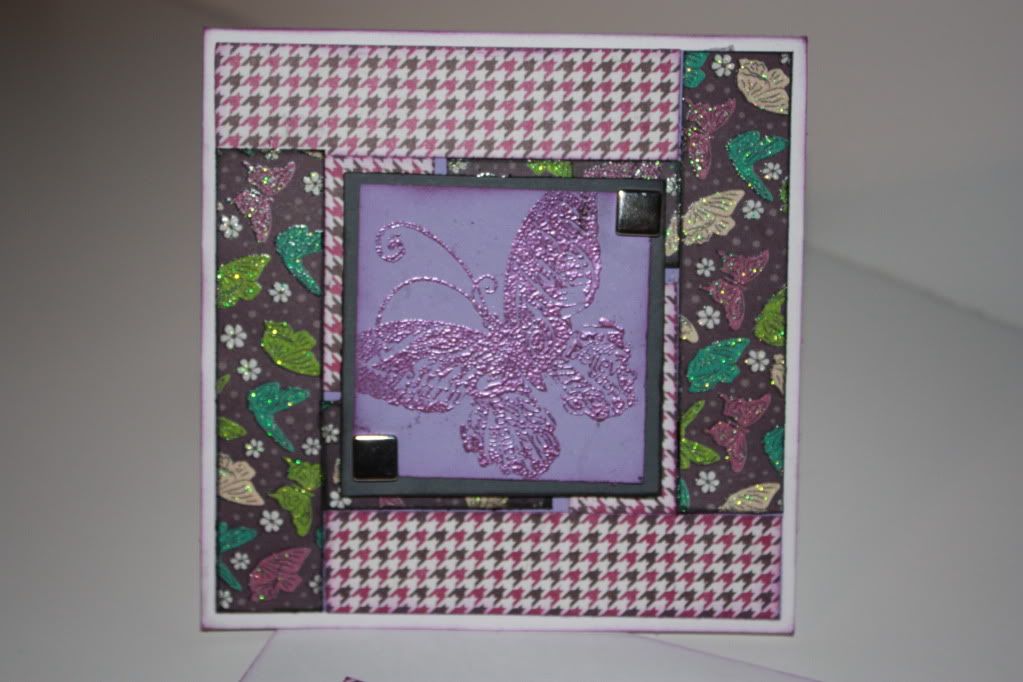
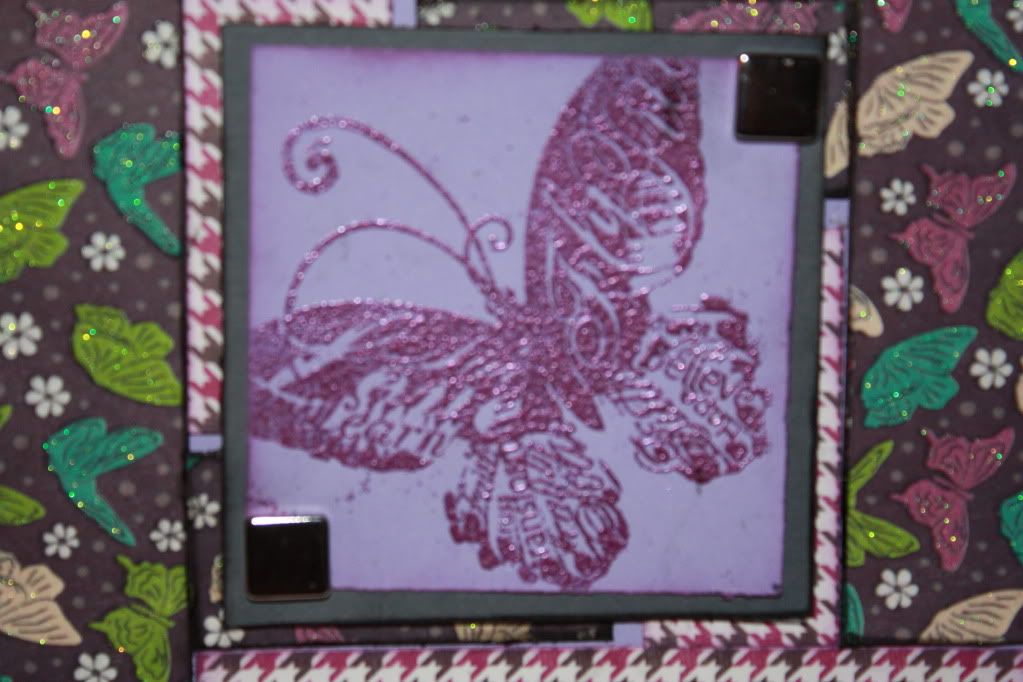
This card was made using a DCWV small stack that I have had for ever and here again my supplies were meant to be used together--this was the stamp of the month from CTMH in January.  I love heat embossing (not very good at it) and here I did the butterfly with great words in it's wings.


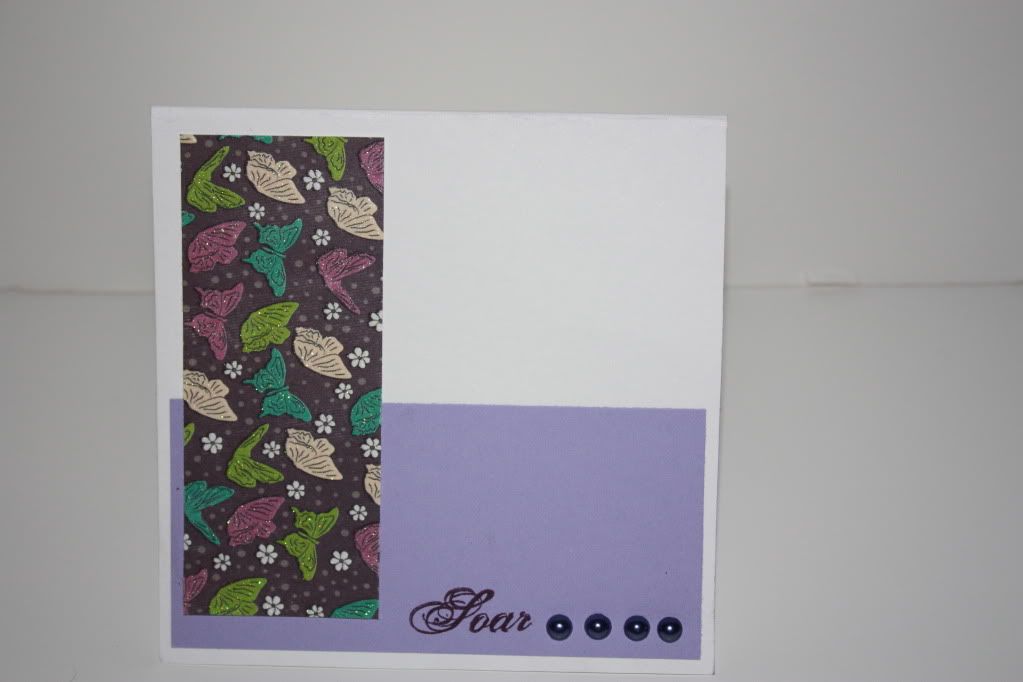
Well I was told by an uberawesome scrapper (happyhappyjoyjoy) that finishing the inside is easy--and you know--SHE IS RIGHT!!! Here I added a one word sentiment and some pearls.  All the papers were scraps from the front.


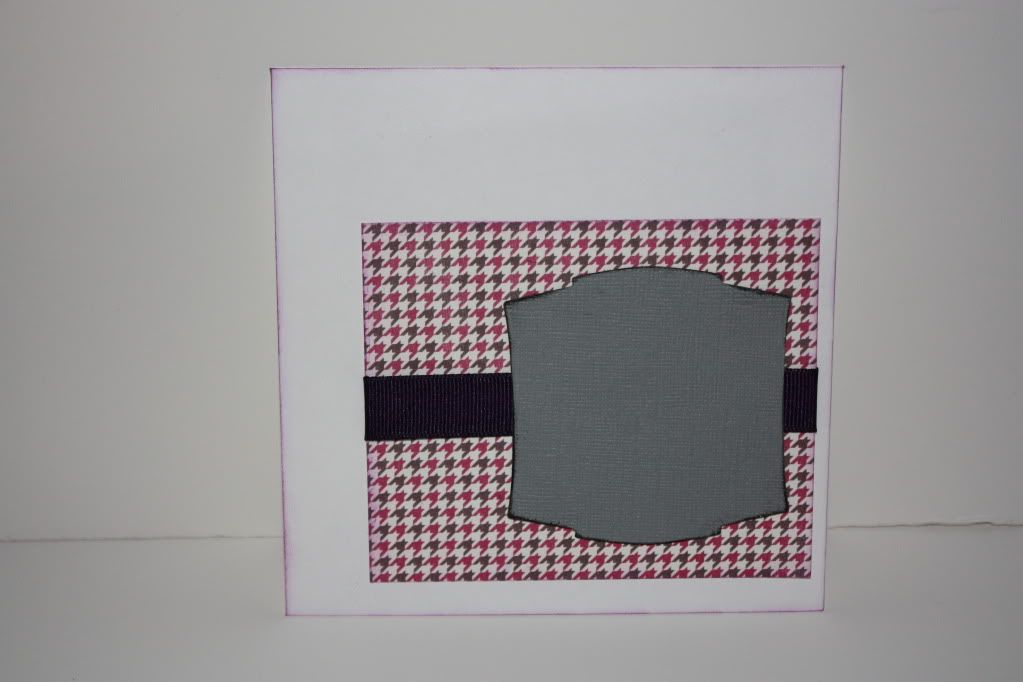
And my envelope------
Everything is attached well so you could mail it if you needed to--I love adding a bit of ribbon to finish it off--and for the cost of one roll you can get tons of projects out.
This is my weekend at Everyday Cricut--so make sure to check in both here and there on Saturday.
Make it a great one-
Wednesday, March 23, 2011

Take me away.....

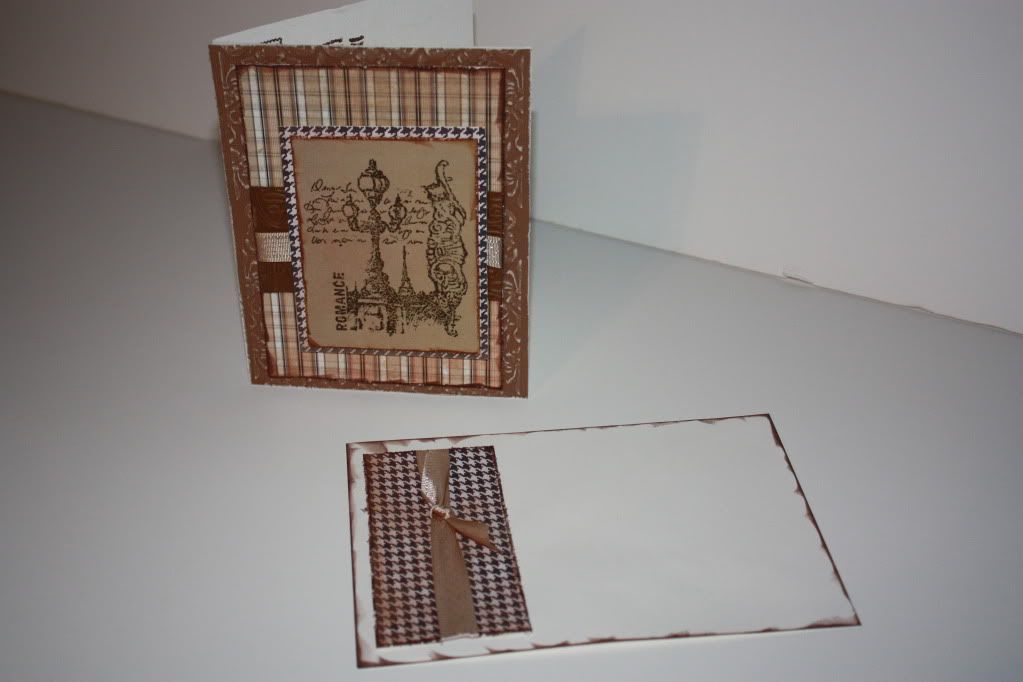
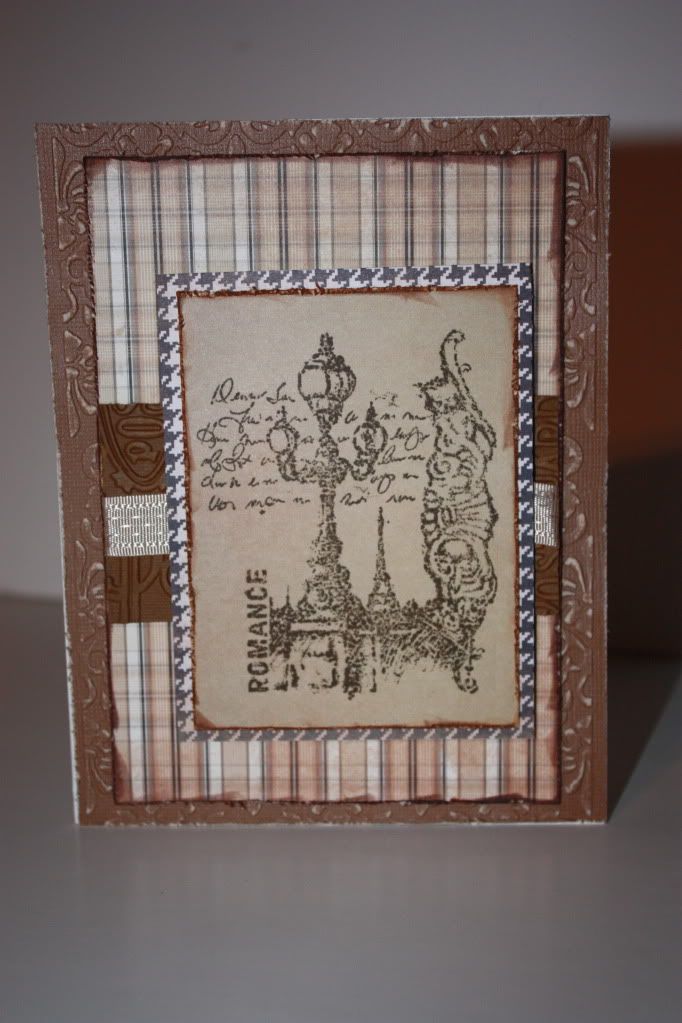
In the most recent Close to My Heart Idea Book--there is some great travel stamps.  I simply had to have this set that looked like postage stamped and wonderful old buildings.
I used a DCWV Small stack called neutrals for this and two different embossing folders.  This stamp set is called Ciao (D1461).
I used the Cuttlebug to emboss and the large matte was the damask folder from provo craft and the brown across the middle was a Tim Holtz Sizzix folder that has postcard all over it--love it!!!!  I love when my supplied magically go together so well!  I used some hem tape from Joann's for the ribbon across the center--thought I needed to break up the browns with a little neutral.

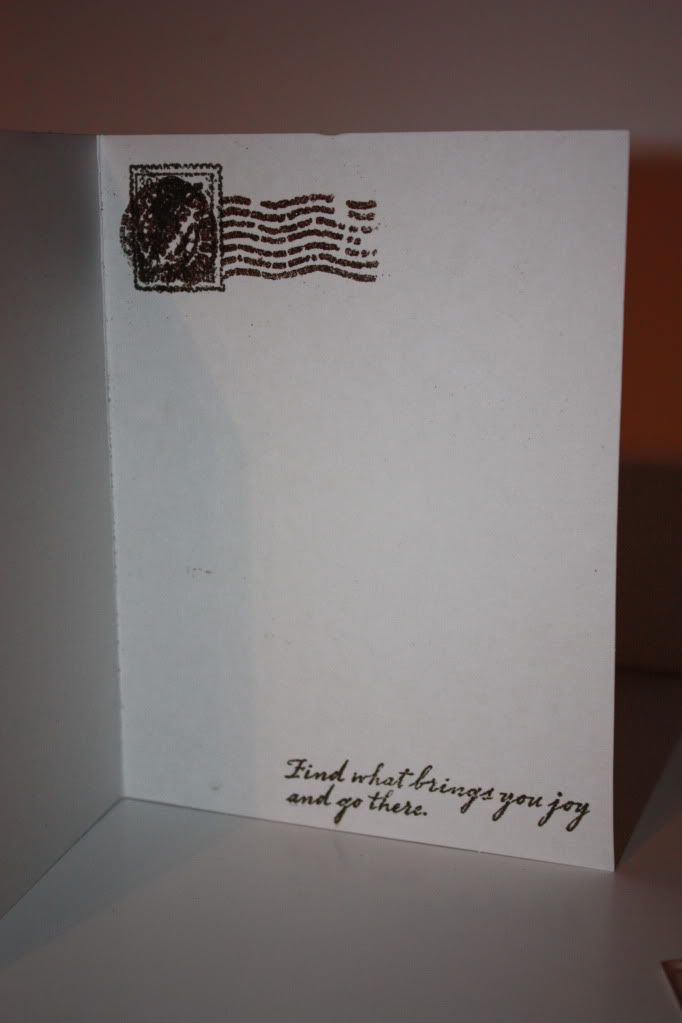
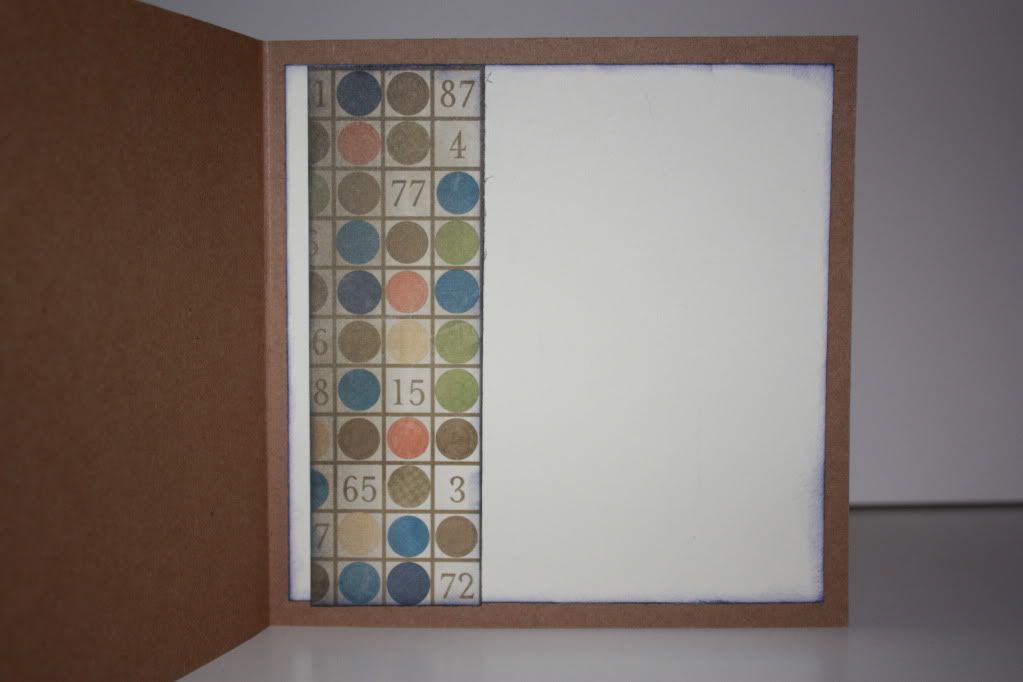
Here is the inside.  All stamps are from the same set.
love the sentiment--in fact I love London and I am going to be there next week!!!! I am soooo lucky!
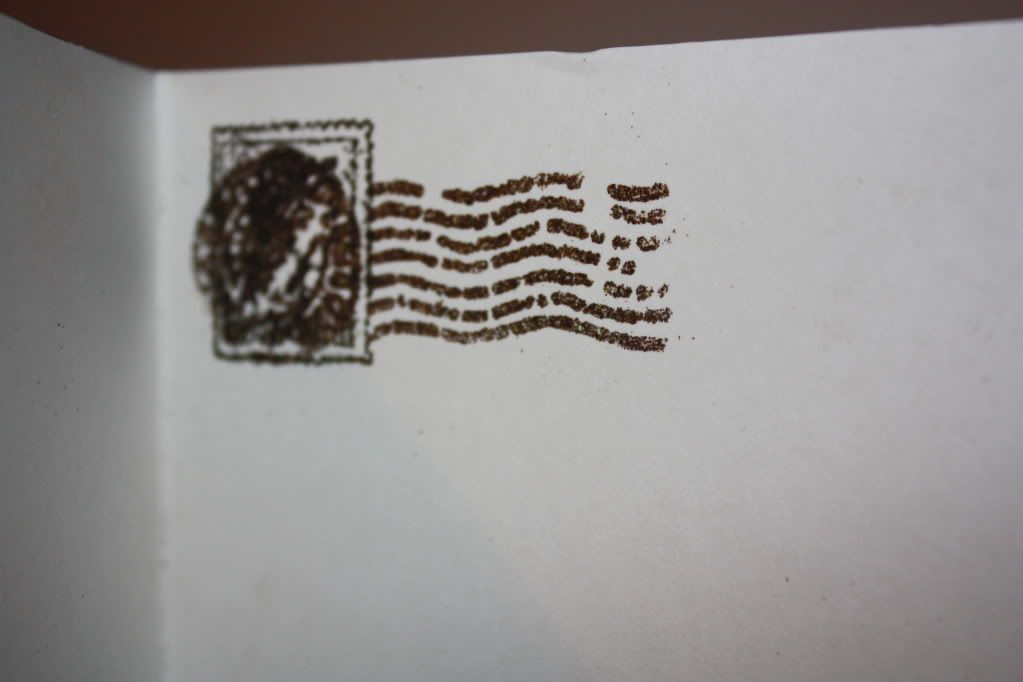
I stamped the stamp in brown ink and then using versa mark and some Tim Holtz distressed embossing powder I embossed the post mark--you could also do this with clear powder if you card base is a color--it would have a super cool look.
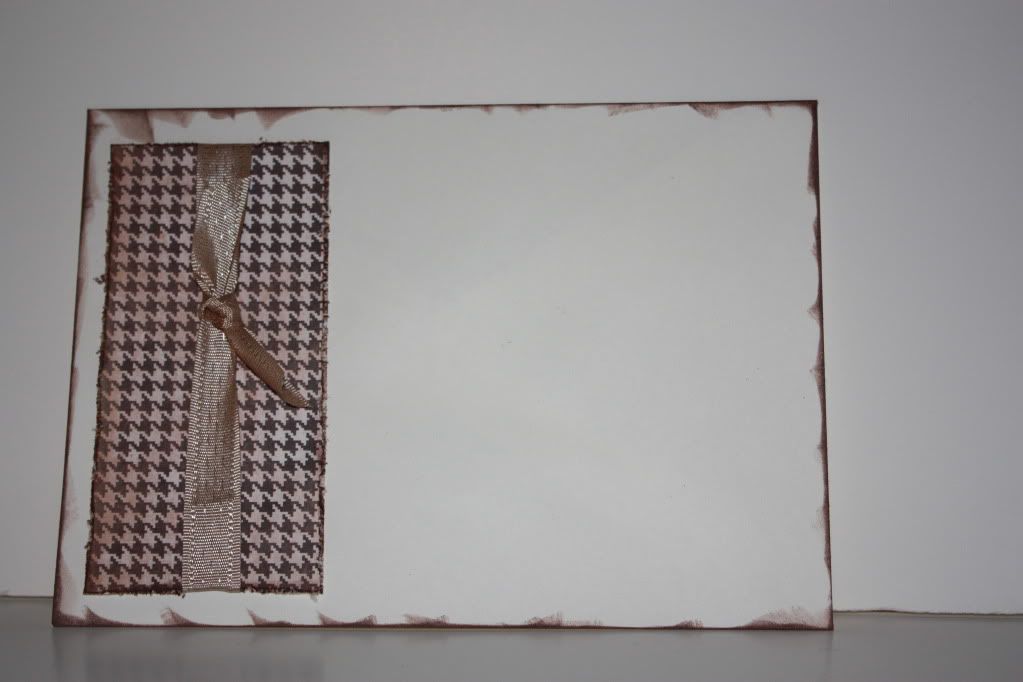
You know how I like me a fancy envelope and using some scraps and a bit of chalk ink you get a very cool wrapper for your card.  I think a fancy envelope gets people excited about what is on the inside before they even open it.
So I am off to Europe in the morning--don't worry I have a few project planned and ready for you so you  we can still spend out time together!
I am cookin up a plan for the where in the world for Europe that combines prizes with what I think is going to be a very very cool series.  Alright--I will be checking from the road next week but make sure to check out Friday's project!
Make it a great one

Wednesday, March 2, 2011

Hi there card using CTMH Lucky Workshop on the Go


Hi everyone--In Charlotte on business.  I just love this city. 
Today I have a really simple card using the Lucky Workshop.  
I just love the stamp set that is exclusive to the kit!
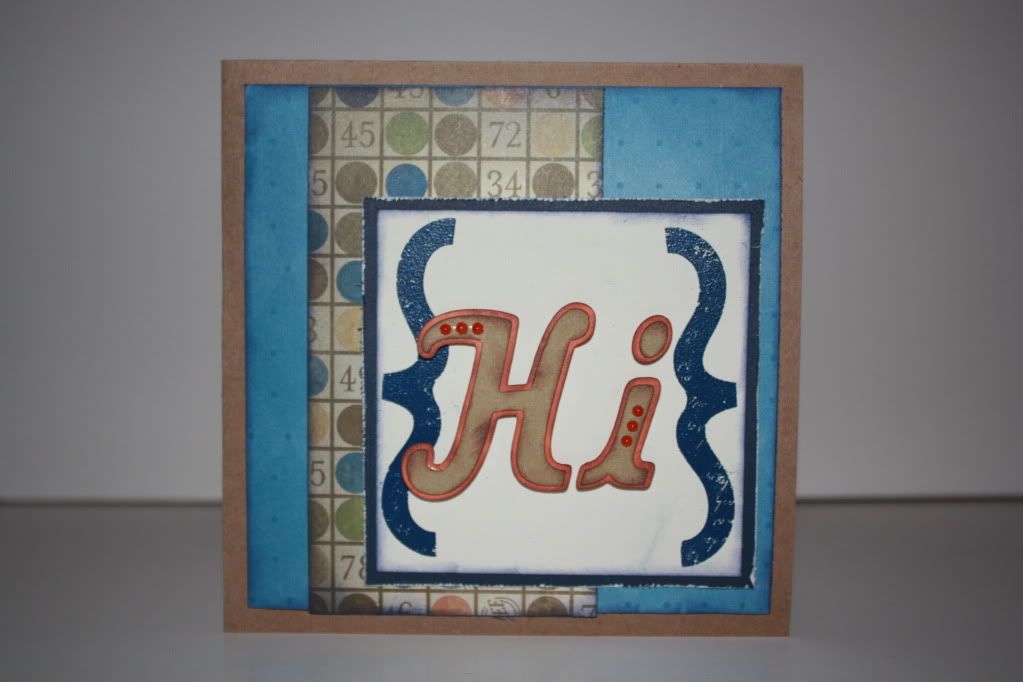
I did another 6x6 format here.  I heat embossed the brackets and cut the HI from the Cricut Billionaire cartridge.  One of the best fonts out there and it welds like a dream if you needed to.  I added some inking and a few orange gems (I had to dig them out the Halloween bin)
The inside is just as important so a strip of pattern paper and a nice inked edge goes a long way
I have a layout for you on Thursday and Friday is the Pink by Design release of the new stamps so you will have to check out the projects the design team has come up with!
Make it a great one


Thursday, February 24, 2011

Out of this world using Cricut Boys will be Boys

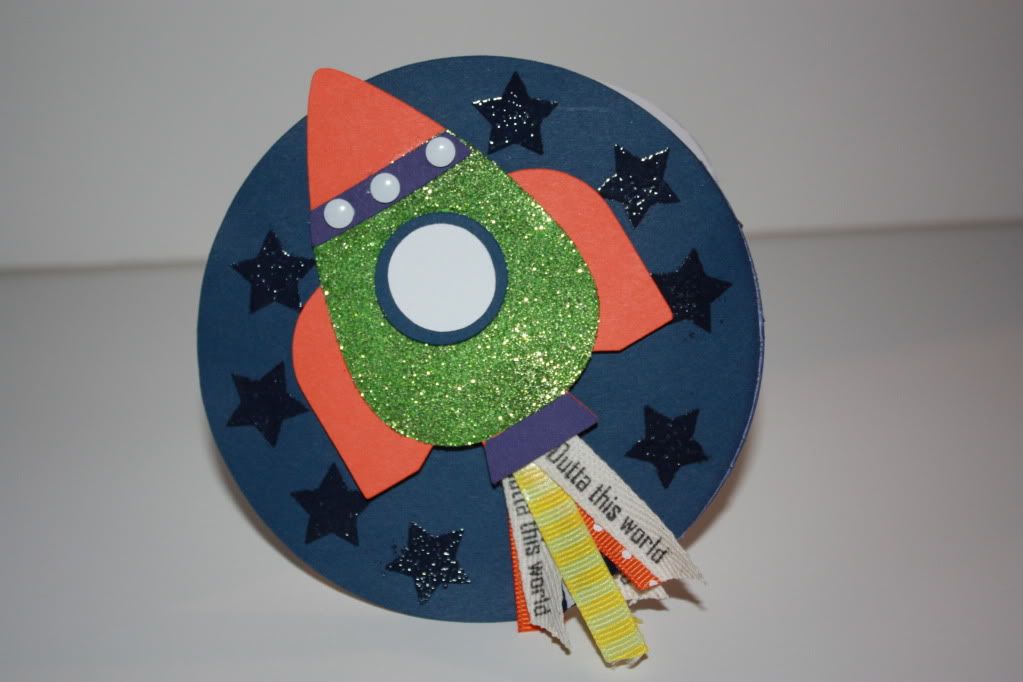
As I posted yesterday--it's been a crazy week!!!!! So I want to share the card I made that I used as my entery to the Pink By Design, Design Team Call.  I used Cricut Boys will be Boys as well as the Pink By Design matching stamps.  I love how it turned out--the twill ribbon I used is crom CTMH!

Wednesday, February 9, 2011

Another Sweetheart Collection Card

It's Humday and I am off to NYC for the night--yet one more tirp.  I looked up my miles for 2011 and I already have almost 50K flown and it's only Feburary!!!!!

I really love how this card came out-
All the papers are from CTMH Sweetheart collection.  The buttons, black jute, and epoxy stickers are all from the new idea book.  I love these new buttons!!!!
I used a fillable frame from Paper Trey Ink and the matching border stamp, but my sentiment is CTMH all the way.  When I layer up the pattern papers I like to give it a grounding element like the black mat.  This also helps the eye know what to focus on.  
I added some of the same pattern paper I used on the smallest section of the outside to the inside as well as a large epoxy heart sticker--I love these new stickers--they are a must have!!!

Of course I had to give the envelope a little attention as well!
Thursday I have a two page layout to share that is perfect for remember a special date or simple capturing the moments shared on the day of love, FEB 14, which is MONDAY BTW!
Make it a great one-
Tuesday, February 8, 2011

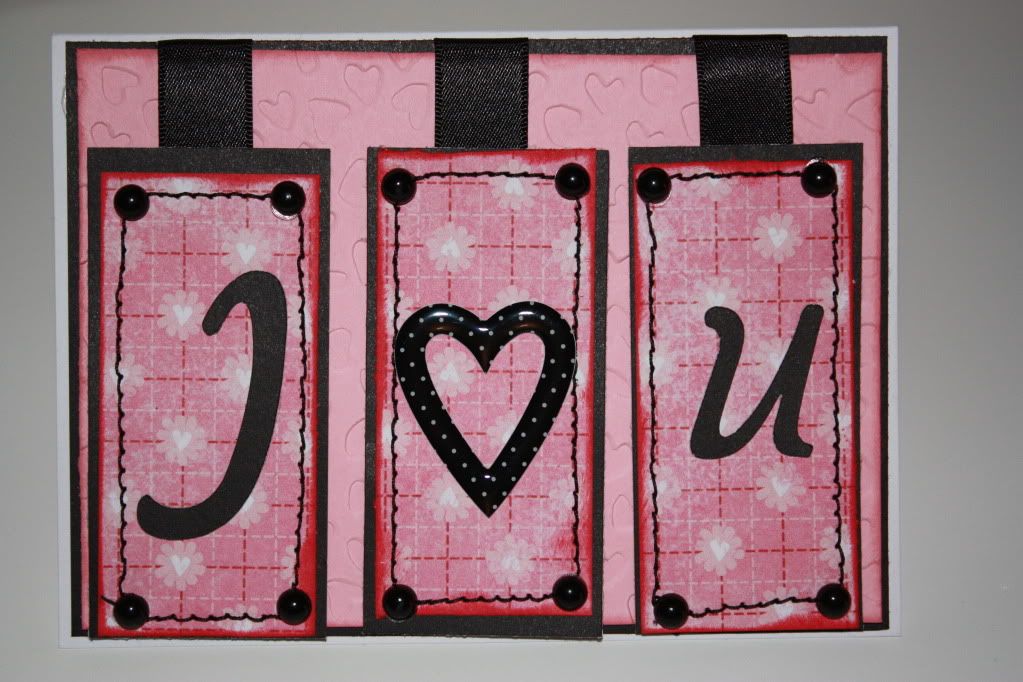
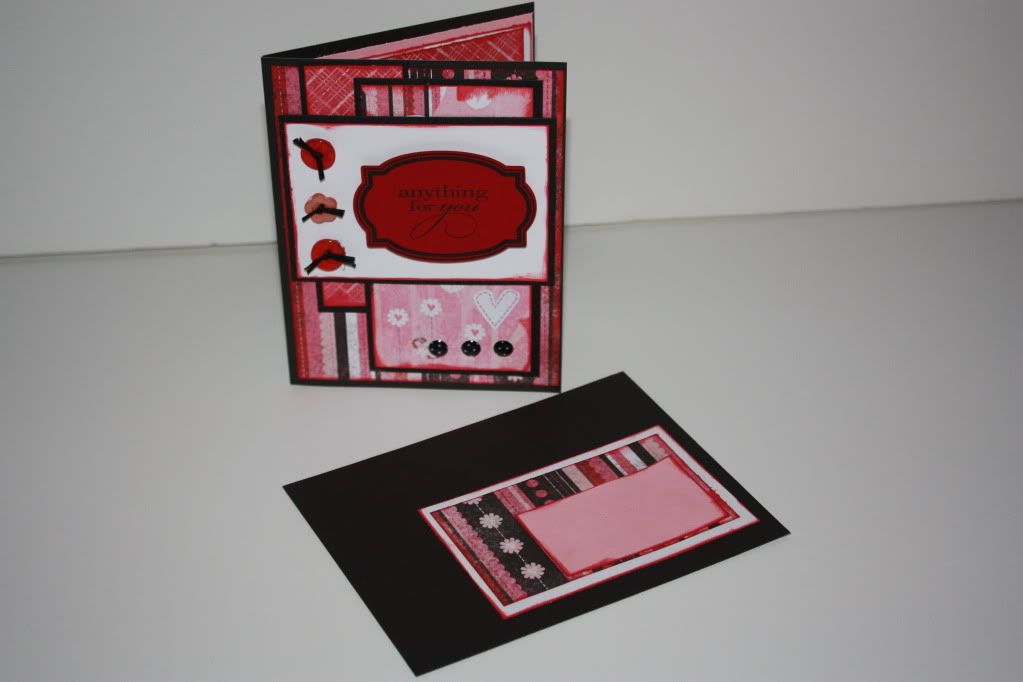
I 'heart' U card using Sweetheart CTMH Collection

Good Day!  Last night was my first night at home on, forever, and I could almost keep my eyes open.  I have a great little card to share with you that I made using all Close to My Heart products and my Cricut. 
All the paper came from the Sweetheart Collection--all the ribbon epoxy stickers, and pearls are from CTMH as well. 
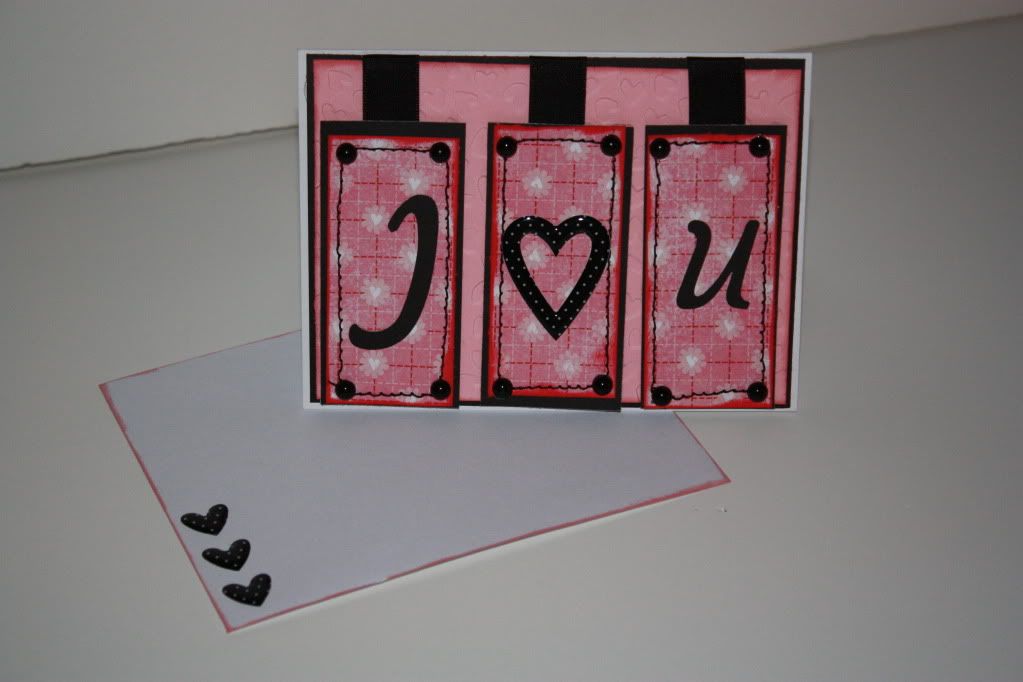
I cut the I and the U using the Billionaire Cricut Lite Cartridge.  I layered pattern paper on to a black base then used my sewing machine to stitch around the edges.  Instead of putting brads in the corners I used black pearls!
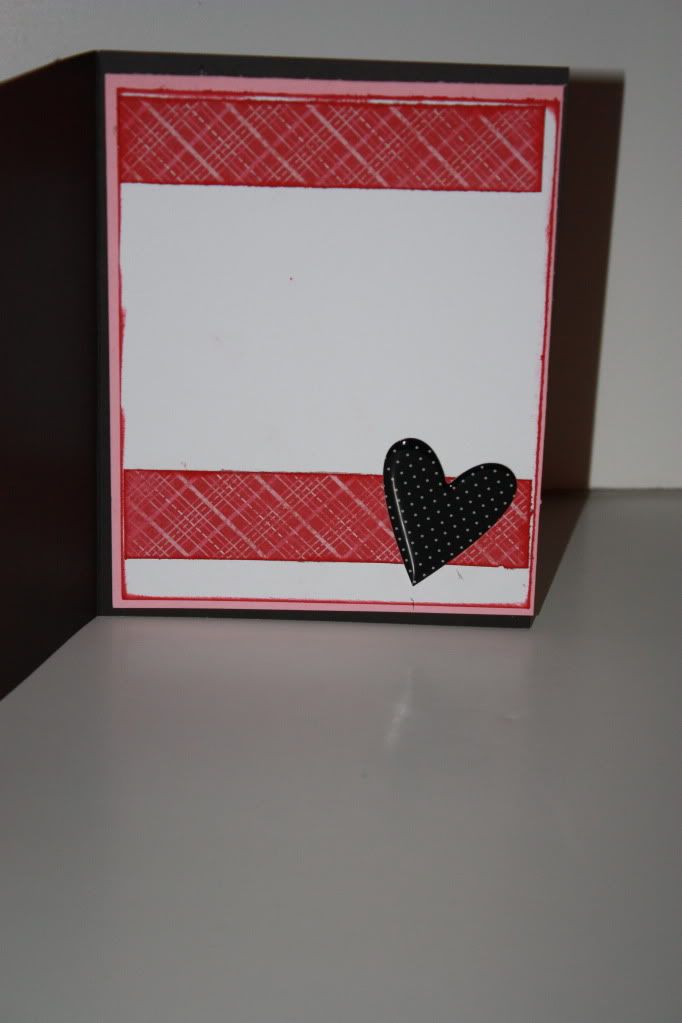
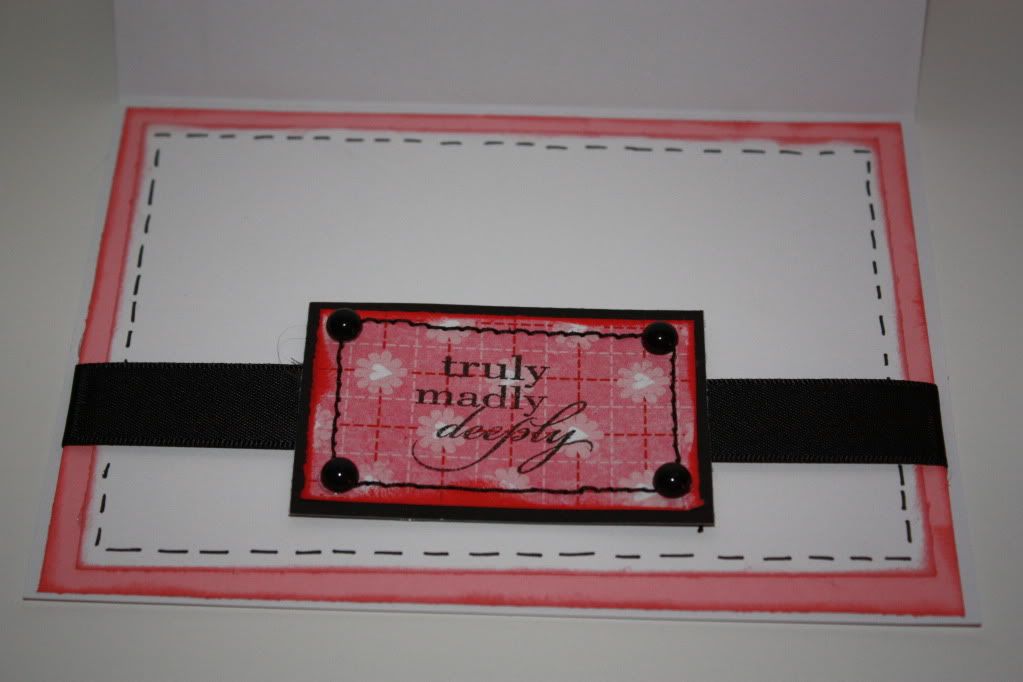
The inside of the card is simple--I made a rectangle to mirror the front and used a CTMH stamp for the sentiment--added a bit of black ribbon, attached it to the double mat and did some faux stitching. 
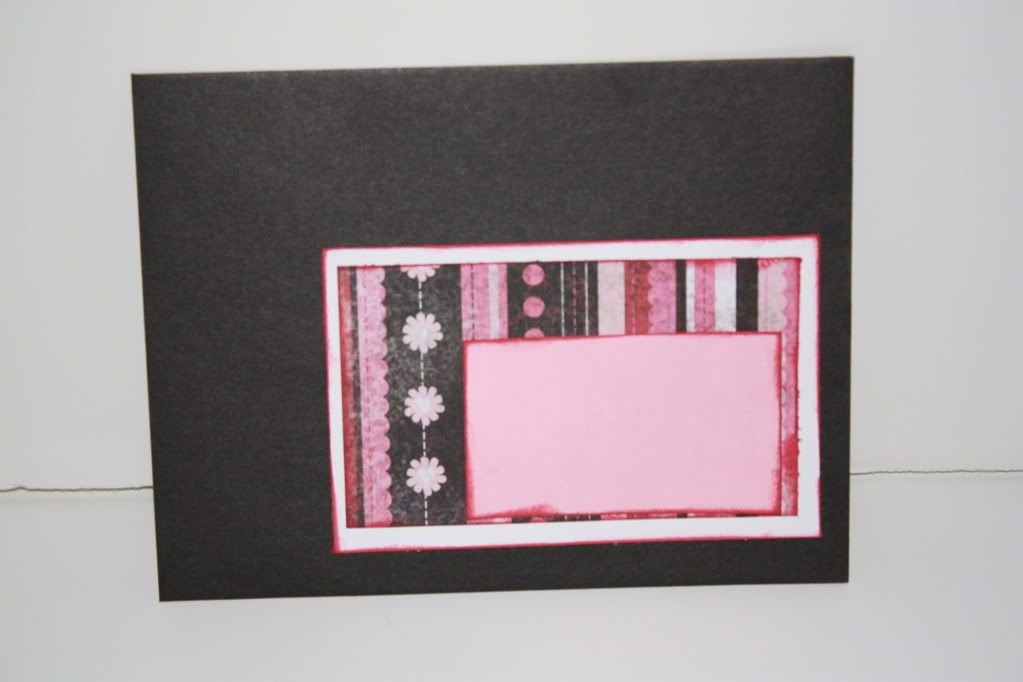
To finish off the envelope I used three epoxy heart stickers from CTMH and inked the edges--clean and simple--just the way I like it. 
I have one more card and a two page layout to share with you and Friday sees the return of Friday Funday with a Super Bowl recap and a few pictures!
Make it a great one-
Tuesday, February 1, 2011

Cricut Lite Billionaire + Valentine's Day= Super Cute Card

Well India is India!  I have a couple more days than off to home I go!  I simply can't wait to sleep in my own bed.  I have taken some great pictures and picked up some fun blog candy along the way--watch for another Where in the World is Scrapguy later in February.

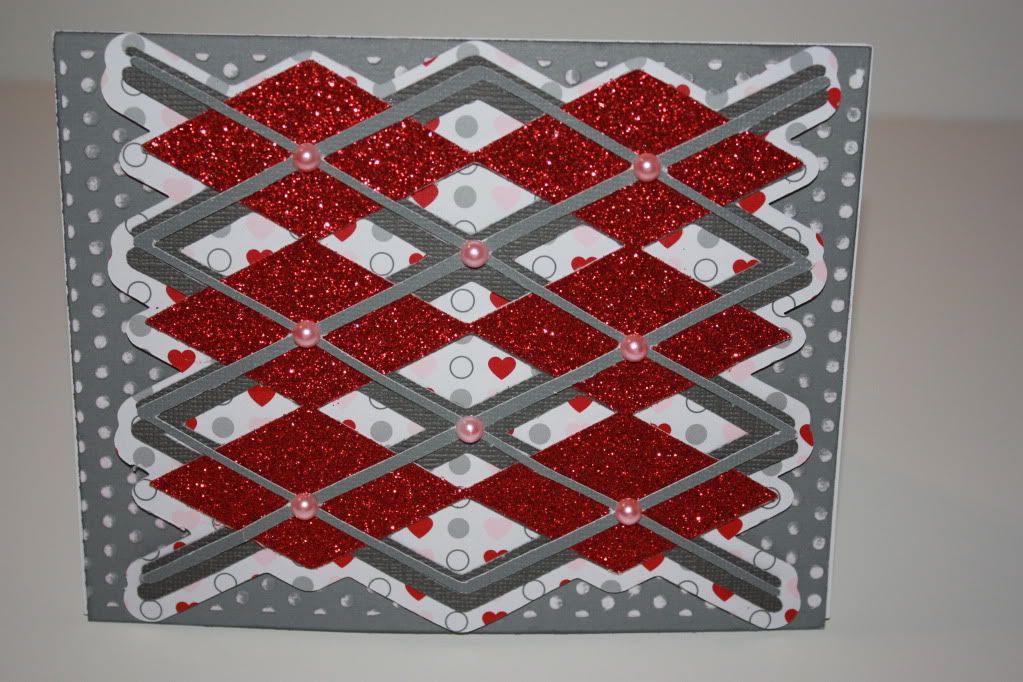
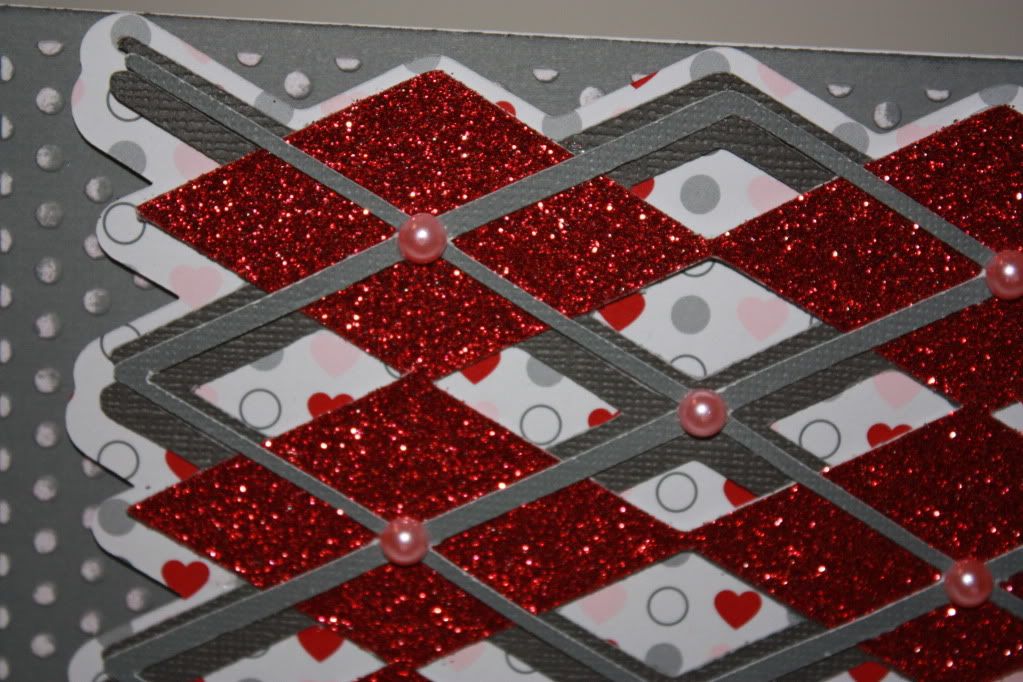
Today's card is one of my all time fav cuts from the cricut--this is from the Billionaire Cricut Lite Cartridge and is super easy to put together.  The card is larger than my usual A2 but for this cut the bigger the better due to some thin parts!  I used the polka dot cuttle bug folder for the base and sanded it to get some white showing through the grey.  I used SU patten paper, SU glitter paper, and CTMH solid paper.  I got the pink pearls from the $1 bling booth at one of the scrapbook shows.

Just a little detail shot for you--when I need just a simple card I use this cut for the front--it makes a great all occasion notecard!
Thanks for stopping in, make it a great one! Valentine's

Monday, January 31, 2011

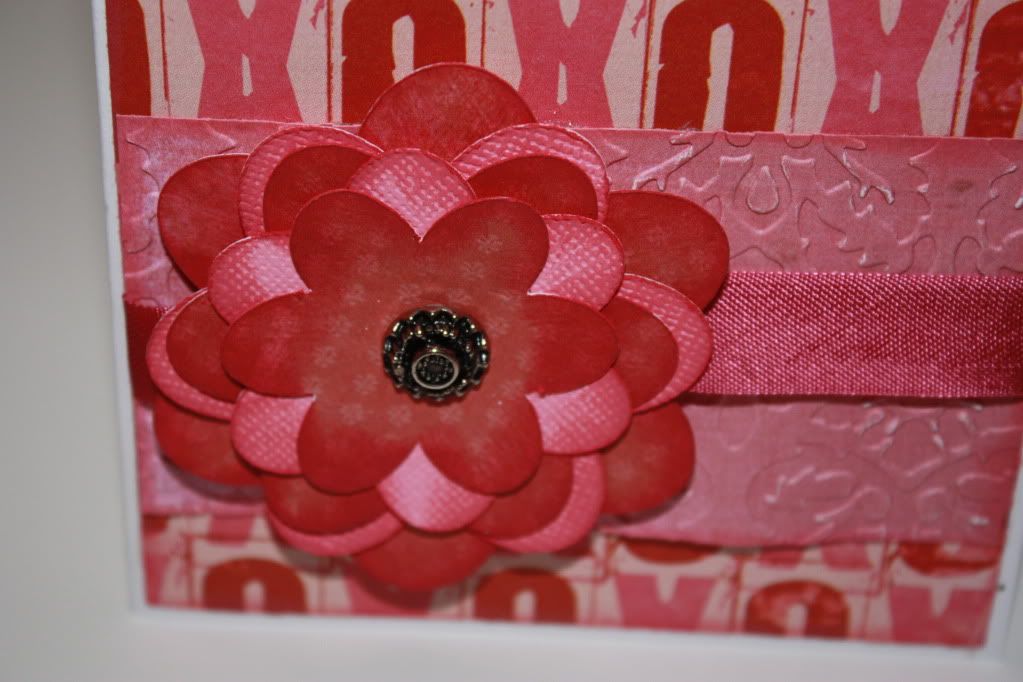
XOXO card using Cricut Walk in My garden Cartridge

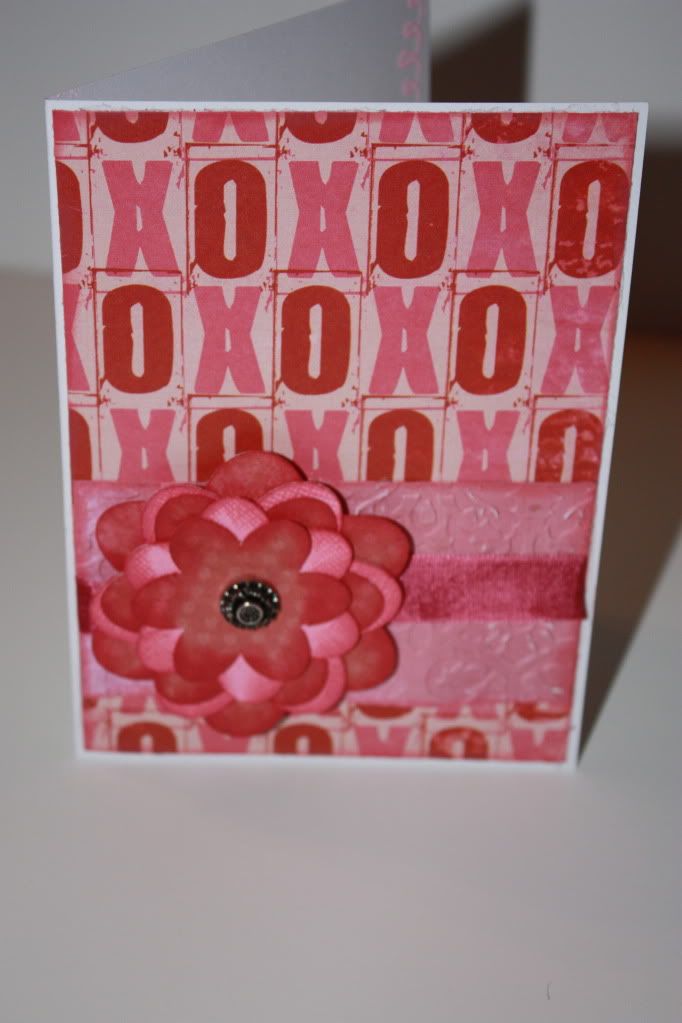
Hello everyone--I am leaving Bangkok to day on my way to India for three days.  I stayed at the most amazing hotel this weekend right on the beach---my own bit of paradise.  I am going to have to plan an extended stay later this year! Sorry there was no comments on Fridays blog post--had some connection issues--go figure!  This card was super simple--I used MME pattern paper, some SU seam binding ribbon, the textile cuttlebug folder and CTMH solid card stock that matched the pattern paper. 
To make the flower I cut the same flower at 1/4" intervals.  starting at 2 1/4" working my way down to 11/2" added an antique brad for the flower center an attached it whole thing with pop dots.  I did a lot of inking on the flowers to give it some depth in color level.  I for the darker red paper, it is actually the back side of the pattern paper so you get a little but of marbling with in the flower segments.
Just a close up shot for ya!  Thanks for stopping in and leaving such great comments!  You all rock!  I have more projects for this week so keep stoppin in!
Make it a great one

Thursday, January 27, 2011

top note card

We have made it to Thursday and I am off to Bangkok for the second leg of this adventure.  
This card was made with Basic Grey pattern paper, glitter card stock from Michael's, and solid card stock from CTMH.  the Stamps are CTMH and the brads are SU
There was not a lot of white in the paper but I wanted to use the white glitter paper, so I did some creative thinking and used some pink CTMH paper that has a white core, cuttlebugged and sanded it to add just a little more to balance the card. Inking the edges of the solids helped define each layer as well.
On the inside I used the front and back of the pattern paper from the outside-notice how the pattern paper on the bottom matches the embossing folder I used--this stamp is from CTMH and I just love the saying.
I do hope you have enjoyed the projects so far.  I have one more for Friday and than starting all over again on Monday!!!  Hope to see you on Friday-
Make it a great one!

Wednesday, January 26, 2011

Pretty in Pink Card usign the Cuttlebug

Hello everyone--hope you are doing well.  I am now a day ahead of you as I have crossed the international date line and in Hong Kong for a few days--of course I am taking pictures and trying to get some video to do where in the world is scrapguy--and I am picking up a few little things to share with all of you all as well.  
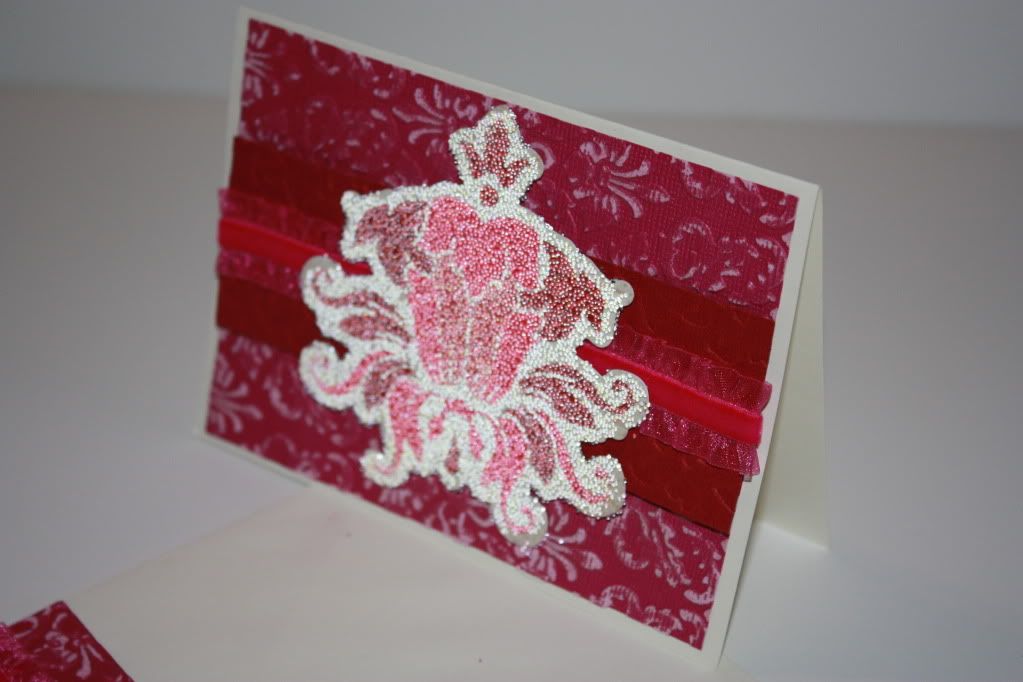
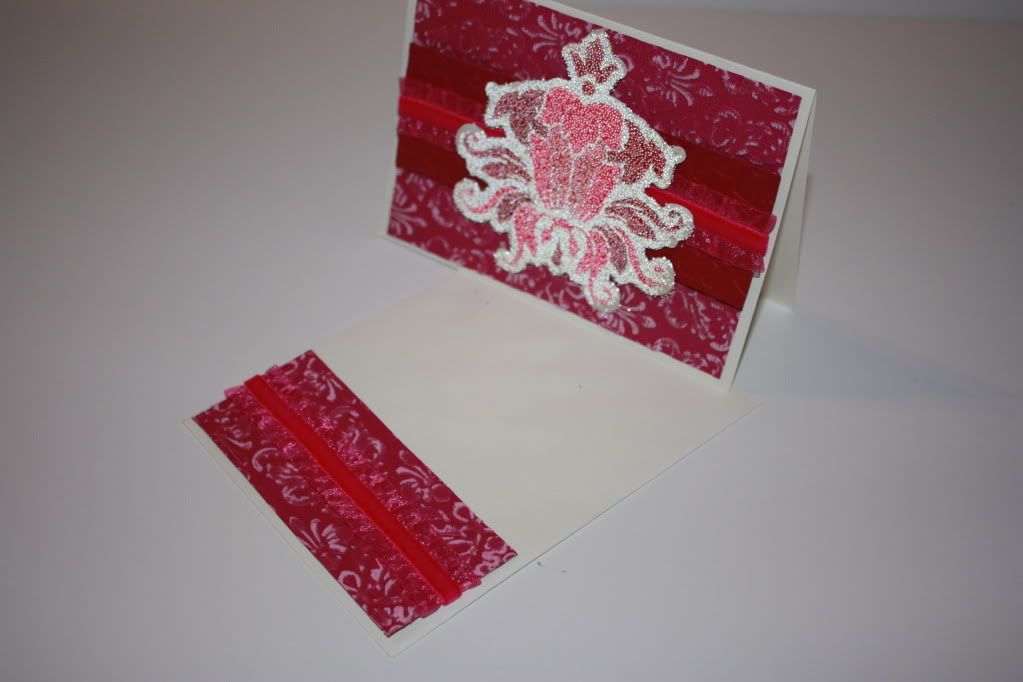
Today's card was pretty easy  I used a couple cuttlebug folders and a lot of pink to work this one out.  The ribbon is from Hobby Lobby and is stretchy velvet with a sheer ruffle.  The die cut is from a sheet that came with the MME Valentine's day collection--I turned it face down and sent it through the xyron and added micro glass beads.
The photos make it look like it is hot pink--darn the flair from the camera.  It is really a nice warm pink and the colors do work well together--I promise. 
I added a strip of cuttlebugged paper and ribbon to the envelope to finish it off.  This card could also be used for a personal shower for a bride to be!
Take care and we will see you back here on Thursday (Friday for me!)

Tuesday, January 25, 2011

Sitting in a tree......using Cricut Songbird

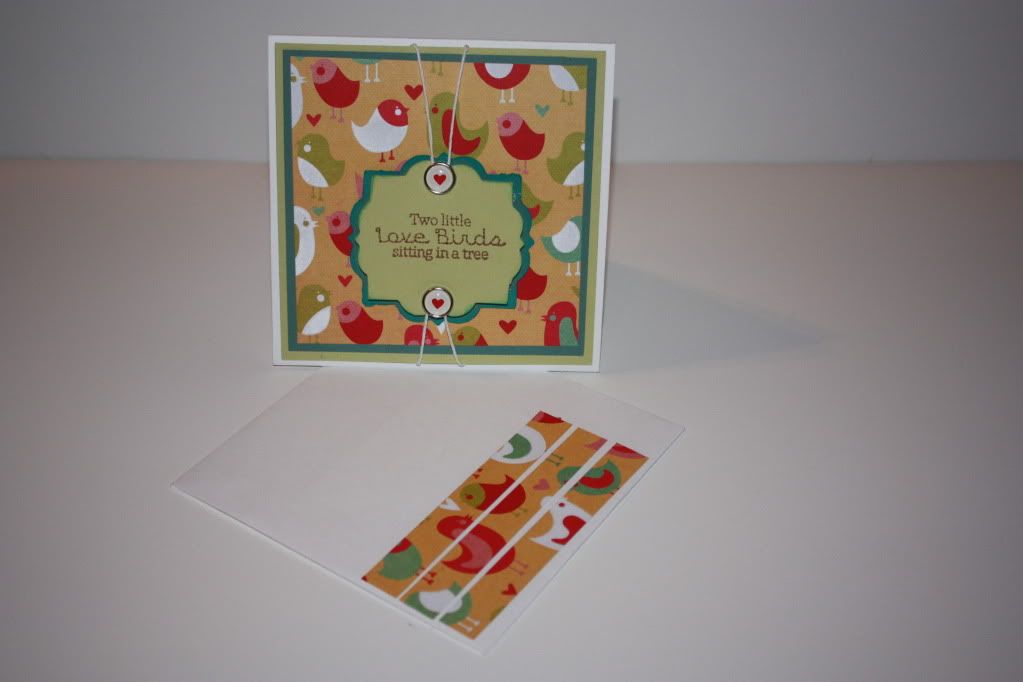
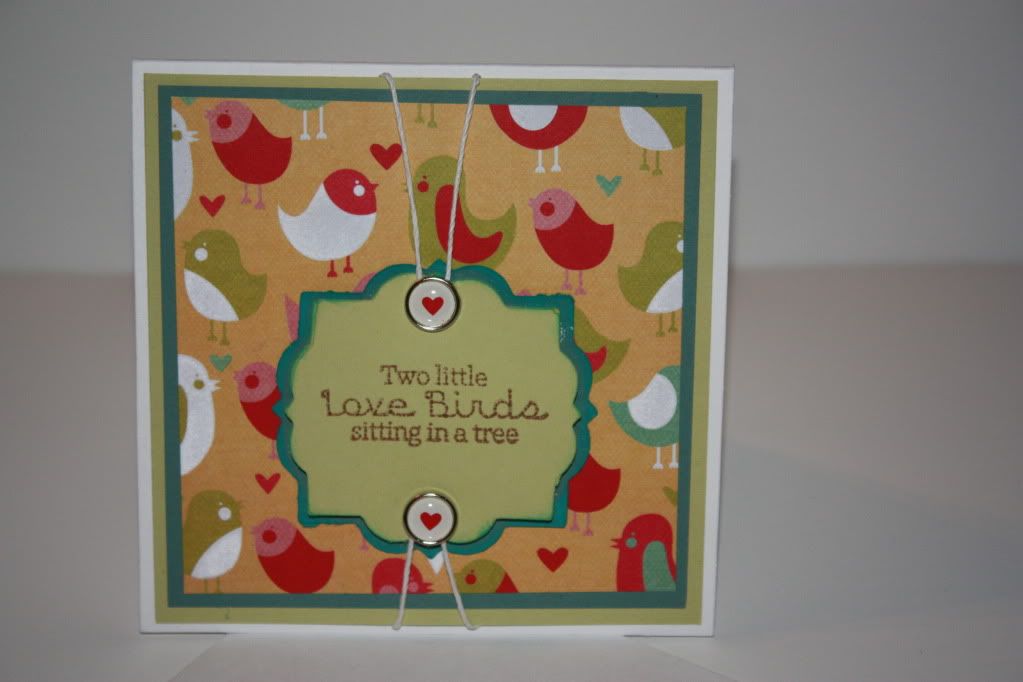
Oh my GOODNESS!!!! If you all could see me now--just checked in and found that I have hit over 1000 followers--just over a year into blogging and you all just made my DAY!!!  In all honesty it is not the number of followers but the fact we have built a community of creativity and sharing that provides me endless inspiration and challenges me to do more!!  Thank you, thank you, thank you!!!  Now on to the Card.  I used We are Memory Makers pattern paper, solids are from Paper Trey Ink, brads are from SU (clearance rack a few months back), and the two stamps are also from We are Memory Makers.

I layered up the base matte with two solids and the pattern paper.  Every time I look at it, I can't help but think of the Partridge Family....
I then cut the top note from my all time fav cartridge Songbird!  Punched a couple holes with my crop-a-dile and inserted the brads.  I looped twine under the brads and to the back.
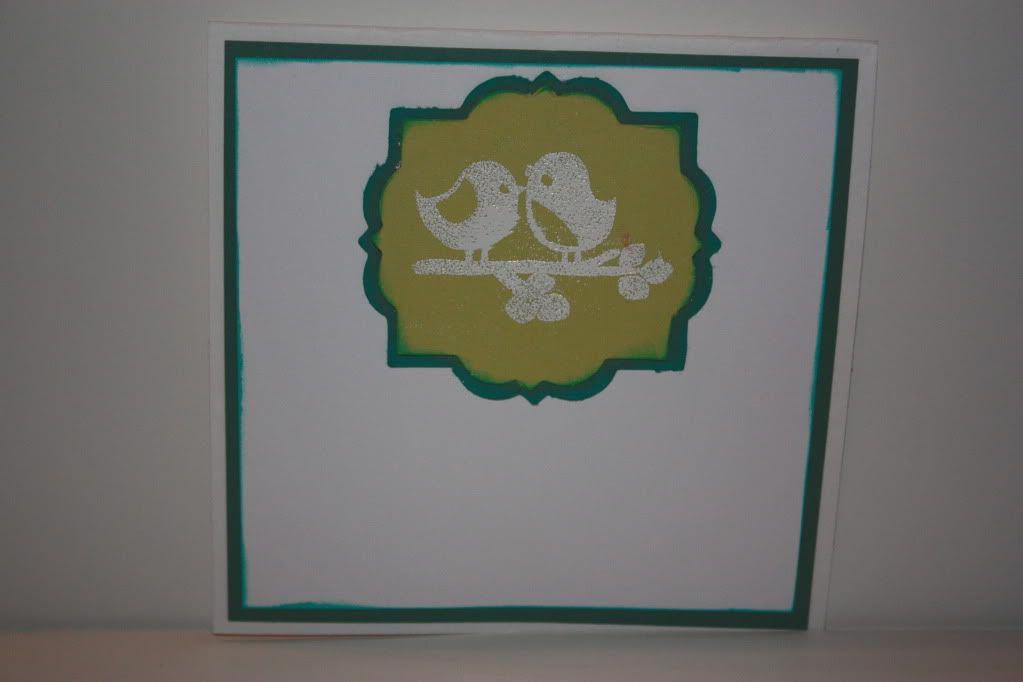
On the inside I used the same colors for the top note shape and heat embossed in white the two birds in a tree.  There is a few cuts on a number of cartridges that you could get the same look with. Inked the edges and left plenty of space to write your own love note.
Thanks for stopping by and be sure to come back for fun cards for the upcoming holiday!
Make it a great one-
Friday, October 8, 2010

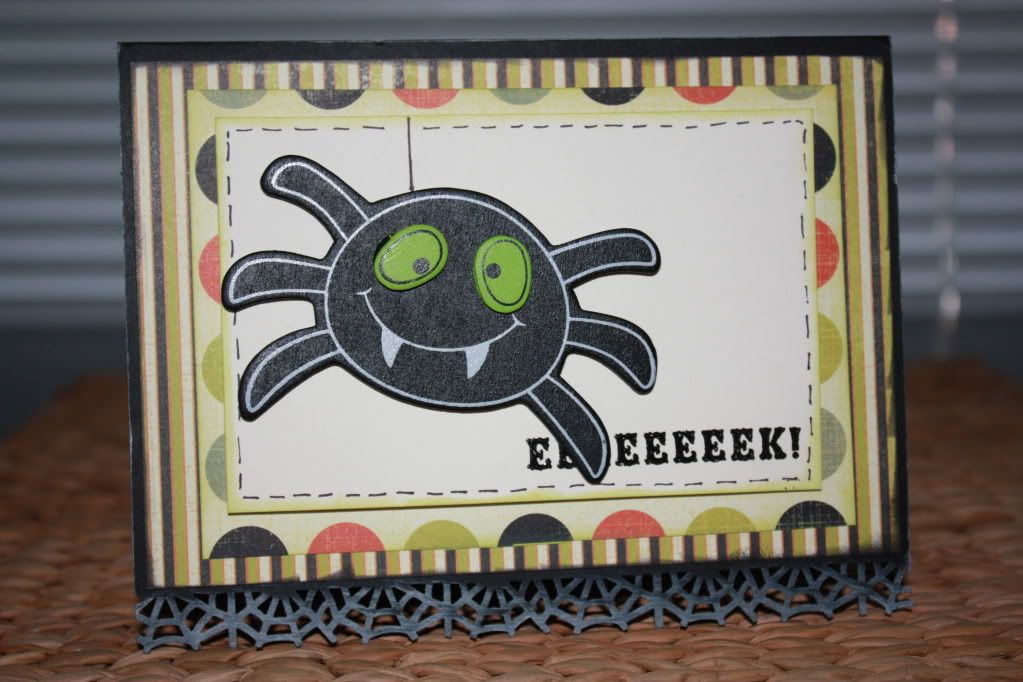
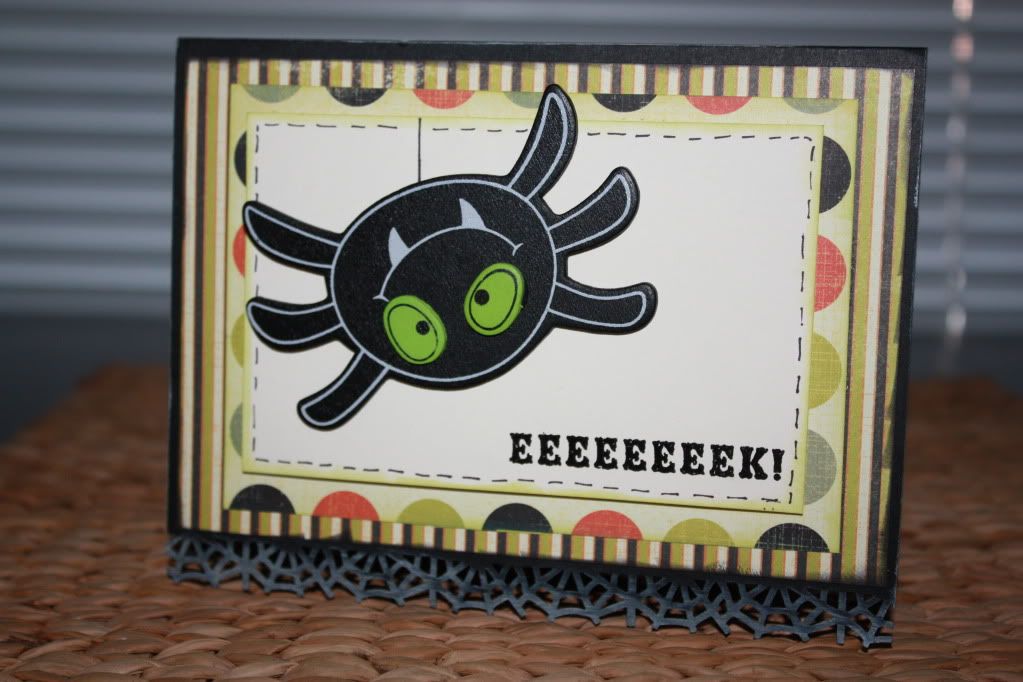
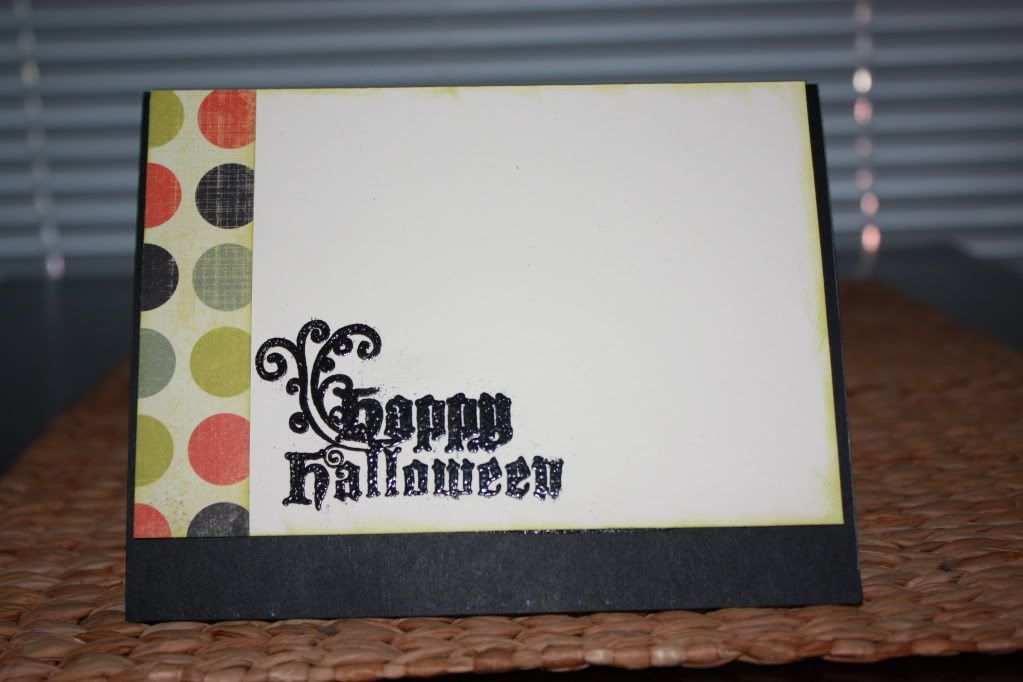
Ittsy Bittsy Spider Halloween Card

It's Friday and I am on my way to Kansas City--Looking forward to some family time and some crafting with my niece, a visit to my favorite scrap store (the scrapbook page in Shawnee), and just being home! 
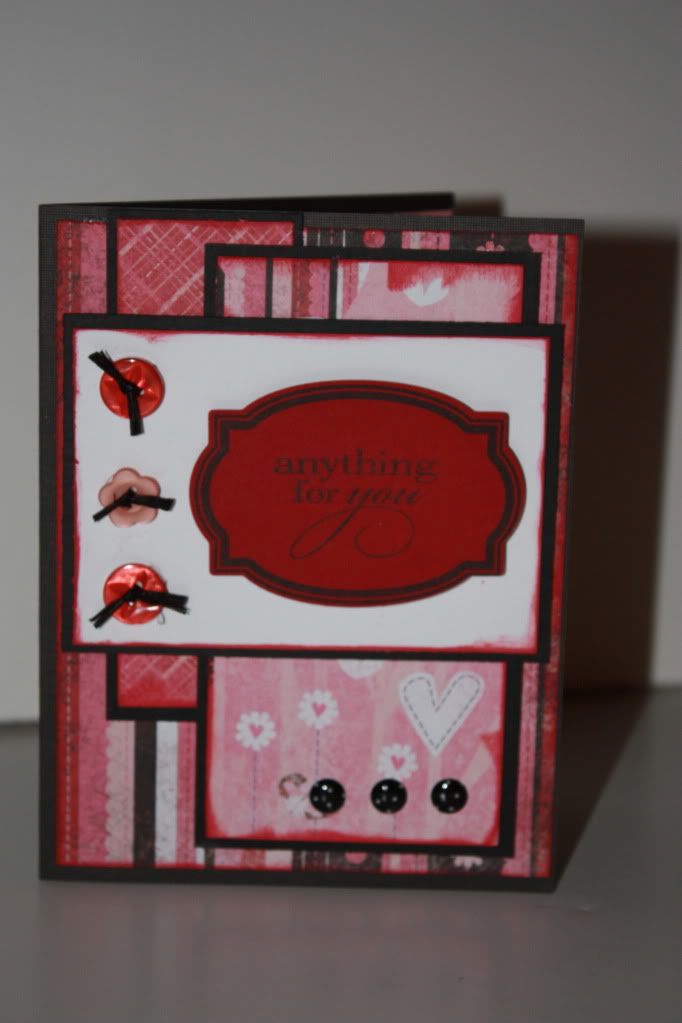
Today's card was a lot of fun to make--here is the break down
-card base (black) was is Close to My Heart
-Patter paper (double sided/used both sides) My Mind's Eye Blackbird "big dots"
-cream rectangle was colonial white from Close to My Heart
-3D wooden spider from Michael's
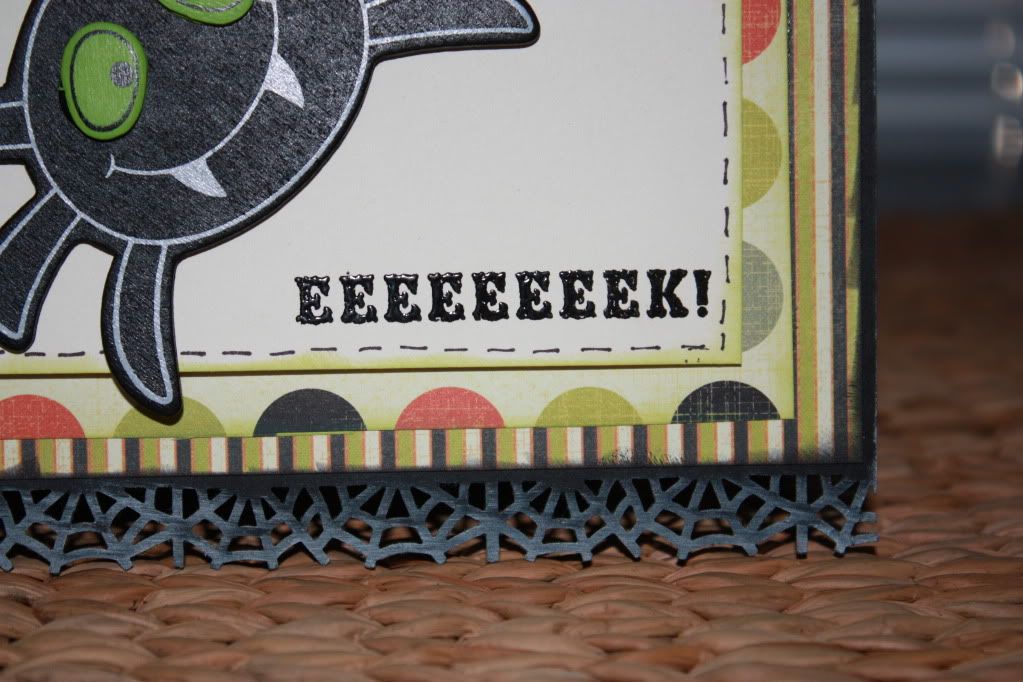
-EEEEK stamp is Martha Stewart
-Black embossing powder Close to My Heart
-Inside sentiment stamp by Basic Grey 


The wooden spider was attached with a penny and pop dots so it spins!!!!
I added some black fake stitching around the edge of the cream rectangle.  I love how embossing turns out!
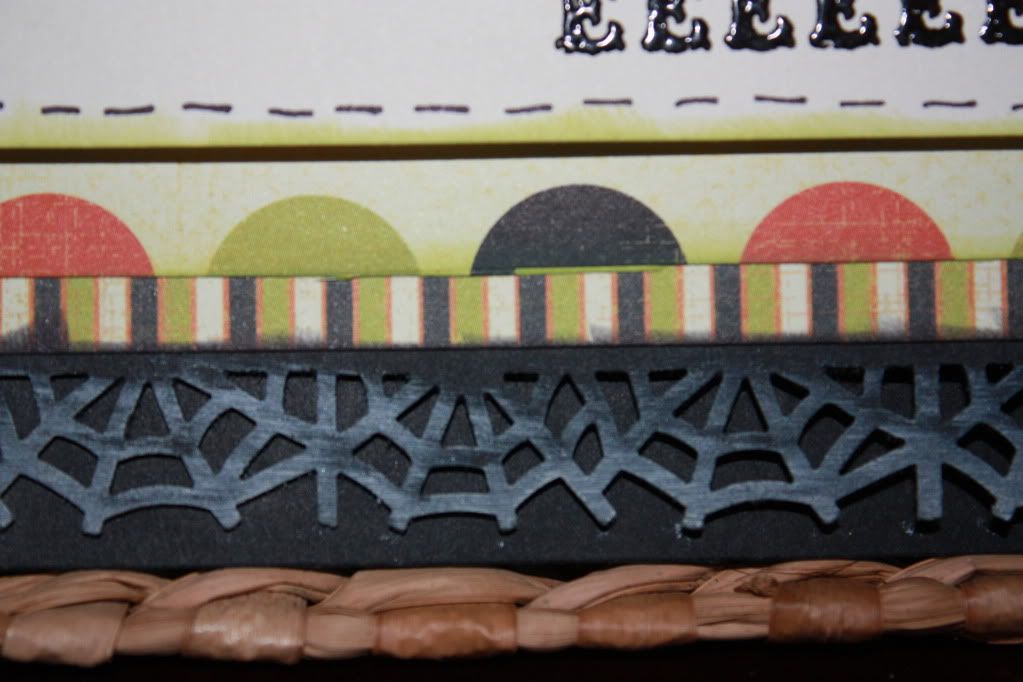
I used the Martha Stewart web border punch and some white chalk ink to trim the front base of the card.

I love this stamp by Basic Grey--the font and flourish are simply perfect!
Check back on Sunday for the bolg candy--you are going to want this limited stamp set for all your halloween projects!!!!
Have a great one-
Monday, September 20, 2010

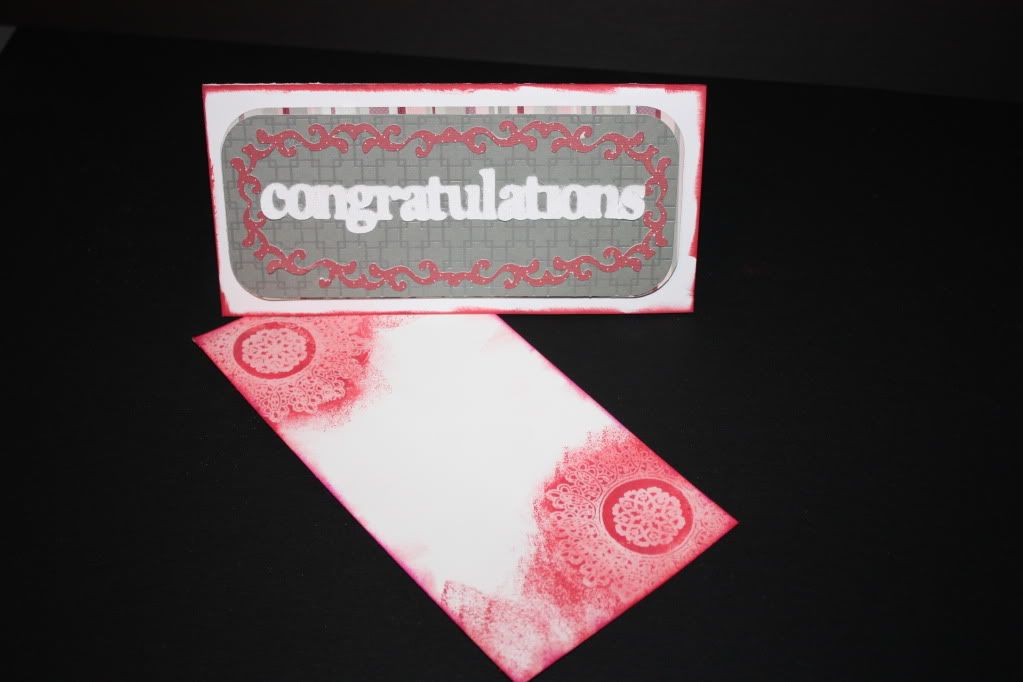
40 years in Men's Pants....congratulations card using cricut lacy labels

OK--I new that headline would get your attention!!! Today we will celebrate the 40th year our departments Executive Assistant's has been with our company.  It is rare to find someone that has been with a company that long.  Ms. Edna has done everything from purchasing to customer service to well--just about everything; And she does it with a smile.  She has an amazing history with the company and still has a passion for the business--so here is the card I made

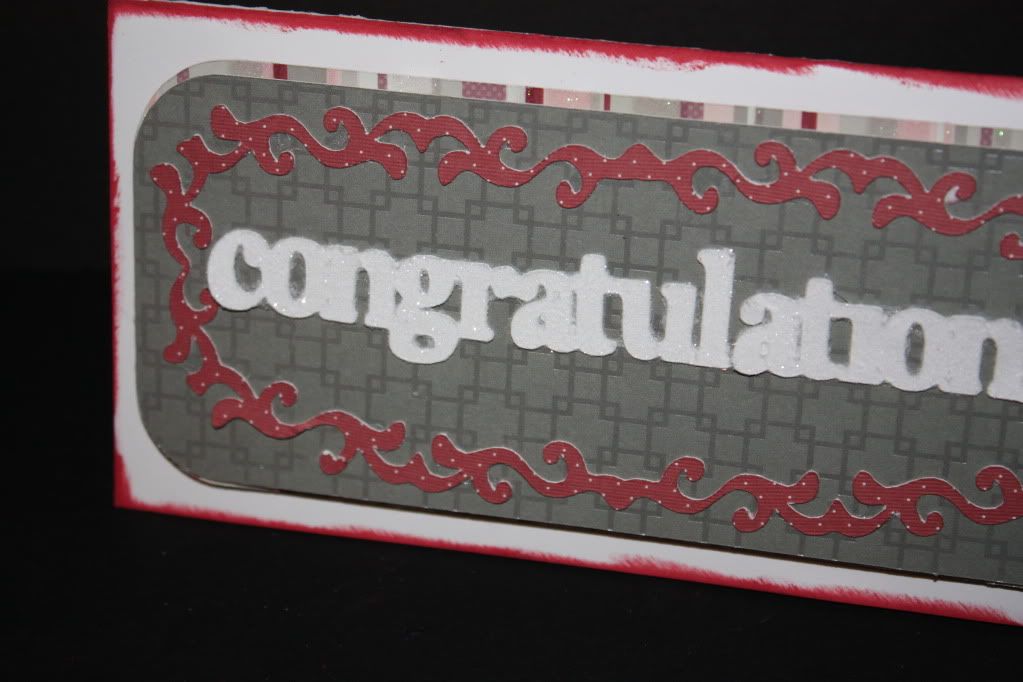
I used lacy labels, some ink, clear embossing powder, glitter, and my xyron sticker maker (I love that thing).
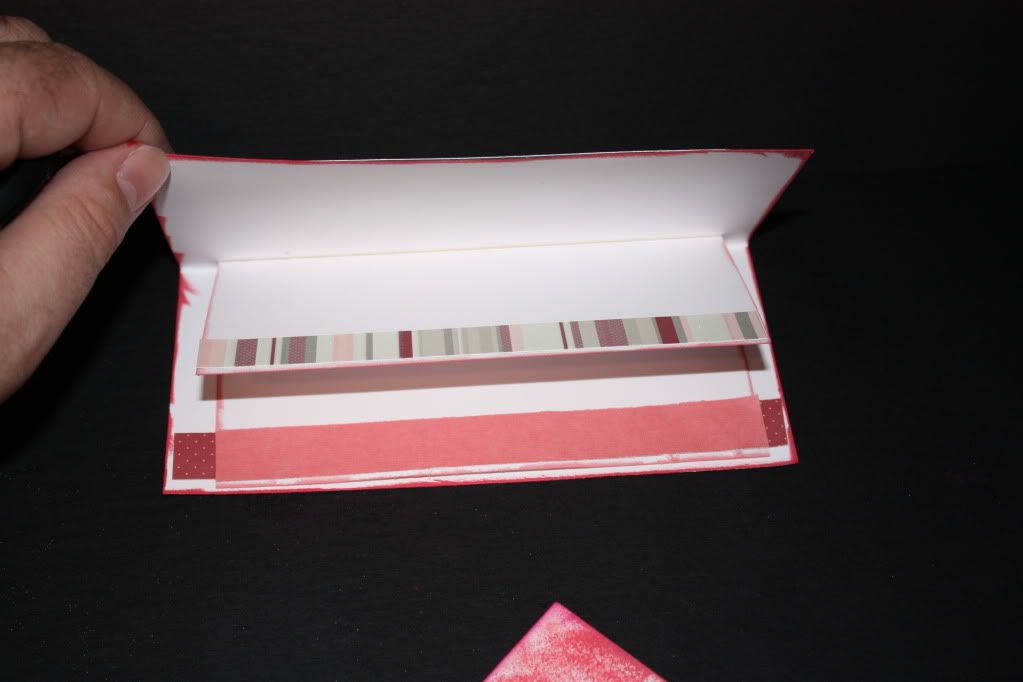
I finished out the inside after adding a second inside card so everyone can sign it.  I added strips of  SEI papers that were used on the outside to tie it together.  I really love the envelope!
I used some clear embossing powder and a clear SEI stamp to add some extra pop to the envelope.  After using the heat embossing tool I took my cat eye chalk ink and inked over the embossing, after blotting the extra ink of this is the result--I really like how it came out--
Hope you have a great Monday!
 
Designed by Lena Graphics by Melany