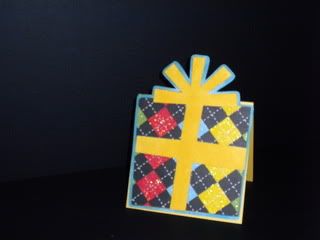
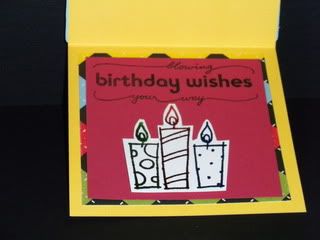
TGIF!!! Today I have a birthday card using Cricut Celebrations. I love presents so I made a layered present with a light weight chip board center to add some stability to the overall card. The card is a 4 1/2 square card with a top fold. The base is a bright yellow that just made me think HAPPY BIRTHDAY!
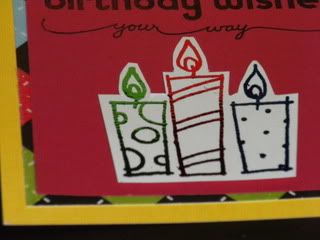
Inside I used a double layer mat, stamped the solid layer using an inkadinkado stamp that reads "blowing you birthday wishes." I also added candles that I stamped and used the Stamp-N-Foil I fell in love with at CHA. Using a white background makes the colors really pop and adding a couple pop dots makes them stand out just enough!
Here is a detail of the Stamp-N-Foil bling
I also added faux stitching to the ribbon to give it a bit more definition once I stared at it for awhile. It was just the right touch it needed.
Well hope you have a great weekend! I am so glad you stopped by!!!
Make it a great one-
Bryan
Friday, February 26, 2010
Wednesday, February 24, 2010
Welcome to the Neighborhood Card
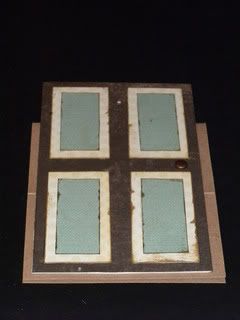
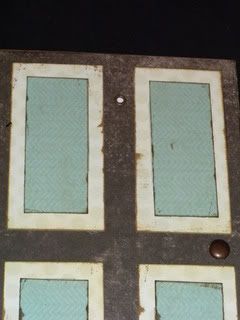
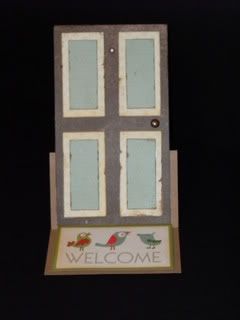
OK--NYC was cold and rainy! I love coming home! So today's card is pretty simple. What is so great about the card is that even though it is simple--because it's a multi fold card it really packs a BIG PUNCH! Thanks to Joy over at Obsessed with Scrapbooking and Holiday's with the Cricut for sharing the fold instructions for the base card. I had this idea to make a card that looks like a door and when I found the 'welcome' mat in a DCWV (SONGBIRD) stack it was fate! The door even has a peephole and a door knob!!!!
Here are the measurements if you need them:
card base is 11" long by 4 1/2" wide
base of door (larger brown section in picture) is 7" long by 4" wide
middle section of door (cream polka dots) is 3" long by 1 1/2" wide
small section of door (light blue herringbone) is 2 1/2" long and 1" wide
placement on card is simple--1/4" over and 1/4" down or up from each corner and this is the same for all layers.
Peep hole is placed 2" over and 1" down
Door knob is placed 3 1/2" from either top or bottom and 1/2" in
welcome mat measures 2 1/2" long by 4" wide
Thanks for taking the time to take a look and remember I love to read the comments you all leave! Have a great day.
Bryan
Labels:
DCWV,
Easy Cards,
multi fold card
Monday, February 22, 2010
Fast and Easy Scrapbook Pages!
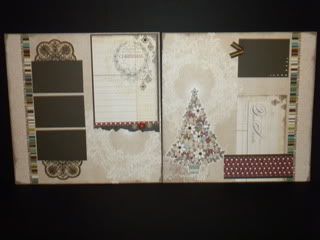
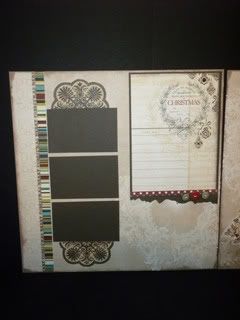
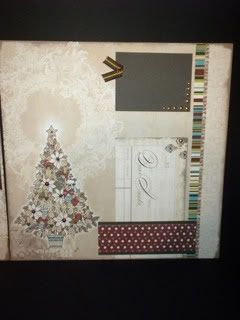
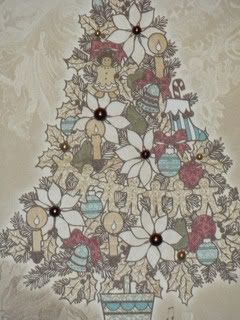
Good Monday Morning--I am on my way to NYC but wanted to get this posted before I left. While at CHA I came across a company called embellish it! I ended up spending a ton of Monday and buying a ton of paper (shocker I know). One of the items I bought was a page kit. I love page kits because they are a great solution to every scrappers biggest issue-TIME! I just loved the look of this Christmas layout, but they have tons more as well as paper and embellishments that all match up. Check it out at http://www.embellishonline.com/
The kit comes with everything you will need to complete the layout--all you do is add your fav glue or tape and your set. It only took me 30 minutes start to finish but I spent most of the time trying to decide what to do with the pearls--
Have a great day
Bryan
The kit comes with everything you will need to complete the layout--all you do is add your fav glue or tape and your set. It only took me 30 minutes start to finish but I spent most of the time trying to decide what to do with the pearls--
Have a great day
Bryan
Labels:
christmas,
double page layout,
embellish it,
page kits
Subscribe to:
Posts (Atom)