Well--first off sorry to my email subscribers and blogger did not post like planned again! UGH so you all will have two post for Friday.
OK on to the gift bag---
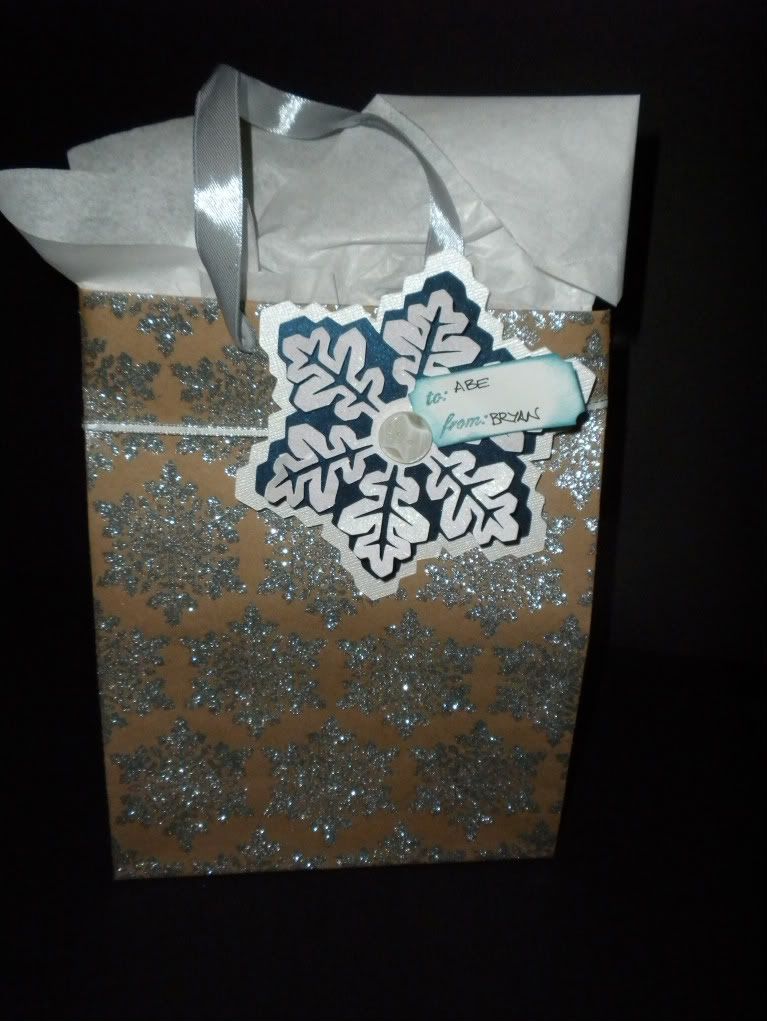
So i found this bag at Joannes and thought this would be perfect. We don't usually get snow in Dallas this early and this year is no exception--not a flake in sight, which is why I think I love snowflakes now. No clean up, no mess roads, just pretty glittery flakes on packages.
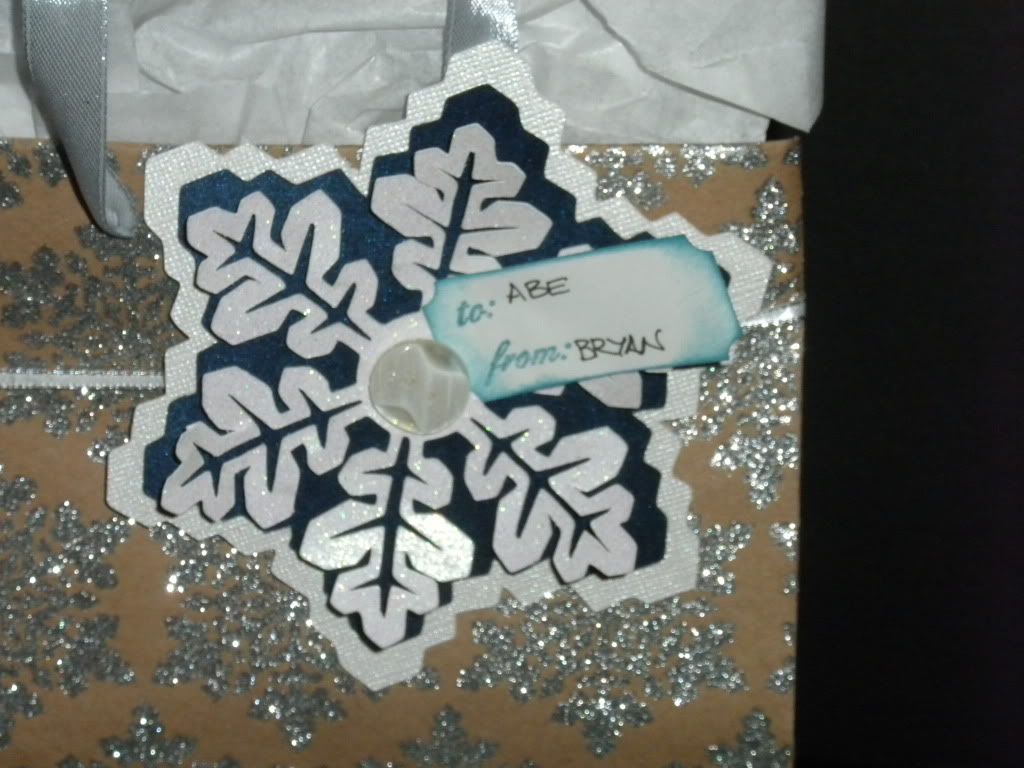
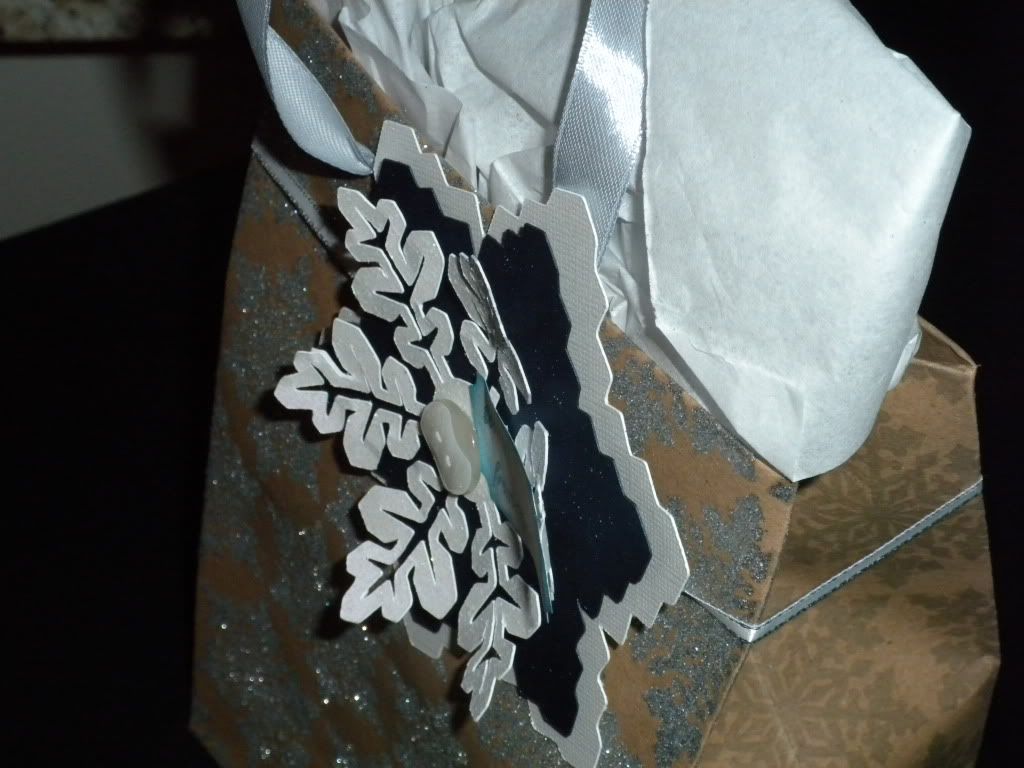
So this one is three layers. I used the Cricut Snowflake Seasonal cartridge and cut the shadow and the top layer at 4 1/2" for the white "black out" layer i just cut the shadow at 4 3/4". I did find that there was a definite top and bottom to this cut which sort of made me crazy when I thought this was going to only take a few minutes. Once I figured it out it went super fast. I used some fun white glitter paper and a shimmer navy I had in my scrap bin. I used a white/clear button for the center . The to/from stamp is from PBD and the shape of the tag is a Fiskers punch.
What I really love is the 3D effect of this gift tag. I only attached the top layer in the center and the other two layers were stacked with foam squares. I used some thin ribbon to attach it to the bag and once the gift is opened you can snip the ribbon a bit and have a great ornament for the tree.
Tonight is the office holiday party with a tropical theme. Its been raining here in Dallas for a couple of days so it should be interesting as there is sand and rain involved--LOL. I hope you are having a good week and we will see you back here on Friday!
Make it a great one


Very pretty bag...not to worry about your posts stuff happens and your fans understand....you are definitely missed...but soon it'll all be worked out...and can't wait 2 C what all you'll be a sharin'.....
ReplyDeleteVery nice, I like using my tags for ornaments! I love making snow flake projects! Here in Michigan it is very cold but no snow right now! I will have to make some to share.
ReplyDeleteI love anything made with snowflakes. What a beautiful bag and tag. Wonder what's inside? Have fun at your party.
ReplyDeleteWhat a awesome bag!Love it,Love how you did the 3-D ornament tag & the way you did the thin ribbon around the bag/tag/ornament!Great idea Thanks,have a awesome time at your Christmas Party.
ReplyDeleterosebud222222222
What a pretty bag Bryan! The snowflake tag is just perfect. I have been cutting small ornaments out of glitter paper for a friends tree, and I will definitely give the snowflakes a try after seeing your tag. Merry Christmas!
ReplyDeleteShellee