Wednesday, October 24, 2012

Halloween Treat Bag Topper Day Two

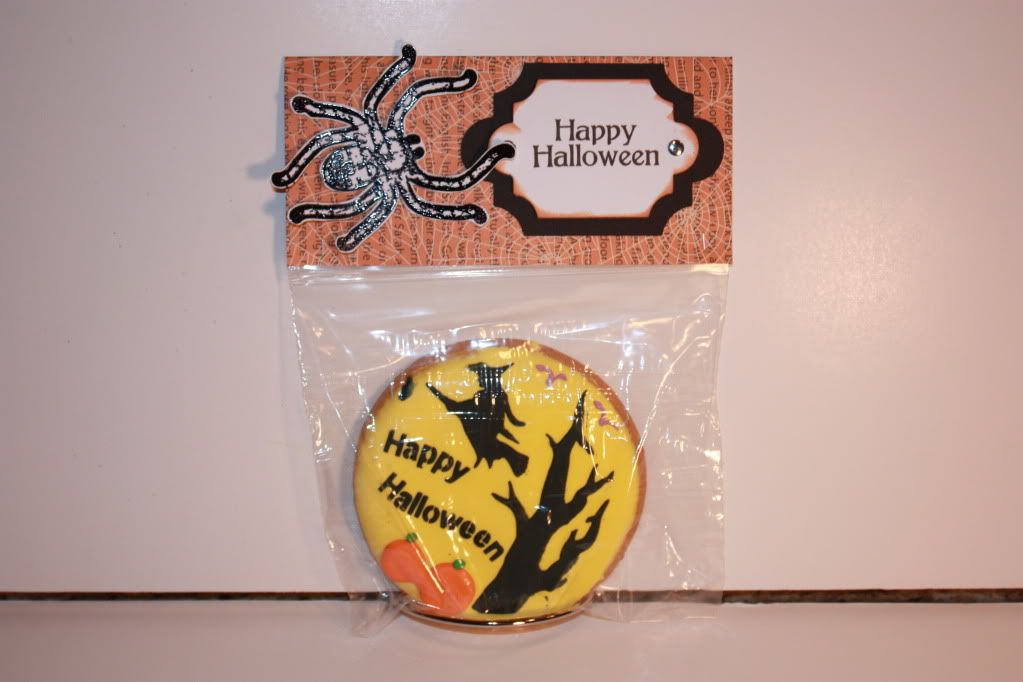
Here is the second of four treat bag toppers--these were so easy to make and pretty fast

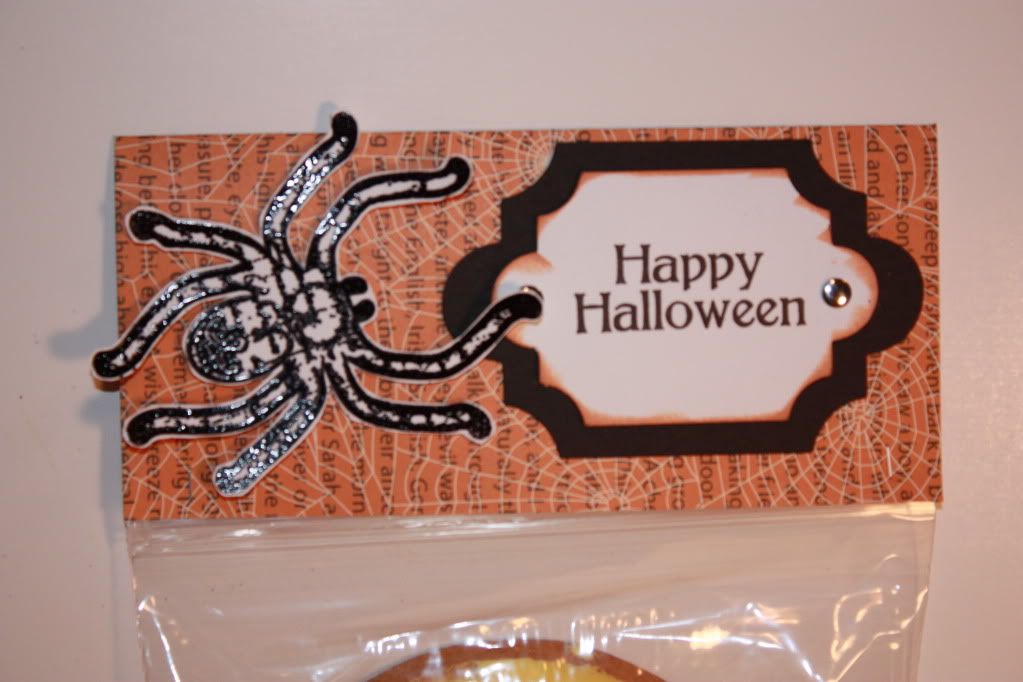
So this spider is heat embossed and hand cut--if you don't attach the legs down it feels like it has movement!  The top note is from the CTMH Artiste Cartridge!  So many great shapes so little time
Here is a close up!
Hope you have a great Wednesday and see you back here on Thursday--make it a great one!

Tuesday, October 23, 2012

Halloween Treat Bags Day 1

Hello Everyone--hope y'all are doing well.  This week I have a few treat bag toppers to share with you.
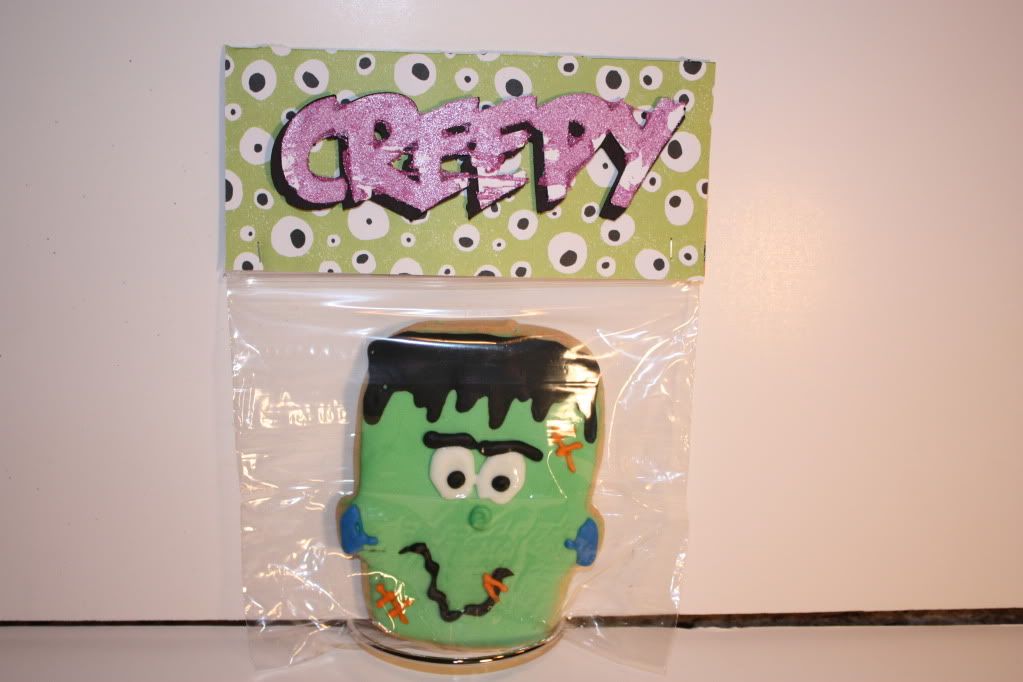
Here is today's topper
So I found these really well done sugar cookies and thought these would be perfect treats for some of the folks I work with--and who doesn't love a good sugar pick me up!
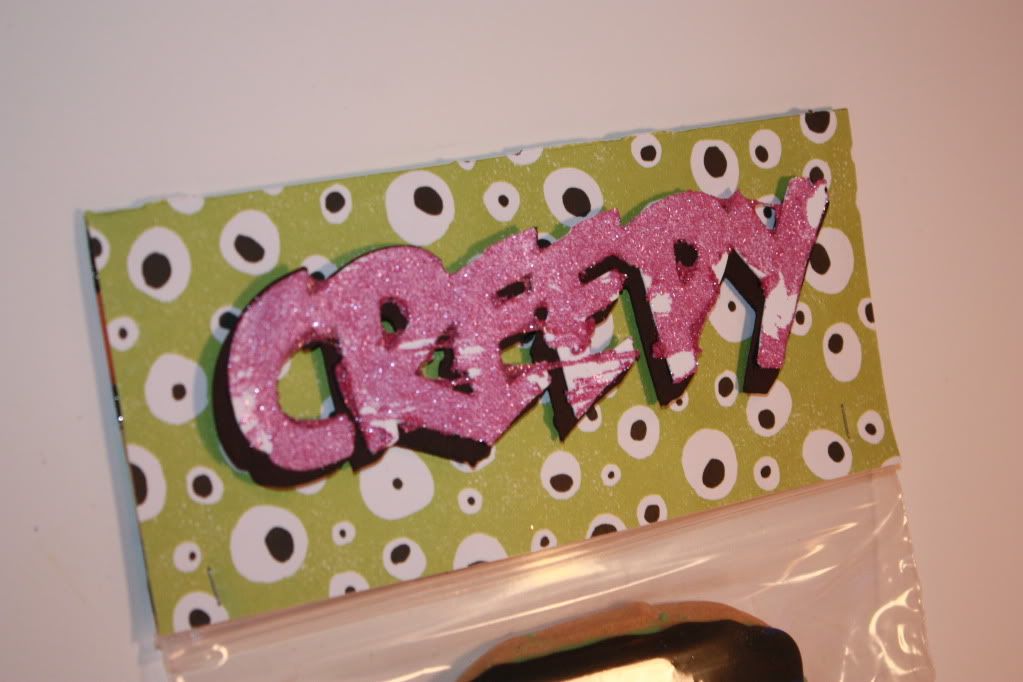
The eyeball paper is from a Martha Stewart Stack from last year and the Creepy cut is from the Cricut Frightful Affair cartridge and I used both the shadow and the top cut.  I got the 'mummy' wrapped glitter effect using my xyron and some fine purple glitter.  I love how it looks a bit like a ripped wrapped mummy!  I used ziplock bags to keep the cookies fresh and the topper is 6" long and 3" wide finished top to fold.  I used foam squares to pop the cut right off the bag topper!

So I have three more to share this week--and a couple of projects leading up to Halloween.  Once we hit Oct 31 I will flip to Thanksgiving and Christmas--got to get started on all those projects--and trust me this year I think I may have bitten off more than I can chew!

Make it a great one-
Bryan

Friday, October 12, 2012

Oh Christmas Tree!!!!

It's Friday!!!!! And boy has it been a long week.  I did make my first holiday card and I rather like it!!!!
The paper is all Close To My Heart, and this Christmas collection and the ribbon is the color ready seam binding also from CTMH.
The tree is a die from Papertrey Ink which I love and cut it twice and pop dotted the layers!
 On the inside I used a PTI stamp-one of the $5 sets of holiday sentiments, some CTMH embossing powder, and my handy dandy heat gun to finish it off.
Hope you all have a great weekend and I have more to share with you next week!!!!!
Make it a great one

Wednesday, October 10, 2012

Spooktacular Wine Tag

Well we have made it to Wednesday and the week is half over.  Halloween is one of my least fav holidays but there seems to be as many parties for it as there are during the holidays.  My go to host/hostess gift is a great bottle of wine.  I made this tag and think it may become my go to for all parties--it's fast, easy, and you can use all the small bits of paper you have in that scrap bucket.


The tag is 7" long and 2.5" wide--simple right.  I scored the fold at 2 inches from the top edge and folded over.  For the circle I used a 1 1/4" circle punch and I round the edges of the corners (top edge) with my corner chomper.  I cut strips of Halloween themed paper at 1" by 2.5" and place them on the tag.
I used a chipboard sticker I got at Wal-Mart at least a year ago and added some google eyes in the O's.
Super simple and it took all of 10 minutes to make.

Ok I will have another post for you on Friday--that's right three this week--go big or go home--LOL
Make it a great one-

Monday, October 8, 2012

Card for a wedding

Hello old freinds--it has been way to long.  Life has been crazy and I am just catching up on so many things right now.  I did get a chance to do a little bit of crafting and I think there will be more time in my not so distant future to really get my hands inky in my studio (also known as my old dining room!)

Today is my turn to post over at Pink By Design so head over and check out a card I made for a wedding I am going to next weekend.
Head on over for all the details and we will see hyou back here on Wednesday!
Make it a great one

Monday, September 10, 2012

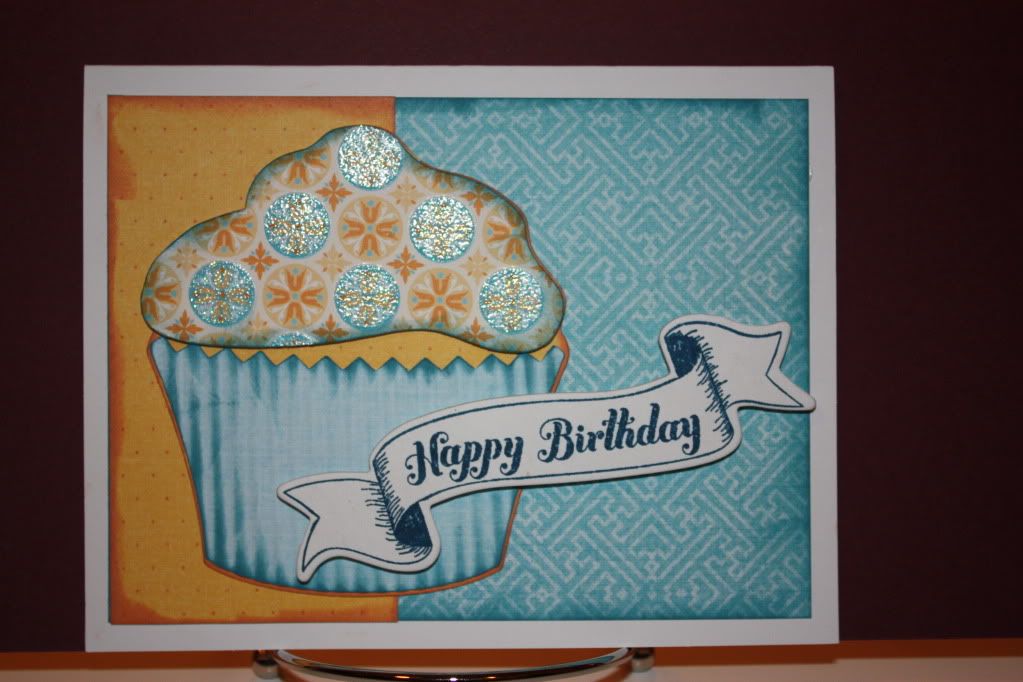
Fun Birthday Card

Hello Everyone--It's been way to long!
I have had next to no time to craft lately--even when I plan it out it does not happen.  I have really missed getting ink fingers, ATG sticky balls in my hair, and making cut on the wrong side of the paper.  When you don't get to craft much even the mistakes are fun.
Well I was able to pull out my Artiste Cartridge, the chipboard and stamps that came with it, and happened to whip up on of may all time fav cards (or so I think right now)
I love using papers all from the same collection--it just makes it easy.
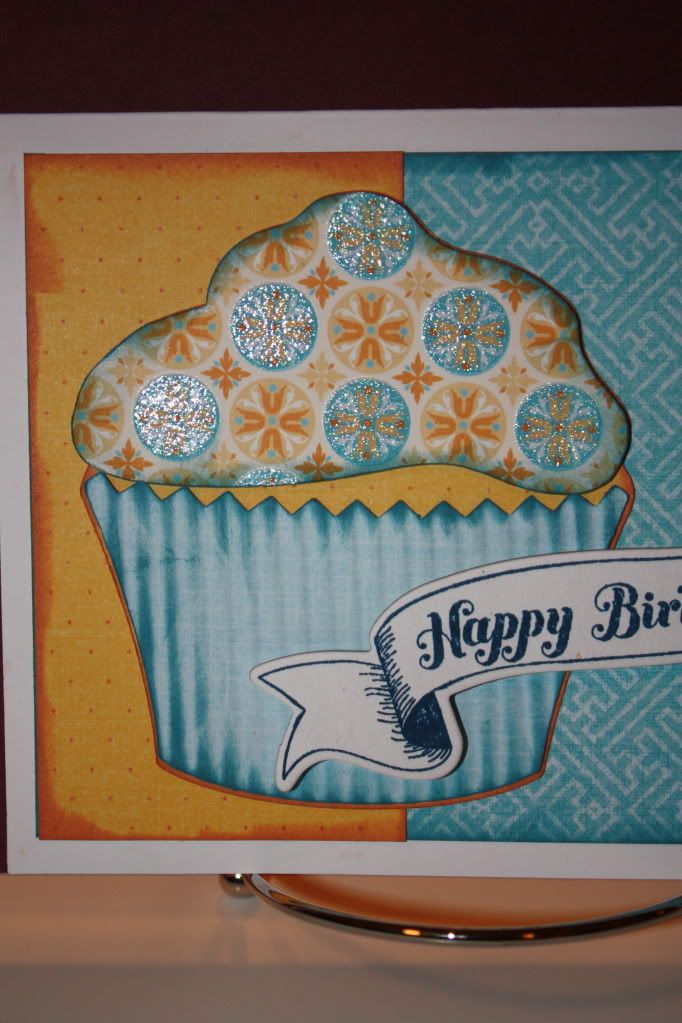
Here I cut the cupcake at 4".  It's three layers-base, the paper cup and the icing topping.
I sent the paper cup through the crimper (a much under used tool that takes up a lot of space in a drawer) before I inked the edges.  The icing was already a glitter paper (all from DCWV) so only had to ink the edges there, as I did with all the pcs.
So for my sentiment--I used the banner chipboard that came with the cartridge.  I used a dark blue ink with one of the matching stamps that also came with the cartridge.  I love this chipboard so much I am going to have to order bunches!
I have a couple of things complete to share this week--but next week I am off to Europe so there will for sure be a few Where in the World posts coming--London, Paris, and Dusseldorf!  I was recently promoted at work so my time is jammed full with projects and transitions--so I am so thankful  you all stick with me even when it seems I have fallen off the earth!
Make it a great one-

Monday, August 20, 2012

Pink By Design Team Day

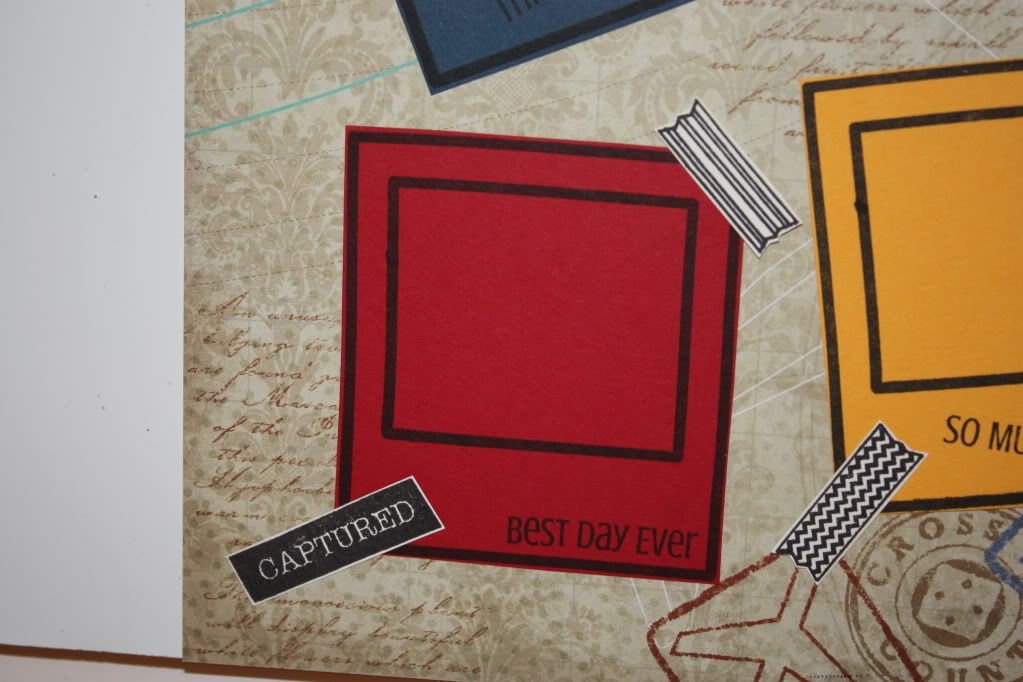
Well everyone--it's my day over at Pink By Design and I have a cute, easy, and super fun one page layout--here is a preview
Head on over to pinkbydesignstamps.com to see all the pics and details--
More projects this week that you are going to want to see---
Until later-
 
Designed by Lena Graphics by Melany