Thursday, May 5, 2011

Sarah the Pink Cricuts Super Secret Suprise Birthday Blog Hop

Happy Birthday Sarah!  In celebration of Sarah's birthday we have planned a Super Secret Surprise Birthday Blog Hop!  Say that 7 times while spinning in a circle. 
 
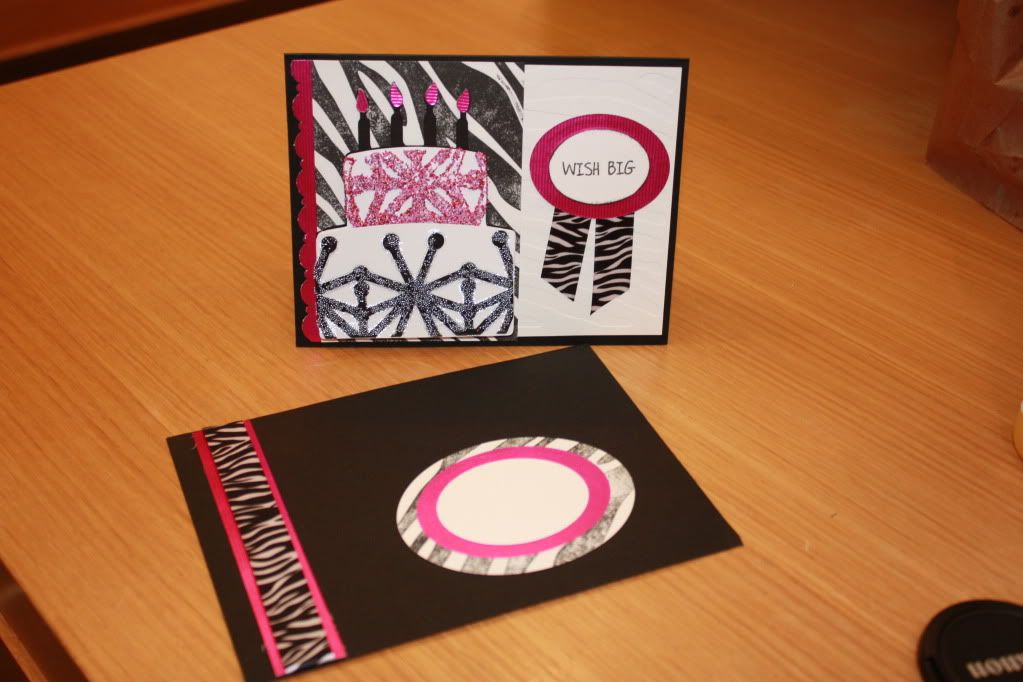
Since Sarah's fav things include zebra and pink I thought this was very fitting
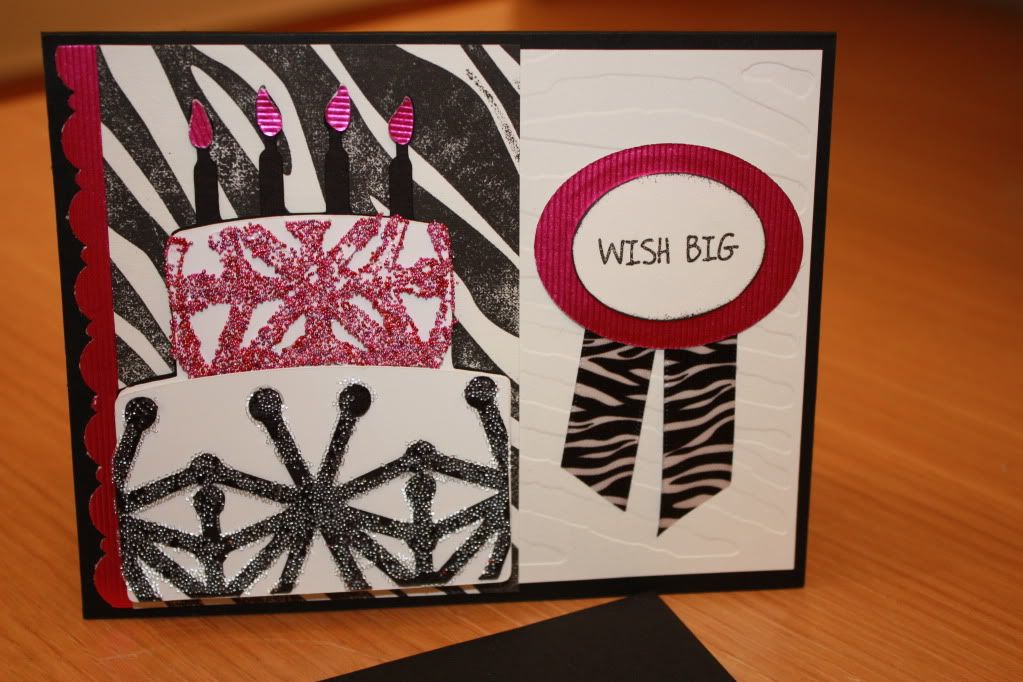
I simply love this cricut cut and the colors are so much fun!
I used the Pink By Design Zebra background stamp and layered up the cake with foam squares. I punched a border from the metallic paper to run along the left side to tie in the pink.
The cake layers were cut and assembled with foam squares and 3m quick dry glue.  I sent the 'icing' accents through the zyron upside down and added clear and hot pink micro beads (sprinkles) to give it some bling and a cupcake kind of feel.
For the far side of the card I made a birthday badge--inking the edges and using a Pink By Design Stamp set called Oh Boy!  (one of my all time favs).  I found this zebra ribbon at Michael's--perfect for this card.

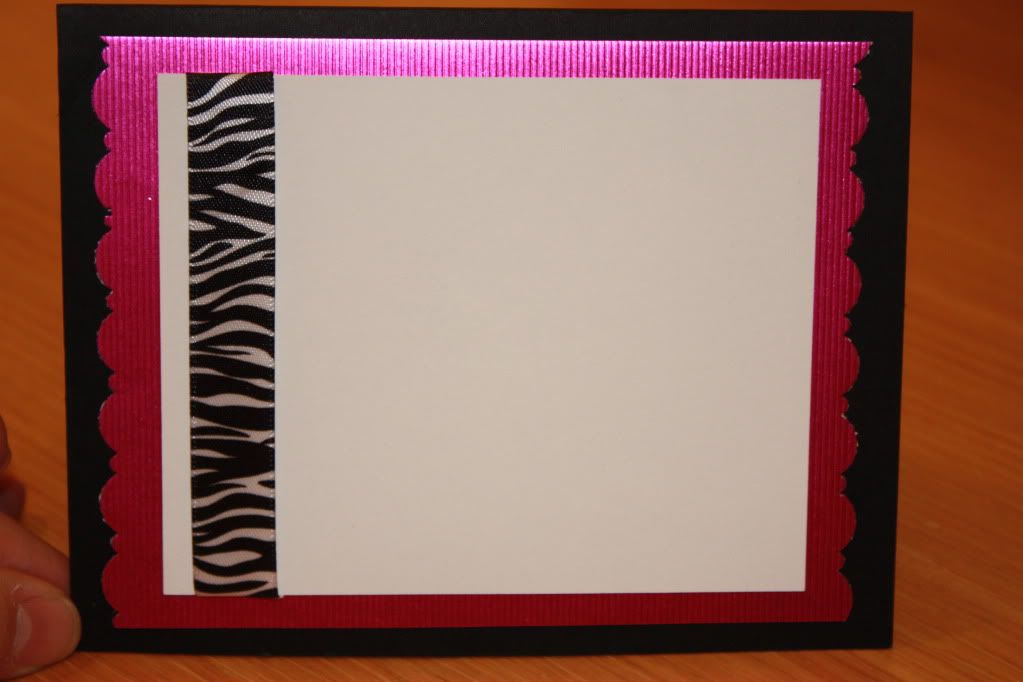
Of course I had to do something with the inside--a little ribbon, some shiny borders and a white base to write in--easy and simple yet adding a nice punch!

 OK, so now to the hop part--below you see the list of everyone taking part in this fun Hop!!  There are a number of prizes and lots of great projects to be seen so make sure you stop and see everyone one listed.  To have a chance to win the blog candies (cause there are many) you have to leave a comment on each blog and you have to wish leave birthday wishes on Sarah's blog (hers is the last one listed).  Links are next to each on so click away. 

The blog candy I am offering is one of the great Close to My Heart books that I love to use and own all of them.  You will love it cause if you are ever at a lack of creativity or out of ideas--this will be a go to guide!!! Winner will be announced on Saturday!


Paula~www.morethanfavors.blogspot.com/
Kristi~www.littlepapersprinkles.blogspot.com/
Nikki~www.scrappinnavywife.blogspot.com/
Guest Designer Pinky~www.blueyecicle.blogspot.com/
Elizabeth~www.217creations.com/
Candace~www.papercraftsbycandace.blogspot.com/
Michelle~www.scrappinwithmybug.com/
Jenny~www.crazyaboutcricut.blogspot.com/
Guest Designer Momo~www.madebymomo.blogspot.com
You are here Now Bryan~www.scrapguy.blogspot.com/
Meriah~www.twoscraptasticgals.blogspot.com
Sarah~www.pinkcricut.com (Kyle will have a project to post on Sarah’s Blog)

If you are new to my blog--feel free to become a follower as I post projects 3-5 times a week.  Make sure you hit up all the blogs cause there are treasures (ideas and candy) beyond every click of the mouse!
Make it a great one!

Wednesday, May 4, 2011

More Sneak Peeks with Pink By Design

So sorry nothing was posted on Tuesday--on a business trip and it is a crap shoot when it comes to time no matter what I plan it is always a moving target.  So today I have two!!!!
Sneak Peek Number 1

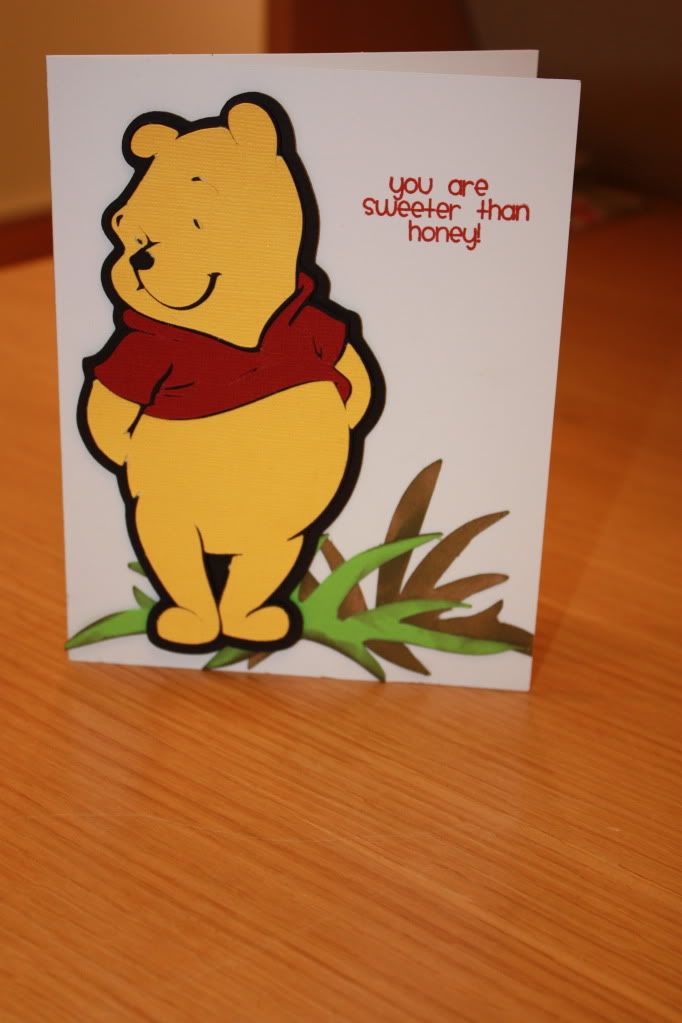
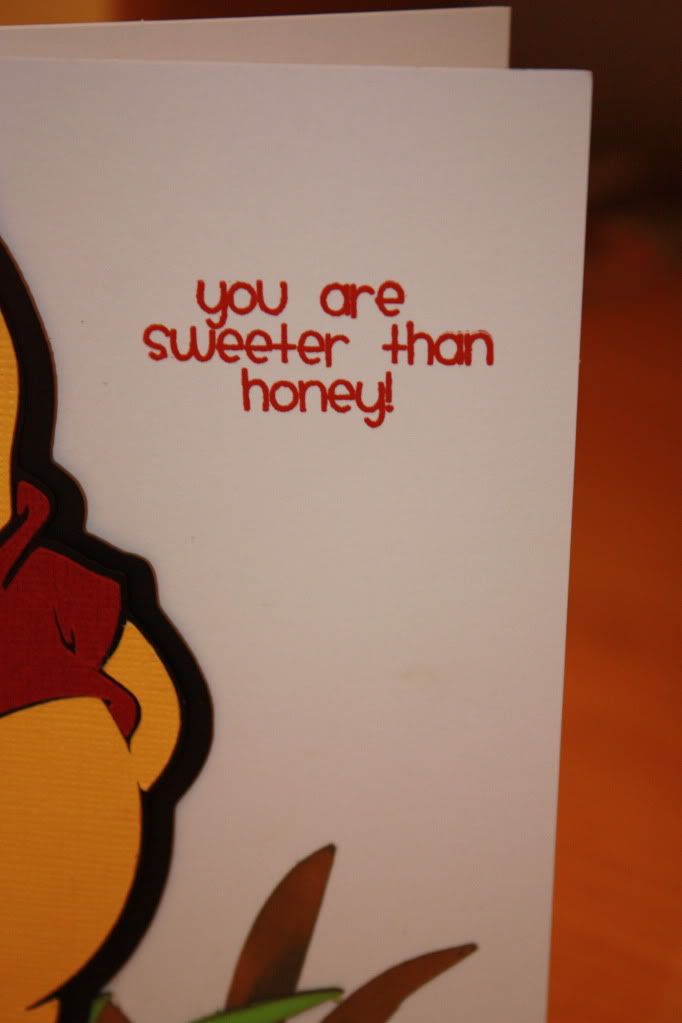
This set has a ton of great sentiments to go with all of those animated characters we all love but hate to cute on the cricut because of all the small bits!  That is why you have an Imagine!  In all honesty this one was pretty easy off of Pooh and Friends--key to the cut is make it as big as you can size does matter when it comes to these cricut cuts.  The are some great sentiments to go with all of the Magic Kingdom original characters!!!!  This set is going to be a lot of fun

Sneak Peek Number 2:

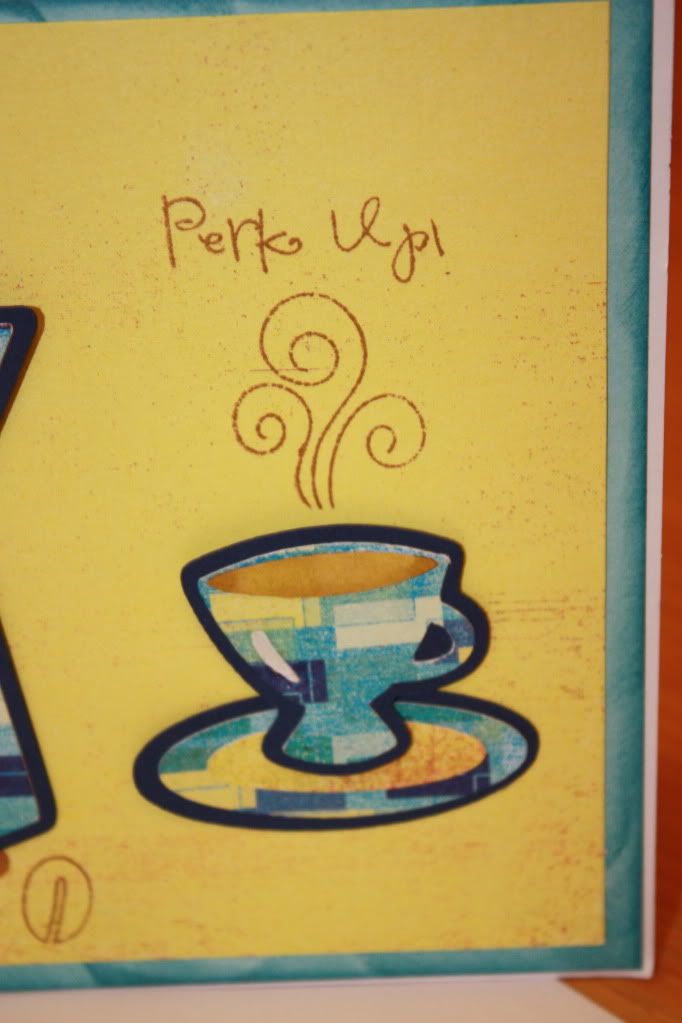
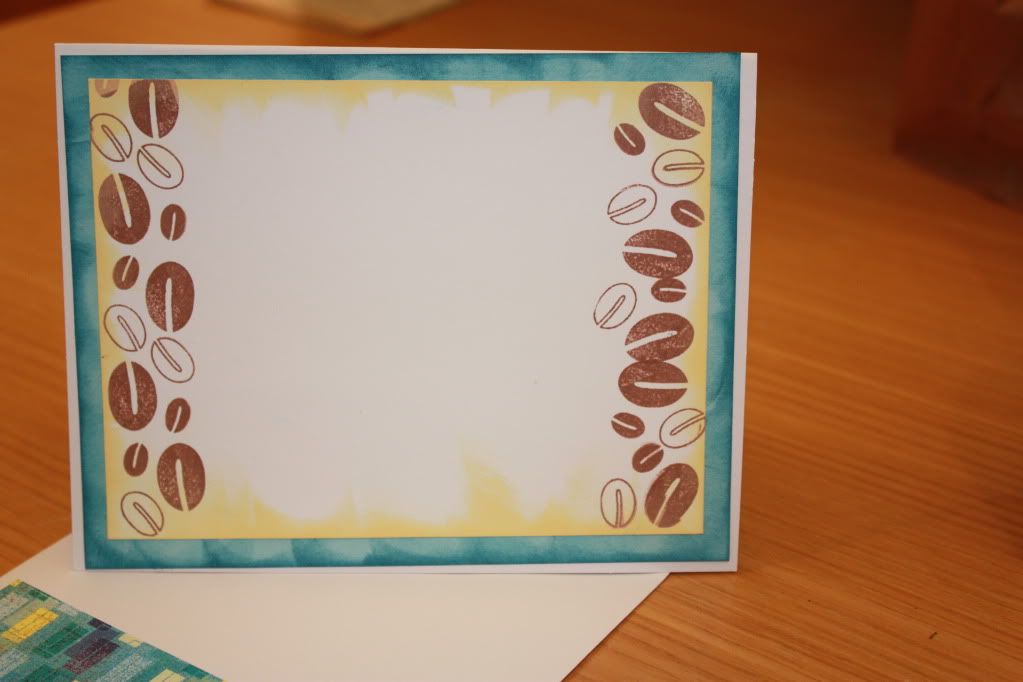
This set is all about coffee--shapes and a couple of essential sentiments--this perk up is so cute.
The cricut cut is from the kitchen cartridge and the paper is Basic Grey!
I love the steam stamp!!!!!!!!!!!!!!!!!!!!!!!!!!!!!!!!!!!!!!

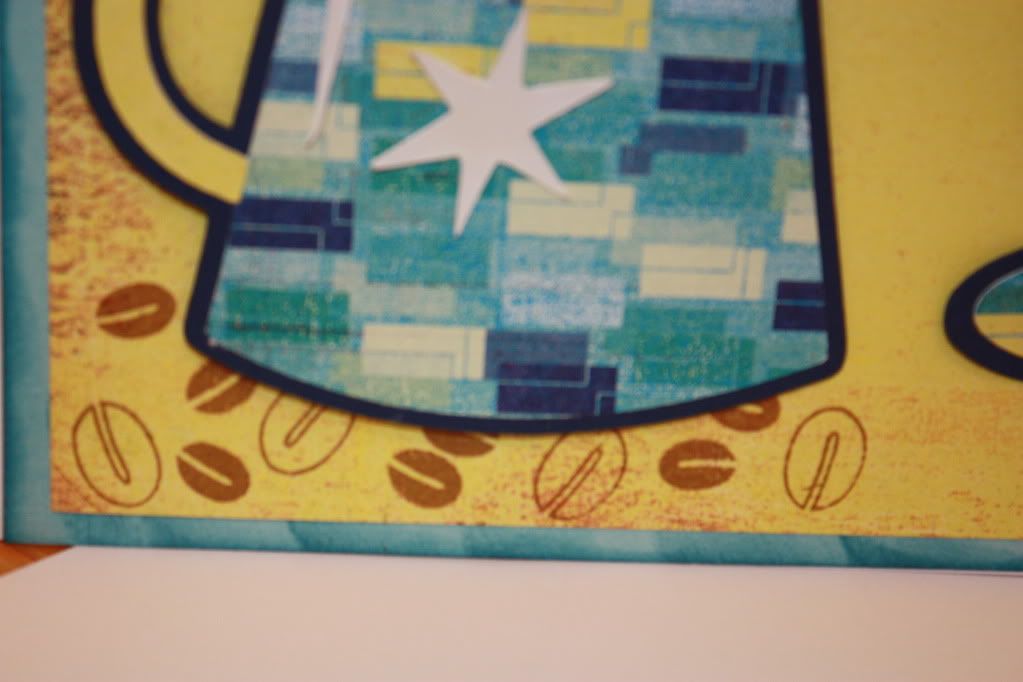
I used three different coffee beans for this pattern that I also used on the inside of the card.

You got to remember the inside of the card--and here I used the same coffee beans from the front and created my own border stamp!  This set is so cute and if you check out some of the other  peaks you will also find a coffee background and a whole set of sentiments!! Three must have sets!!!!
Check out the Pink Cricut and the other talented design team members cause their projects are super cute as well--and don't forget the release on the 5th!!!!

Monday, May 2, 2011

Pink By Desgin Sneek Peek with the Red White and Blue

Hello everyone! What a Monday to be in NYC.  After the President shared the news last night I felt like I had to go to ground zero this morning. 
Before I left Dallas I had been working on some Sneak Peeks for the next release of Pink By Desgin Stamps and rearranged the posts to do this one today.
The flag is a two part stamp and I used CTMH heat embossing powder on both. 

The 'USA' stamp is also part of this set and I used white craft ink on the blue paper.  The ribbon is from my statch but I am sure you will be able to find something close at Michaels very soon. 

Relase date is this Thursday (which is also Sarah's Birthday) so make sure to check out the Pink Cricut for all sorts of stuff this week.  I will be posting sneak peeks all week so make sure to check back every day!

Saturday, April 30, 2011

Guest Designer on Everyday Cricut TODAY!!!

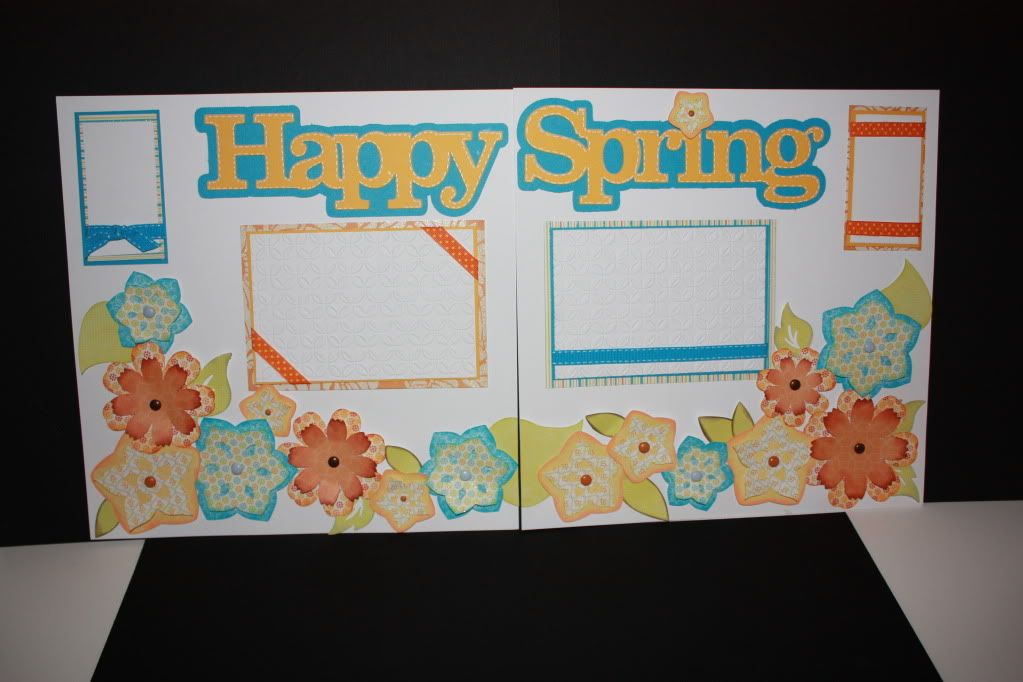
Happy Saturday everyone!  Today is my guest designer spot over on Everyday Cricut.  Head on over there to get all the details on this bring spring double page layout!!!
If you like the flowers from the Mother's Day Bouquet Seasonal Cartridge make sure to check out the other posts this week for even more inspiration!
Make it a great one-

Friday, April 29, 2011

Pink By Design Team Friday!!!!

It's Friday!!!!! Today is Pink by Design Team Challenge and it was to make something for Mother's Day!
Here is what I came up with!

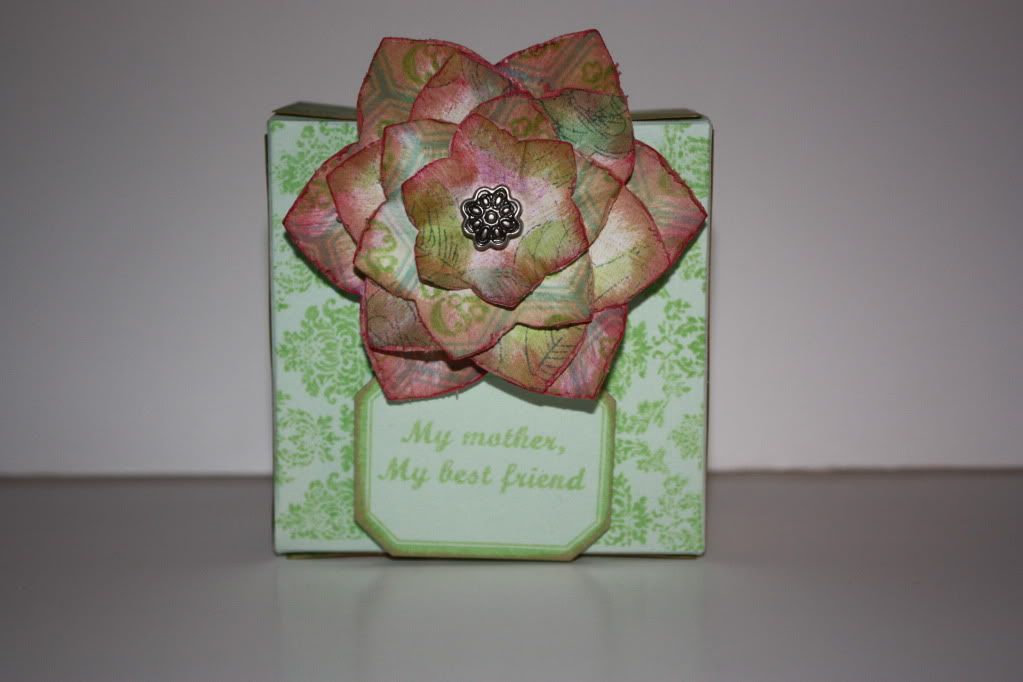
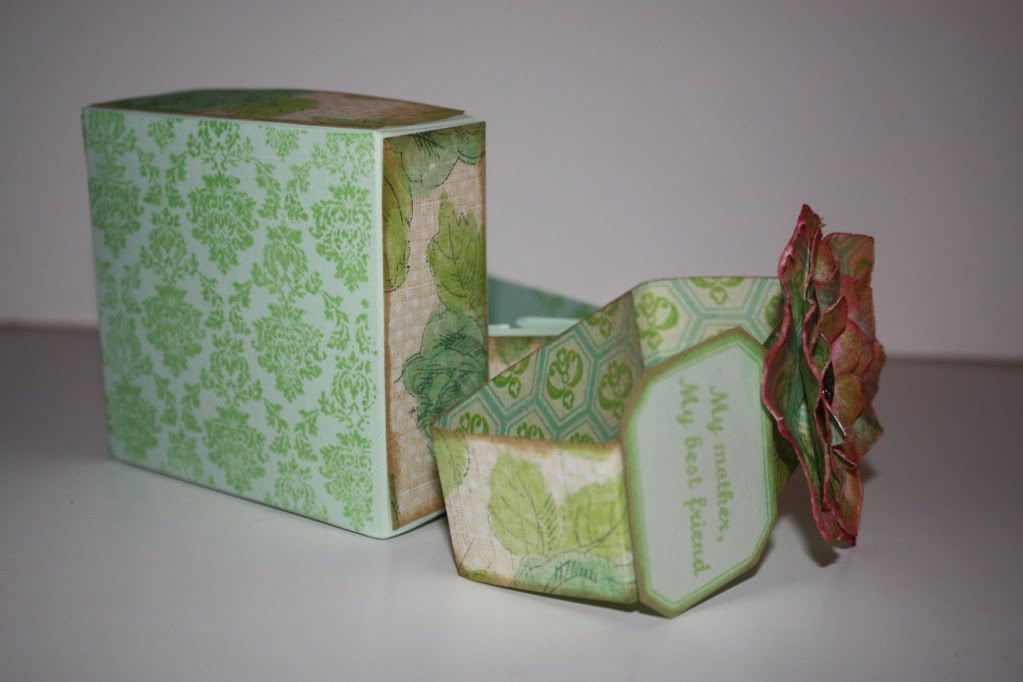
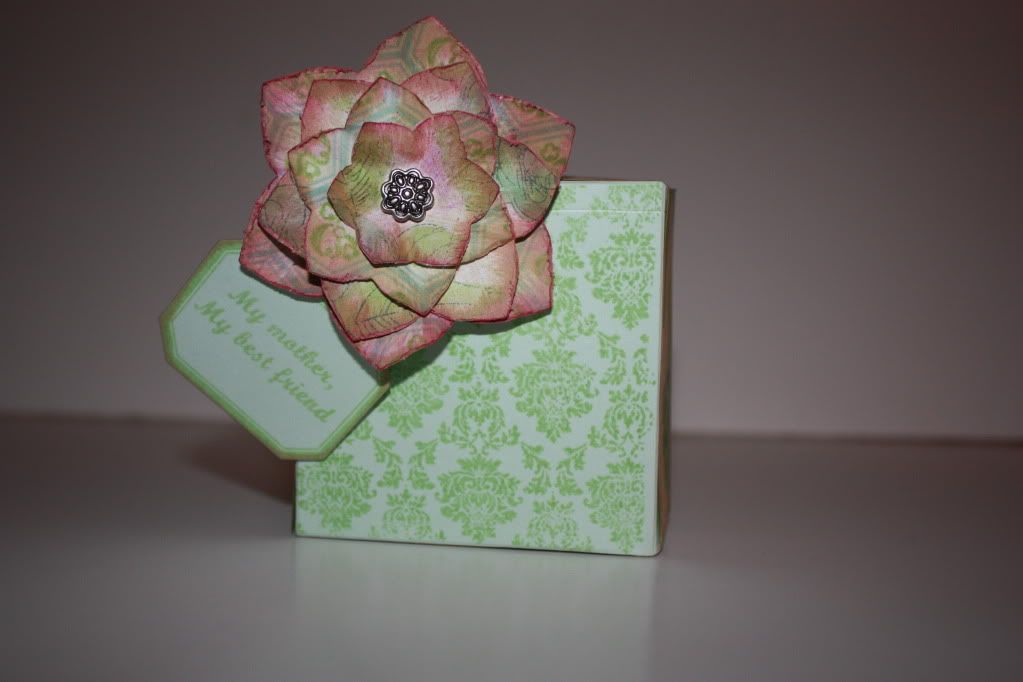
It's a 3x3 gift box with belly band.  I used CTMH solid paper and K&Company patterned paper (just one sheet of each).  I stamped the top and bottom of the box with the Pink by Design Damask background stamp in the matching ink color--I came off looking like a nice printed sheet of paper.
I cut strips of the K&Company patterned paper to line the sides of both the top and bottom of the box, inked the edges with the PTI Chai ink--love this stuff!!!!  Attached them with my ATG to the lid and base.
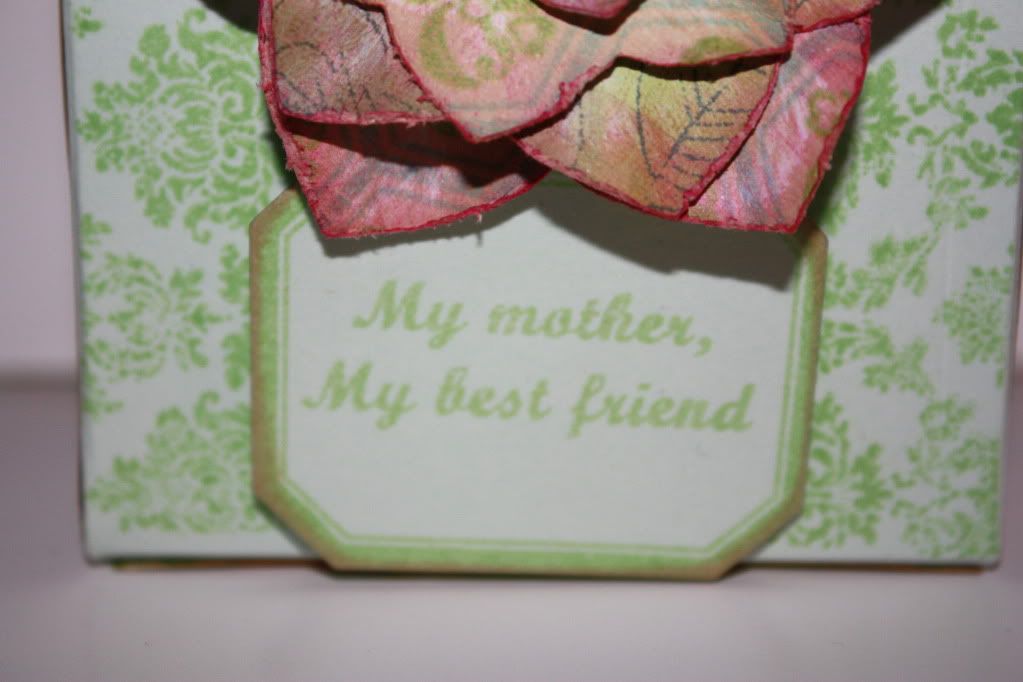
So for the sentiment I used a PTI die and border stamp and the Pink by Design Our Mothers stamp set.  I attached it to the belly band at the bottom and attached a layered shaped flower to the top.
I also inked the edges of this with Chi as well.  Now for some info about the flower!
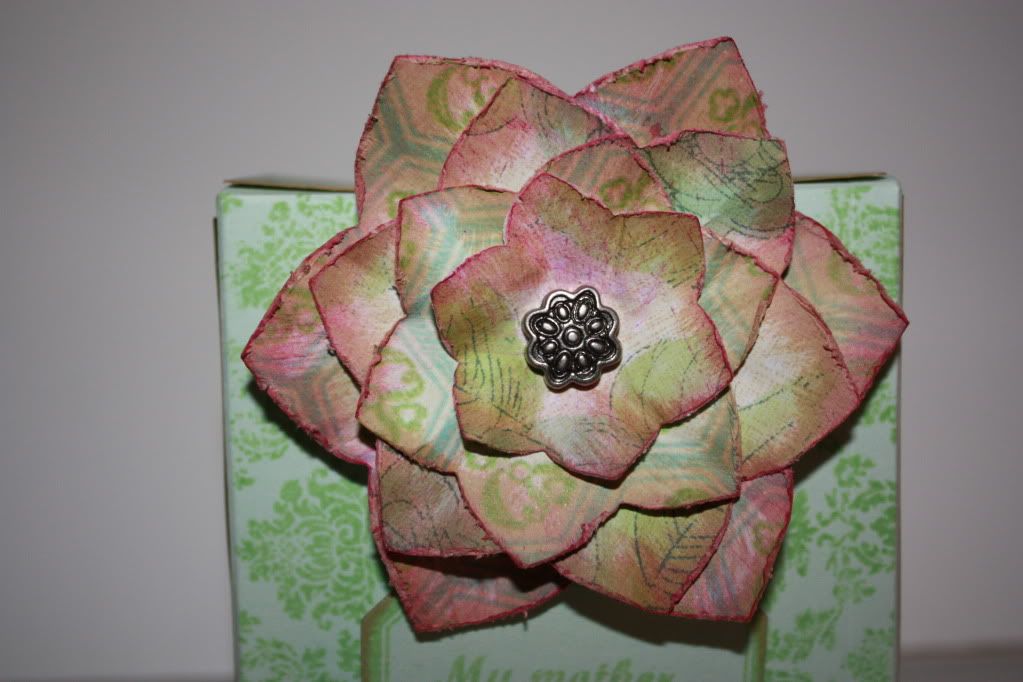
So I used the Mother's Day Bouquet Cricut Seasonal Cartridge all four layers are the same shape---easy right!  Each layer is 1/4" smaller as you move towards the center.  I used the PTI chi and some Color Box Chalk ink in a pinkish red to ink the edges of each layer.  I folded and rolled each layer before building the flower.  I lightly (and I mean lightly) sprayed the layers with a litter water (hardly a mist) and shaped while wet--let it dry and you get some amazing results.  Once dry I layered each cut up and used secured them with an vintage floral brad.  I also roughed the edges before inking--sort of how a rose looks and feels--I really love the way it turned out.
Thanks for stopping by and make sure to head over the Sarah's blog The Pink Cricut to see all of the other projects made by this super talented design team!
Make sure to come back on Saturday morning and check out the project I made for Everyday Cricut!! It is a super cute layout!
Make it a great one-

Wednesday, April 27, 2011

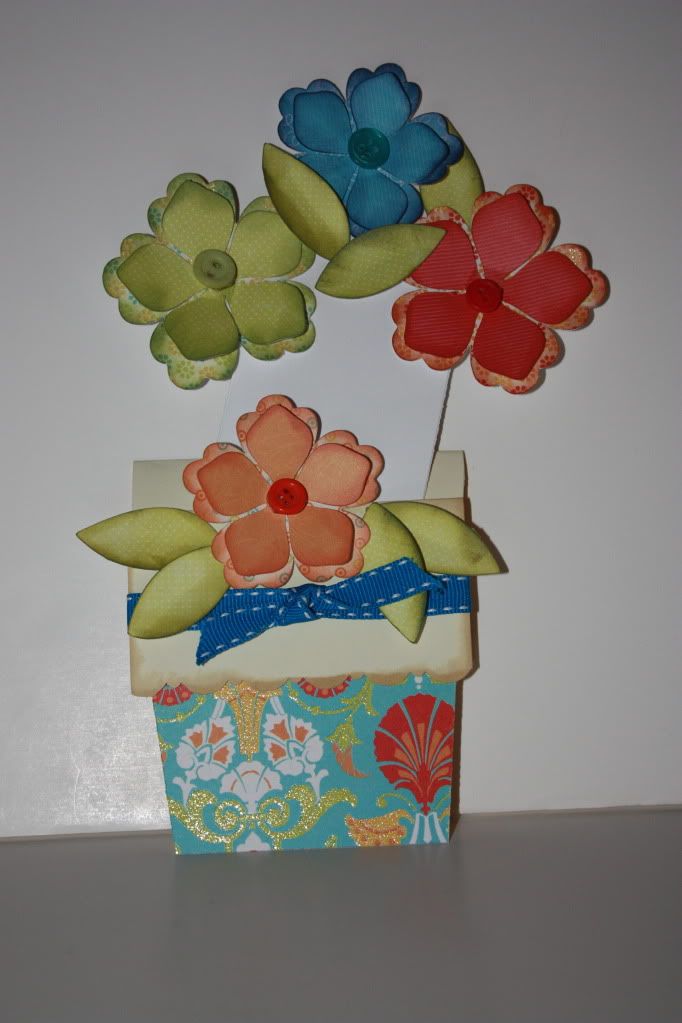
Pot of Posies using Cricut Mother's Day Bouquet

It's Hump day!!!!!! What a week--work has tried my ever loving last nerve this week and it's only half over!  I have to admit every time I look at today's card I do get a lift in my spirit. 
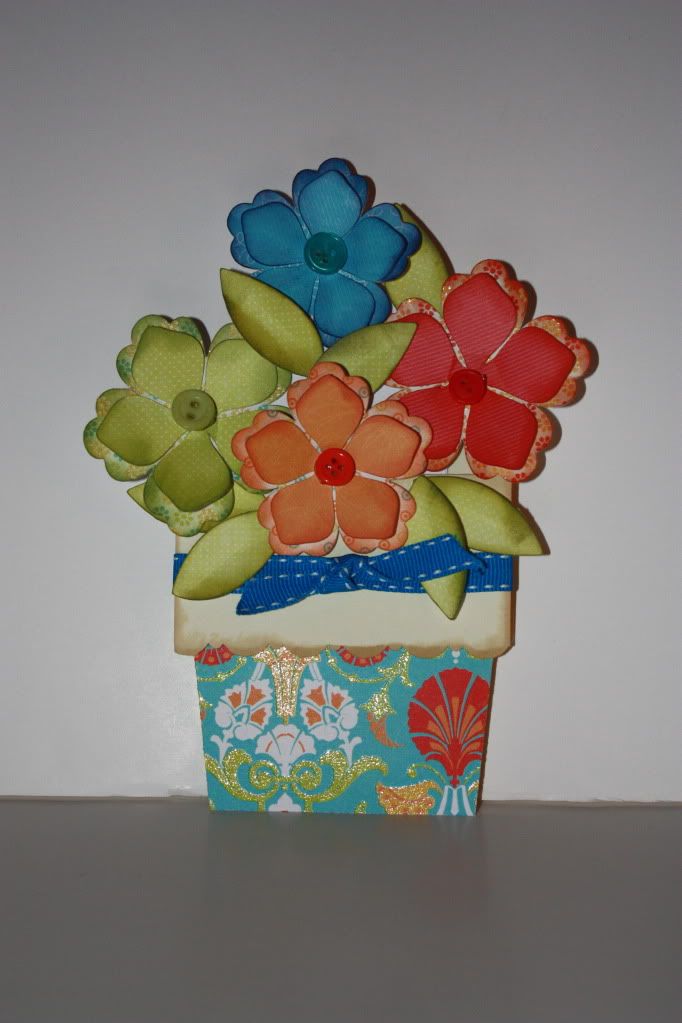
I just love the Mother's Day Bouquet Cartridge.  If there was ever a perfect card to make using it, it would have to be the flower pot.  I used DCWV Citrus Paper collection and lots of chalk ink colors, a few tiny buttons and a lot of glue dots!
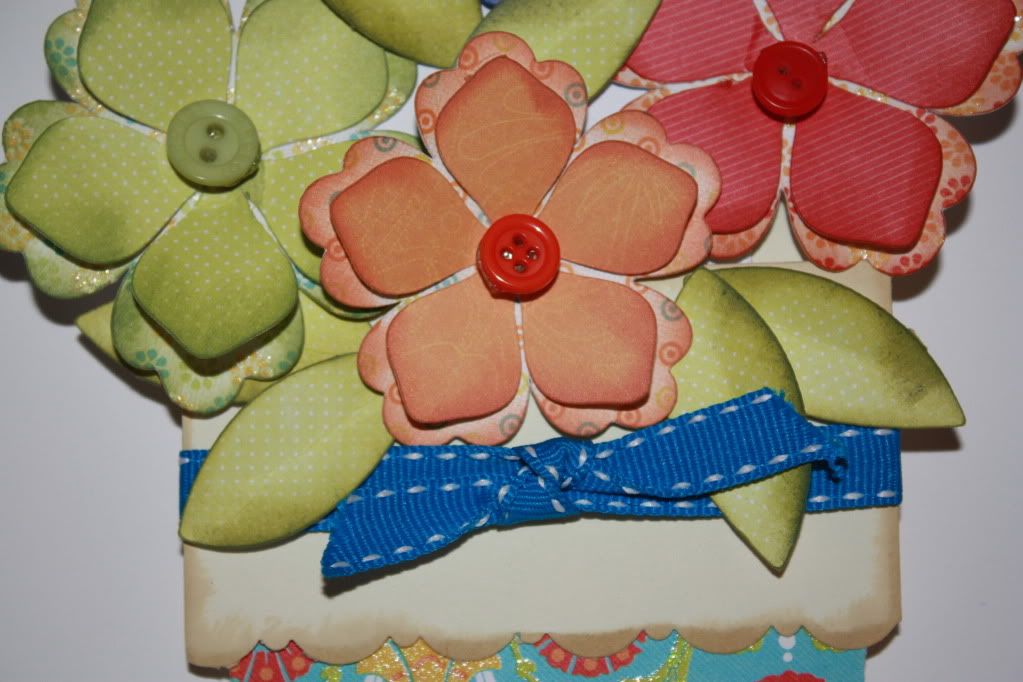
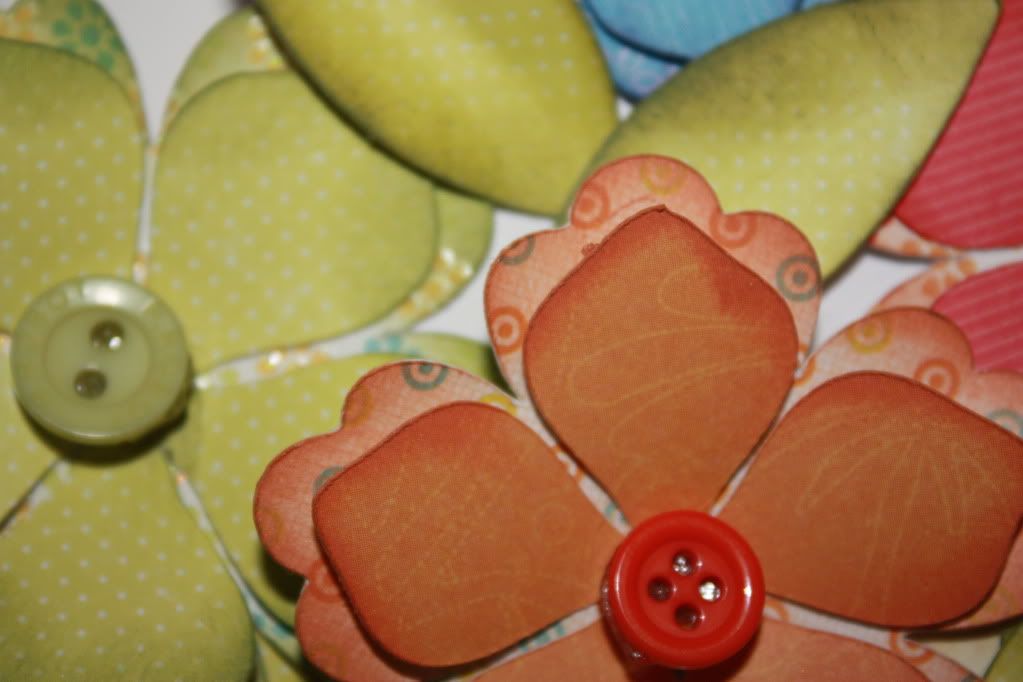
Here is close up of some of the flowers and how the inking gives a lot to each flower.  I also used my knot as my bow looked pretty bad--think I need to get Mel from Everyday Cricut and Courtney Lane Designs to give me some lessons! LOL
A super close up to show (at least try to show) how adding layers of color can really give more to your creations than just one single color. 
It is a card so the top three flowers were placed just so to cover the card insert, and I never was so glad to have a few extra leaves just to help round it all out.
My bottom layers for the flowers were cut at 2" and 2 1/4" and my top layers were cut 1/4" smaller, leaves were cut at 1 3/4".  This one may have made it into my hall of favs.
Make sure to stop in on Friday for the Pink By Design Team creation and on Saturday for my double page layout for Everyday Cricut!
Make it a great one!
Monday, April 25, 2011

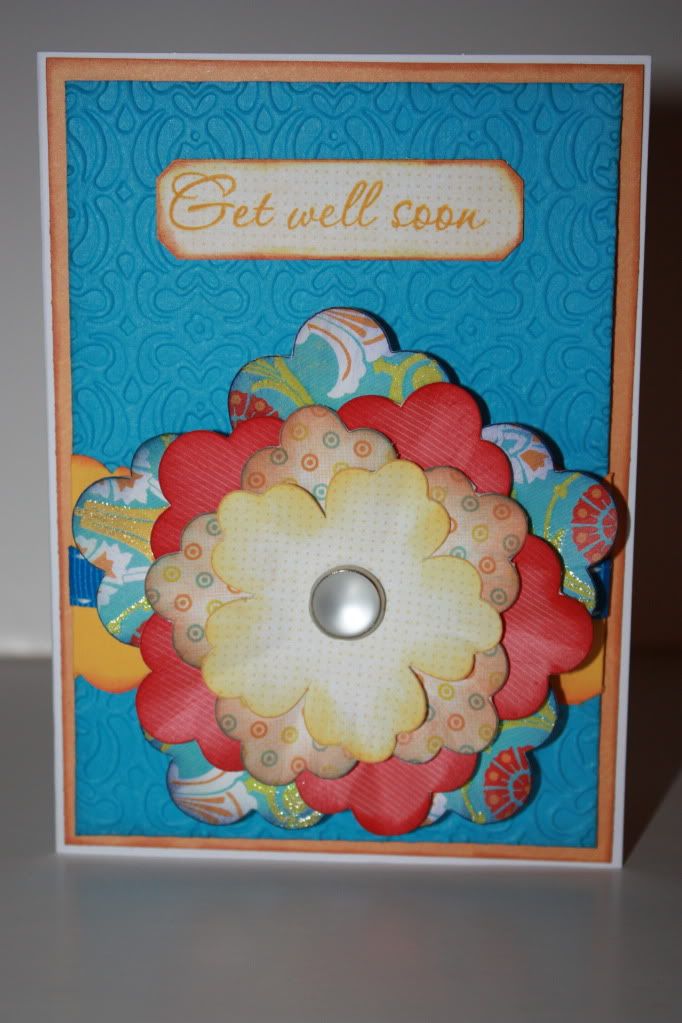
Get Well Soon...using Cricut Mother's Day Bouquet and DCWV Citurs Collection

Hello everyone--hope you had a great holiday weekend.  I was off for three whole days and I only answered three work emails!  I feel like I could get a lot done this week.
So over the weekend I was able to get a few projects for this week done, photoed, and uploaded!
Two cards, a fun box, and a double page layout!  Talk about getting it done!
This is a simple card with lots of color! A for sure feel better to anyone that is not feeling well.
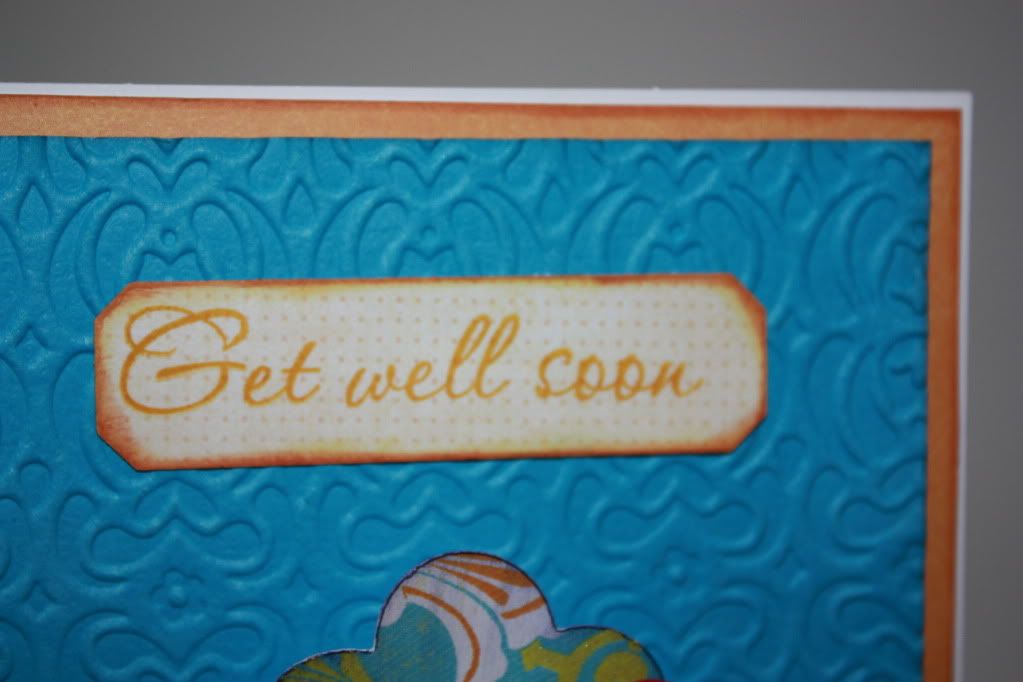
The solid paper is PTI and the pattern paper is all DCWV Citrus collection, sentiment stamp and die cut are also from PTI.
I used the cuttlebug and a sizzix folder to make the embossed background.  I just got a big order from PTI and this new die set is great!!!!!
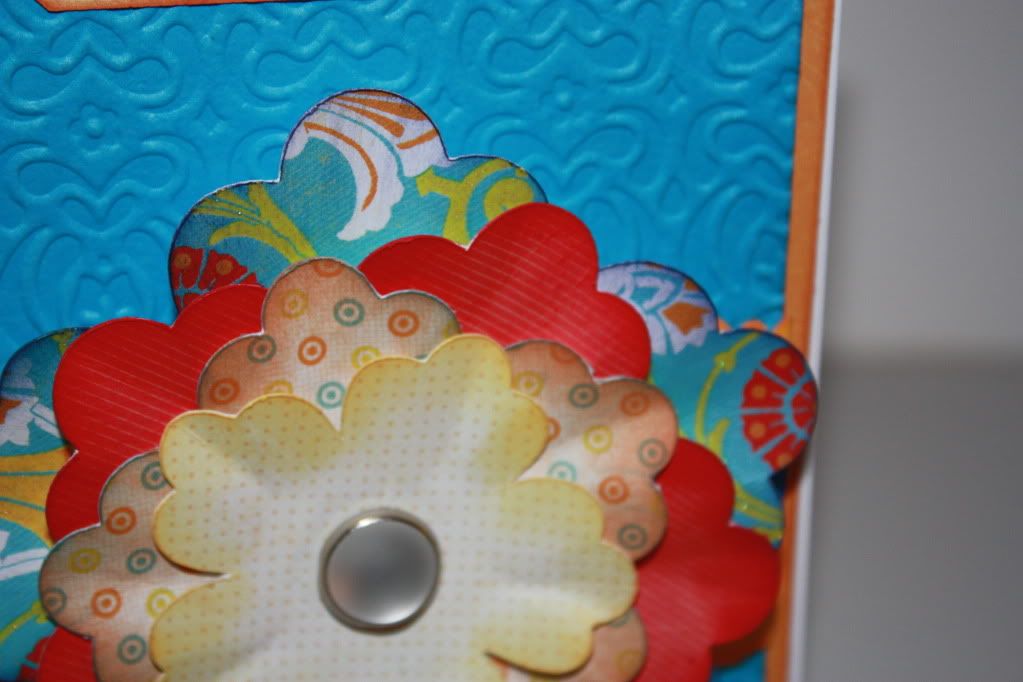
So my flower is one that I have done in the past but love the look and I super sized this one! The Cricut Mother's Day Bouquets cartridge is packed full of great flower shapes. ALL the layers are different patterns and I inked the edges with fun color to add to the brights in the paper.  I also did some creative folding/creasing to give it a 3D effect.
I added a double layer matte on the inside with plenty of space to write a message!
I will warn you that i went a little crazy with this cartridge so if you have it I have  a number of ideas to share this week!
Make it a great one!
 
Designed by Lena Graphics by Melany