Hope your Monday is off to a great start. I am super excited to share this one with you all. One of my blog, Cathy, gave me this challenge!
My youngest grandson is turning one soon and I challenge you to come up with a super special card design. I have been making him a new card to celebrate that month's birthday and have tried to keep them exciting. So......I have run out of ideas. Please help! Have a great trip! Seems like you spoke about a store in NYC that had vintage stuff too. Enjoy!
So I thought what better than an exploding box. Not only will it make a super cool card (and be the talk of the party) but a great place to put keep a picture from each month of his first year!
The box is pretty simple to make--in the video I only used solid paper--hoping your creative juices will be flowing and you will see the limitless opportunities for this project!
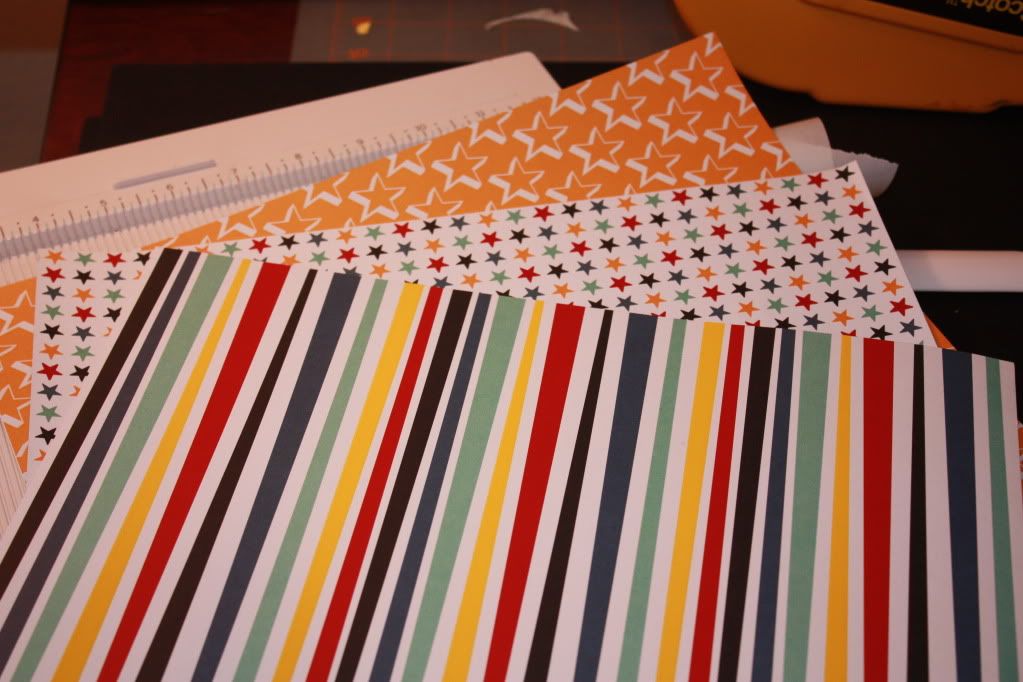
These instructions were given to me and I thought it was going to be a tough project--boy howdy was I wrong! It was really easy and a lot of fun. I started mine with three sheets of American Crafts paper from Michael's and one sheet of solid white
These are double sided--solid color on one and pattern with UV print (glossy) on the other. I want the patters to be visible inside so I will use the solid side of one for the outside. I am going to start with the stripes.
Once I finished cutting and scoring my bottom layer--I lightly inked the outer edge of the red, rounded corners, and used the scraps to accent the outside. I used each layers scraps, just the reverse side on each layer.
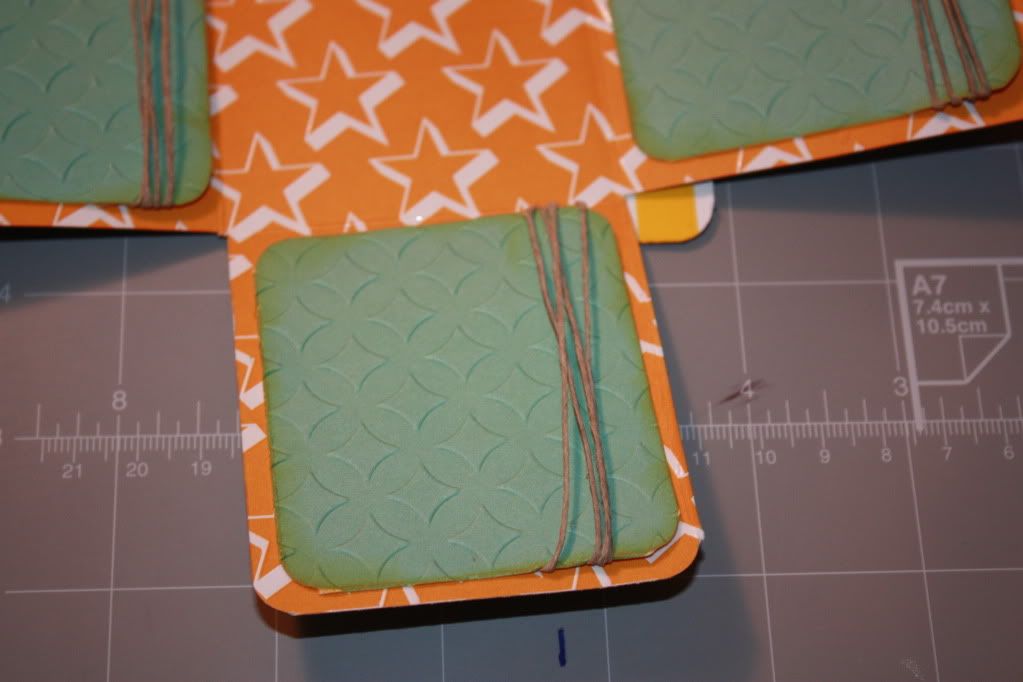
Here is the second layer--again I used the solid side of the scraps to accent this layer. I sent them through the cuttlebug using an embossing folder (not Cuttlebug) and wrapped the edges with twine--you can still slip photos in under the twine.
Here you can see the embossing. I also inked the edges with yellow ink to tie it back to this layer.
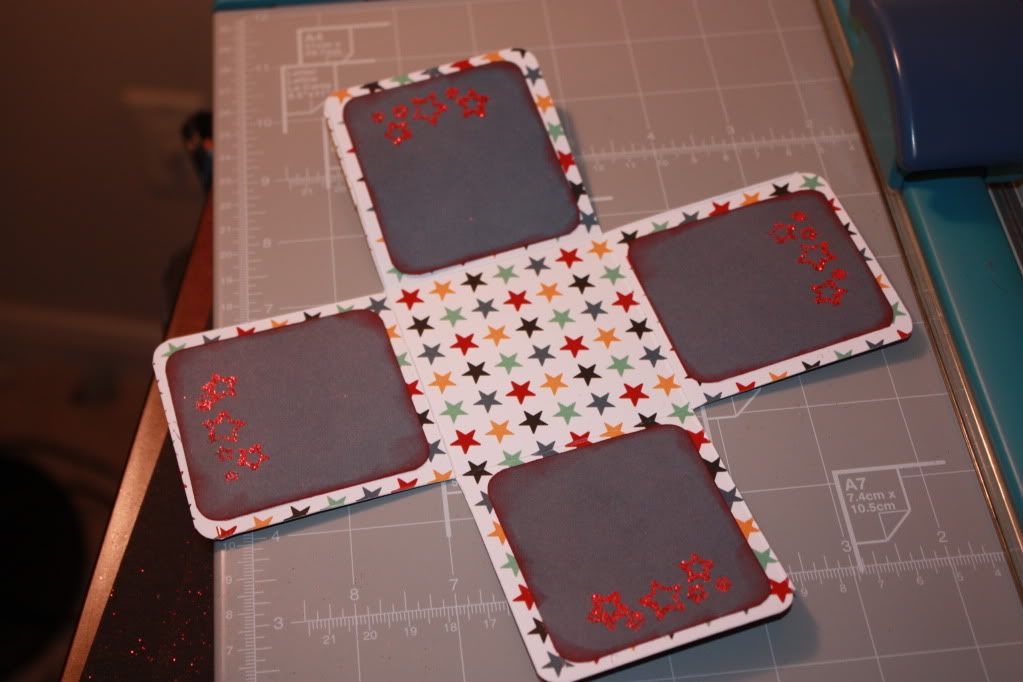
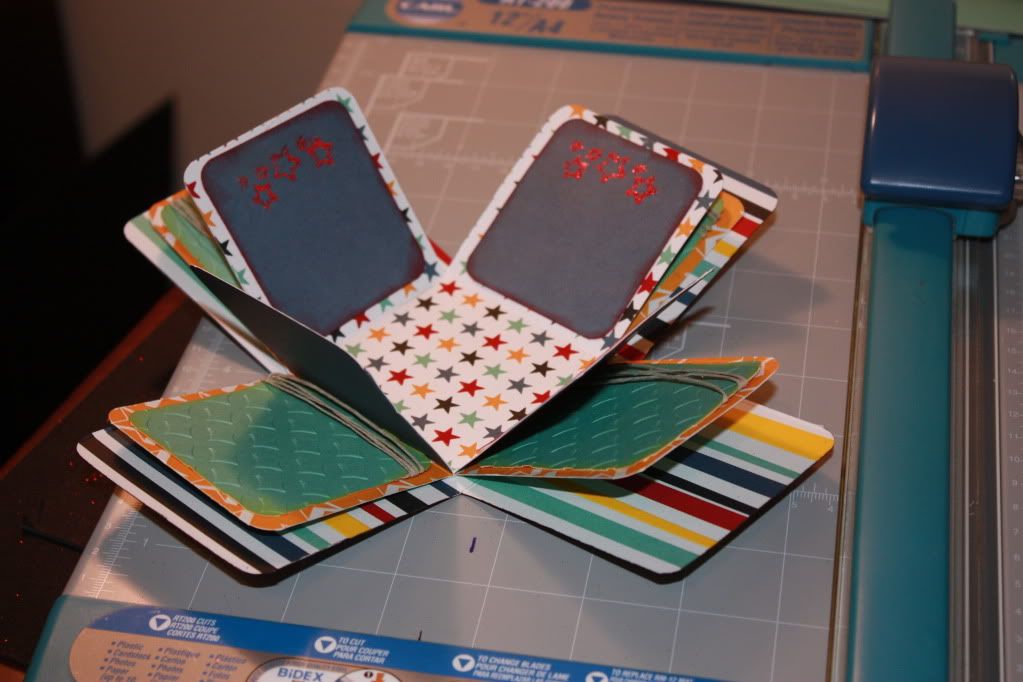
The inner most layer is pictured here. I loved using stars and stripes--thought it really was a good combo for a boy--but you could do it in holiday paper for Christmas, in pinks for a girl, in Easter prints for Easter, wedding or elegant papers and hide the ring in the center--the possibilities are endless!
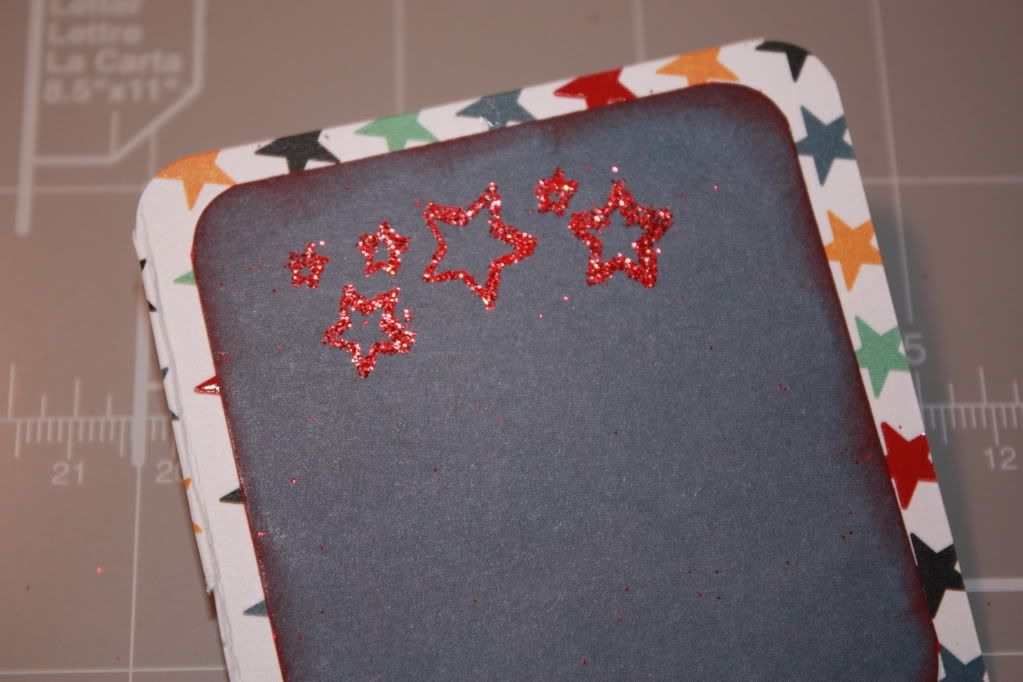
This layer was embellished with some glitter embossing keeping with the stars theme. I also inked the edges of the denim blue paper with red ink, again trying to make it all connect between the layers.
The finished inside--I really like how it turned out! Now on to the lid!
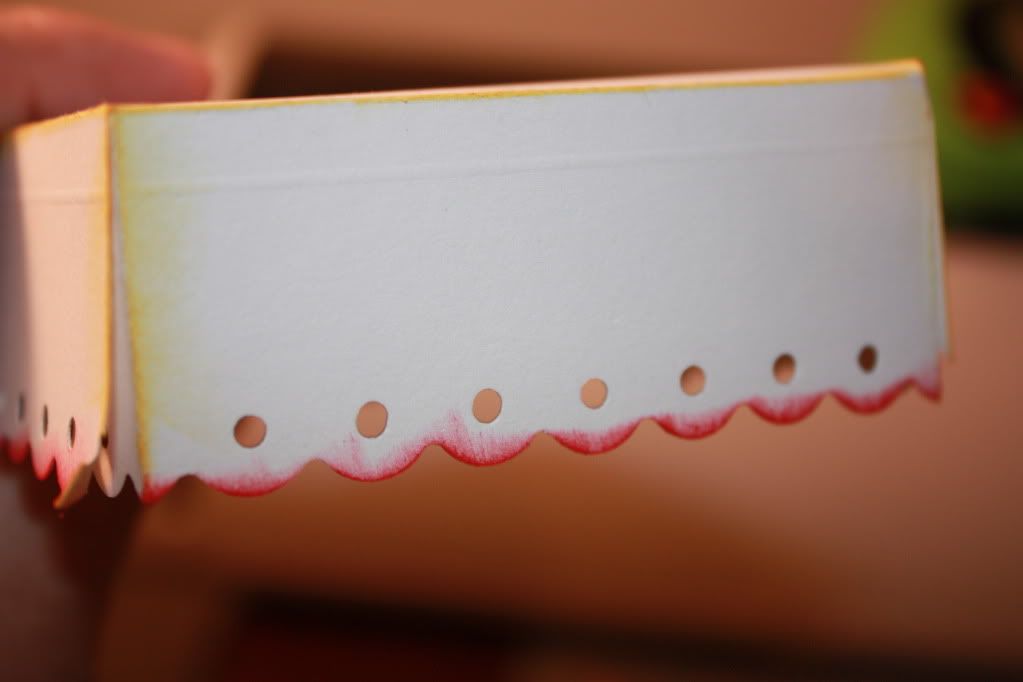
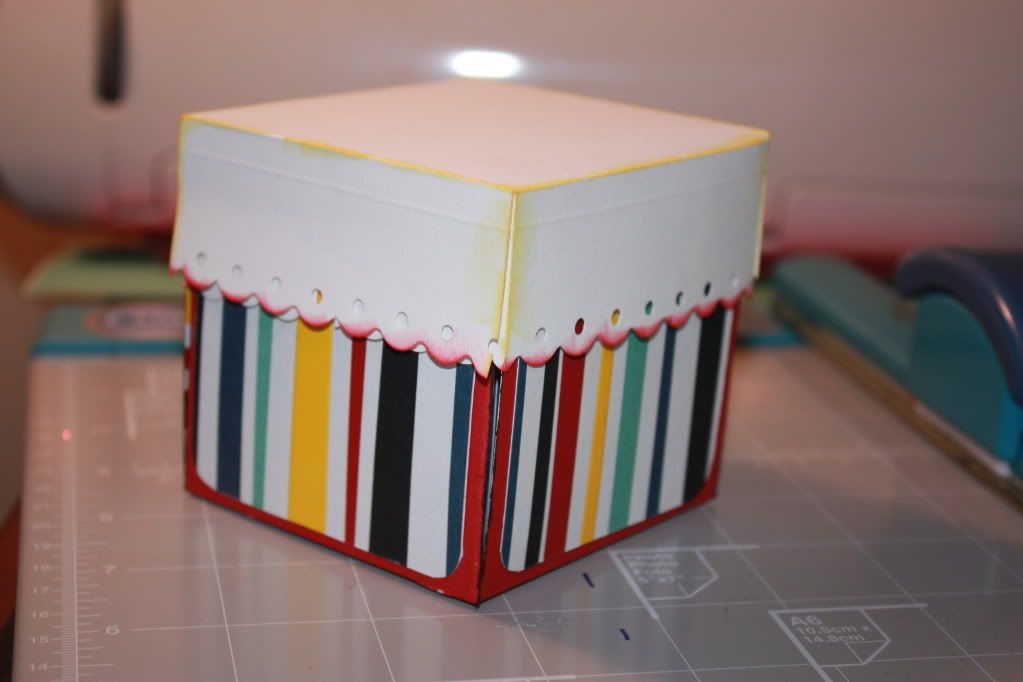
For the lid, I followed the instructions in the video. Before sticking it all together, I took an edge punch and ink to the white paper. I used red along the bottom edge since the box base was red and yellow on the top and side edges.
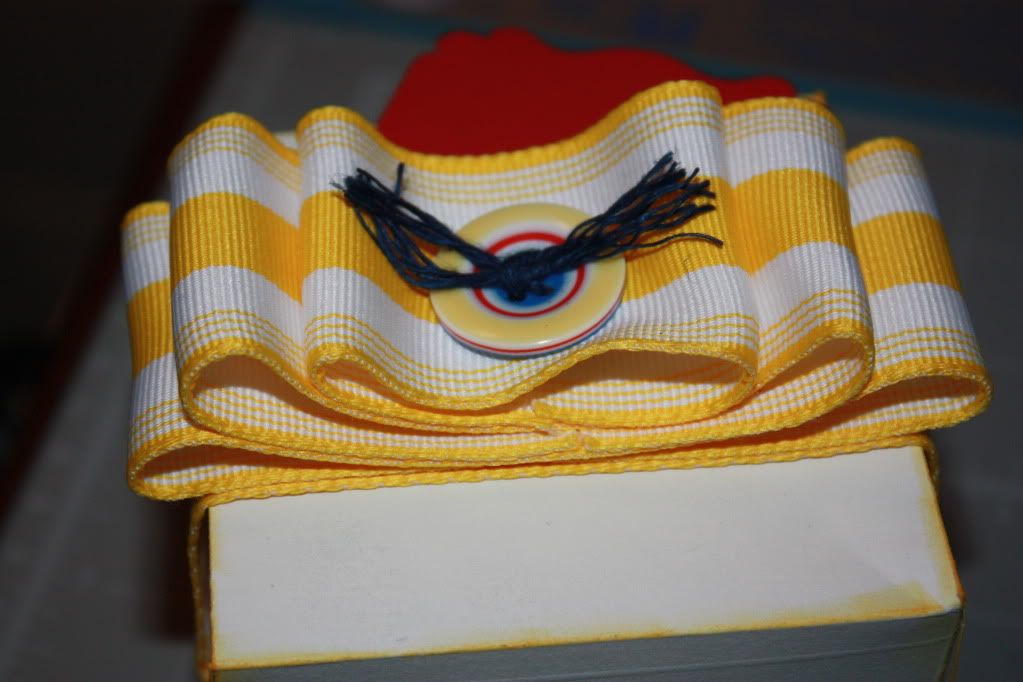
All put together! I started to look at it and felt there was something missing--RIBBON!
So I added this bow--ribbon is from Michael's and it is about two inches wide. The button is from doodlebug and the floss is CTMH in Navy.
Trying to use up all my scraps, I used a Fiskers Top Note Punch to add a tag to the finished box.
All the measurements are in the video--I say them a few times but I added slides for each layer and the lid to make it easy for you. I would love to see some 'exploding' boxes you all make!
Make it a great one-
Thanks for the video. I really liked how you provided the measurements in the video verbally and written! I have never done one, but after your video I will be making one!!
Thank you!Thank you! Thank you! Your exploding box will be my first birthday card! Ryan will be so thrilled to receive it! I am so excited that you picked my challenge. Your directions are so detailed, you make my job very easy. Will send you a picture of my box when completed. Again thanks Bryan! You Rock!!!
Great instructions and video on this exploding box! I've wanted to make one but was a little intimidated - now with your super tutorial I think I will be making lots of these! (great idea for gifts for all the ladies on our "Scrappin' Sisters" retreat in the fall) jackie
I love this project! I made one for vacation pics and embellished with Mickey & Friends die cuts on alternate flaps. My kids love it, and I get a kick every time someone opens it! I love the colors you used, you did a fantastic job!
I really love this video- I've always wanted to try this and now I can- thank you! I started following you a month ago and am always glad to see your videos!
Hi, Thank You for the video, it was the easiest instructions that I have found to make one of these boxes, I made one and posted it to my blog. www.ahomeschoolingmomsjourney.blogspot.com
Just an average guy that loves the idea of scrapbooks. I travel a lot for work so my Gypsy is never far from my side.
You can contact me at scrapguyblog@yahoo.com


Thanks for the video. I really liked how you provided the measurements in the video verbally and written! I have never done one, but after your video I will be making one!!
ReplyDeleteThank you!Thank you! Thank you! Your exploding box will be my first birthday card! Ryan will be so thrilled to receive it! I am so excited that you picked my challenge. Your directions are so detailed, you make my job very easy. Will send you a picture of my box when completed. Again thanks Bryan! You Rock!!!
ReplyDeleteGreat instructions and video on this exploding box! I've wanted to make one but was a little intimidated - now with your super tutorial I think I will be making lots of these! (great idea for gifts for all the ladies on our "Scrappin' Sisters" retreat in the fall)
ReplyDeletejackie
LOVE the bow on top!!
ReplyDeleteI love this project! I made one for vacation pics and embellished with Mickey & Friends die cuts on alternate flaps. My kids love it, and I get a kick every time someone opens it! I love the colors you used, you did a fantastic job!
ReplyDeleteThis is the best video I have seen showing how to make this box!! Thank you soooo much! I know I can make one now for sure!! :)
ReplyDeleteGreat instructions and easy to follow! Love your site and I visit often! Gotta run-need to go make a box!
ReplyDeleteGreat instructional video Bryan...thanks for sharing!!!
ReplyDeleteTerry
Wow that is great! Thanks for the pics along with the video.
ReplyDeleteOooh, just found your blog and love the exploding box :) I'll add myself as a follower so I can check back often.
ReplyDeleteJulia
What a cool project! Great information on the video; TFS.
ReplyDeleteMstgane
Ann
Greatest video on exploding box ever. Love your site. Excellant work.
ReplyDeleteLee Ellen
wigellen@aol.com
Another fun idea! And looks so easy!! I'm going to be busy....new babies, weddings....lots of things to make gifts for.
ReplyDeleteThank You for sharing your wonderful ides. I love the box and the video!
ReplyDeleteThis is so cute! Can't wait to make it. Thanks for sharing and I really enjoy your blog.
ReplyDeleteI really love this video- I've always wanted to try this and now I can- thank you! I started following you a month ago and am always glad to see your videos!
ReplyDeletelove the exploding box idea - this would make a great present for a baby shower as well!
ReplyDeleteHi, Thank You for the video, it was the easiest instructions that I have found to make one of these boxes, I made one and posted it to my blog.
ReplyDeletewww.ahomeschoolingmomsjourney.blogspot.com