Friday, November 12, 2010

Gift Bucket with canvas tag

Well here is the last project I have to show you from the make and takes from my trip to Archivers.
This one was so cute!
We added a strip of paper to the inside and a paper pinwheel to the top.  On the handle we added three tags
I really loved these canvas tags
You can stamp them, ink them, glimmer mist them, and so much mores--
I bought two packs for later use
Each pack of 4 tags cost about $2.45--I can't wait to use these
Make it a great one

Thursday, November 11, 2010

Card using looped ribbon

Hello everyone--to days card from the Archivers make and take is super simple but taught me a technique I did not know before
The tree is embossed and I stamped the sentiment.  The bracket edge is using a Tim Holtz die and the ribbon at the bottom is looped by taking the Tim Holts tiny attacher and placing a staple between each loop.
You all may already have this tool but I think it a must have for any crafter>
It's called a quick stick-one end is sticky the other gives you to have an extra long skinny finger to help attach this titty bitty pcs to your project.  For six bucks I had to have one.
Make it a great one?

Wednesday, November 10, 2010

Archivers Clear Tag Make and Take

Happy Wednesday---Hope you all are well.  While I was in Kansas City this past weekend--My mother and I went to Achievers for there big make and take weekend.  We used lots of new product (new to us) and had a blast
One project was this great tag using clear acrylic some ribbon and some Coordination's high UV printed paper!
First step was to send this acrylic through the cuttlebug using one of the Tim Holtz folders.  Once that was done--on the debossed side (which will be the back of the tag) take one of the pant dabbers, in this case we used white,  and inked the back.  You want to be sure to hit the holes really to get the best effect possible.  Once you done with that wipe to excess off with a paper towel.  We used a rounded rectangle hole punch to thread the ribbon through.
The trees are just triangles cut from some very cool Coordination's what is white printed with a HIGH UV finish--this allows you to ink and wipe away and still see the amazing effect. I bought some of this dot paper and well as two sheets for snowflakes!  They were a bit expensive (almost 2 bucks a sheet) but well worth it!
Here is what the clear acrylic looks like in the package--it was around 4 bucks bit.  I have so many ideas for this stuff--I can't wait to use it.
Thanks for stopping in a remember to make it a great one.

Monday, November 8, 2010

Simple Thank You Z-fold card

It's Monday and I am home in Dallas--there is nothing like sleeping in your own bed. 
Here is a simple Z fold card I made this weekend--the paper is DCWV Fall stack. 
The sentiment is from the Bountiful Blessings stamp collection from the Pink Cricut (Sarah).  These mocha pearls match the copper printing perfectly!!!!!  A little faux stitching to finish off the outside.
On the inside of the Z fold I placed a cream sheet of paper cut to fit and added another stamp from the same collection and plenty of space to write a message.

Hope you liked this simple card--I will announce the winner of the stamp set from the Thankful blog hop this weekend!  Welcome to all the new followers--I am so looking forward to sharing with you all! 
This week is crazy busy!  I went to Archivers this weekend and did the make and takes and bought way to  much stuff--that I have to share cause I think you all will want some of it! Check back on Tuesday for a super cute treat holder for the holiday season!
Make it a great one

Saturday, November 6, 2010

Thankfulness Blog Hop!!!!!

Good Saturday Morning to everyone.  Today I am part of a Thankfulness Blog Hop organized by the Sarah the Pink Cricut!  Make sure to check out all the talented papercrafters taking part (link as listed at the end of this post).  I have a fun card to share with you today.  It is super easy but I think turned out impressive!
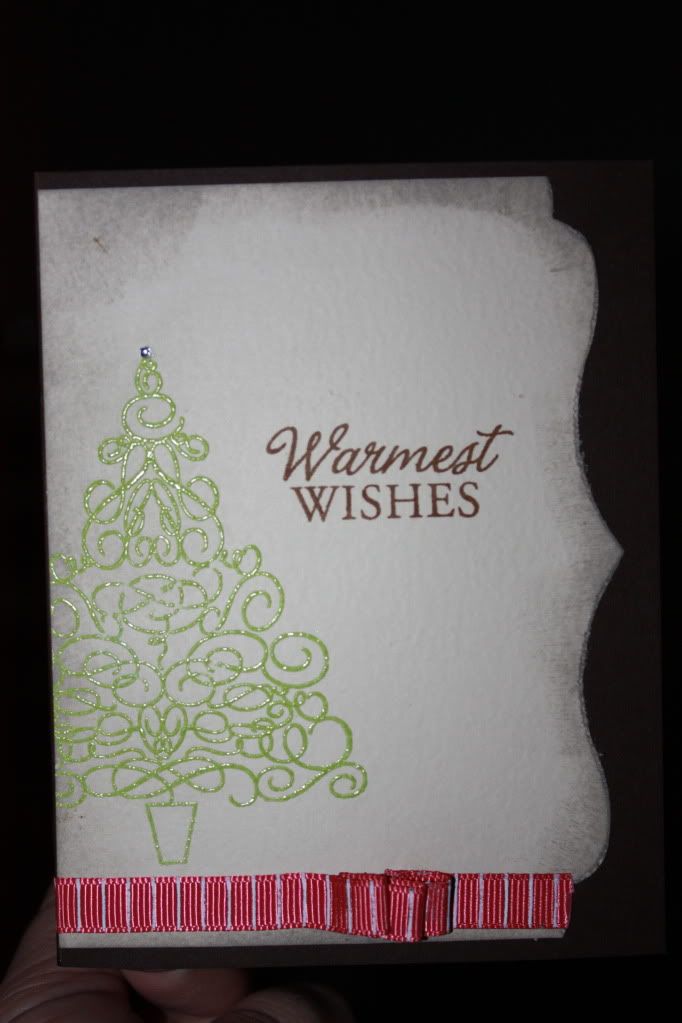
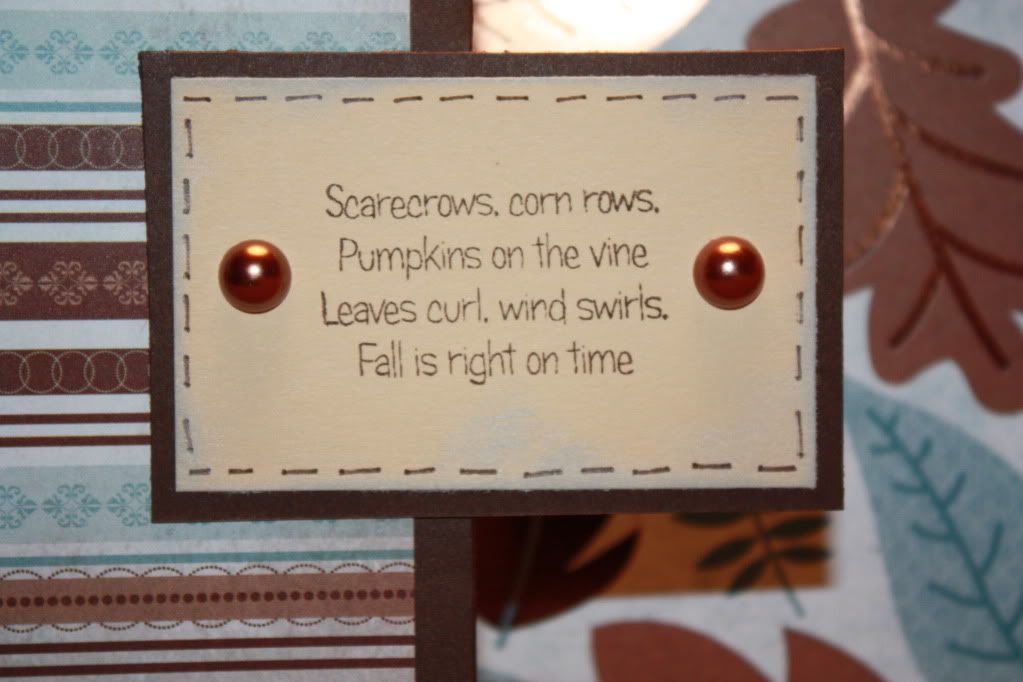
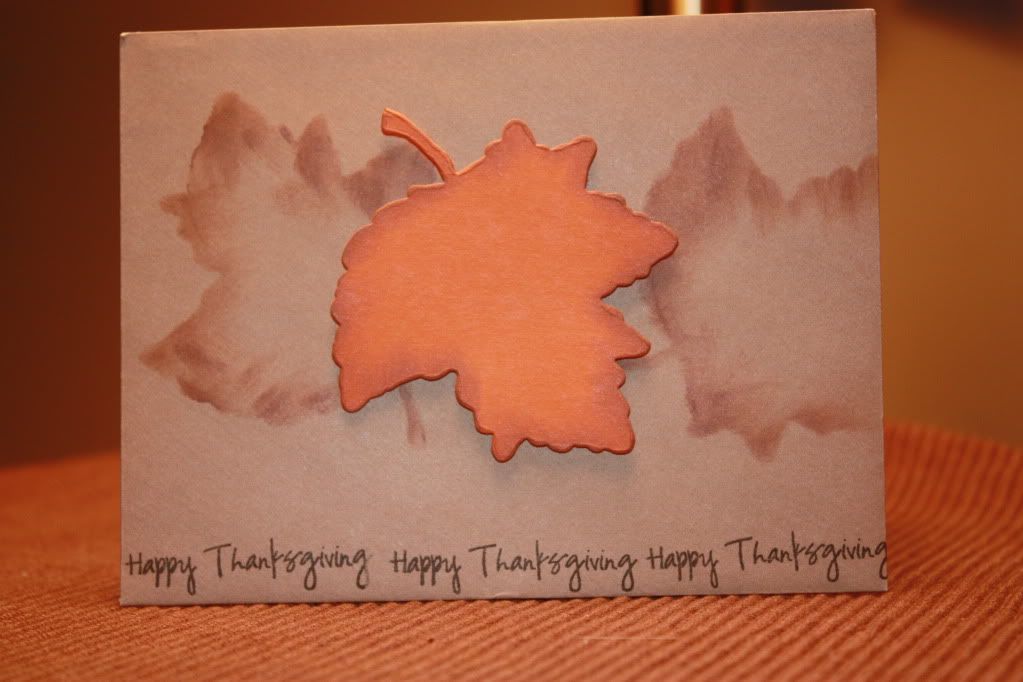
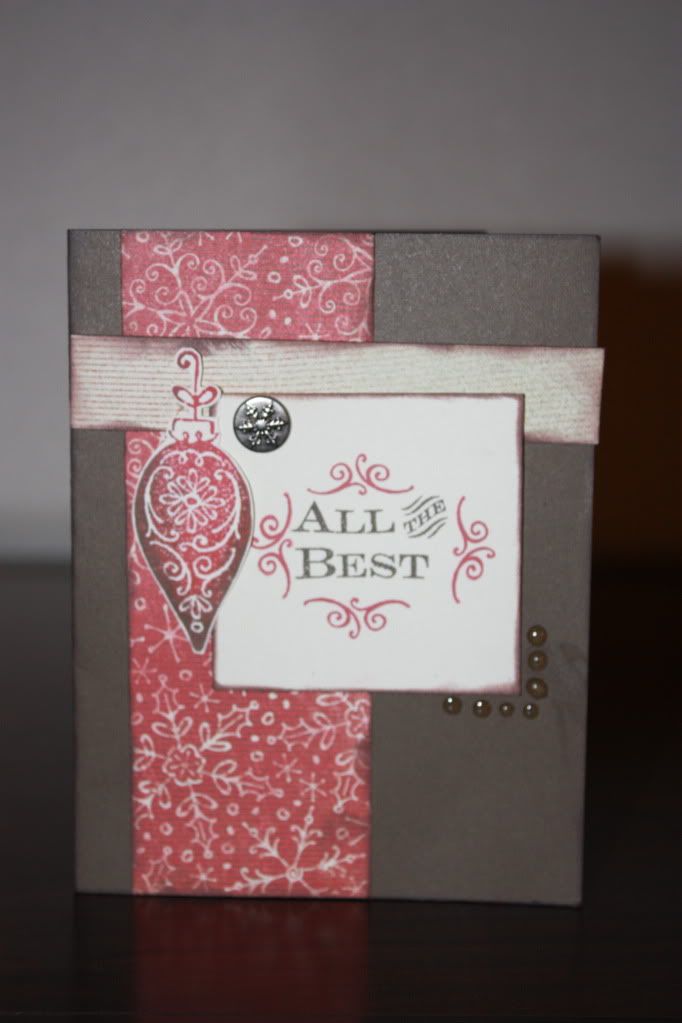
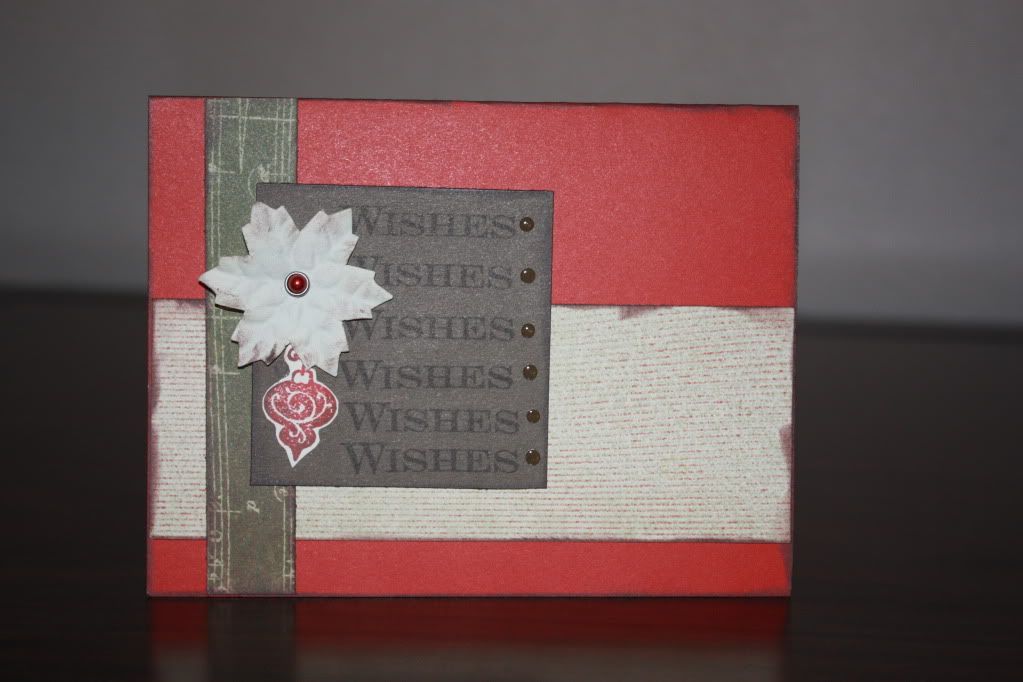
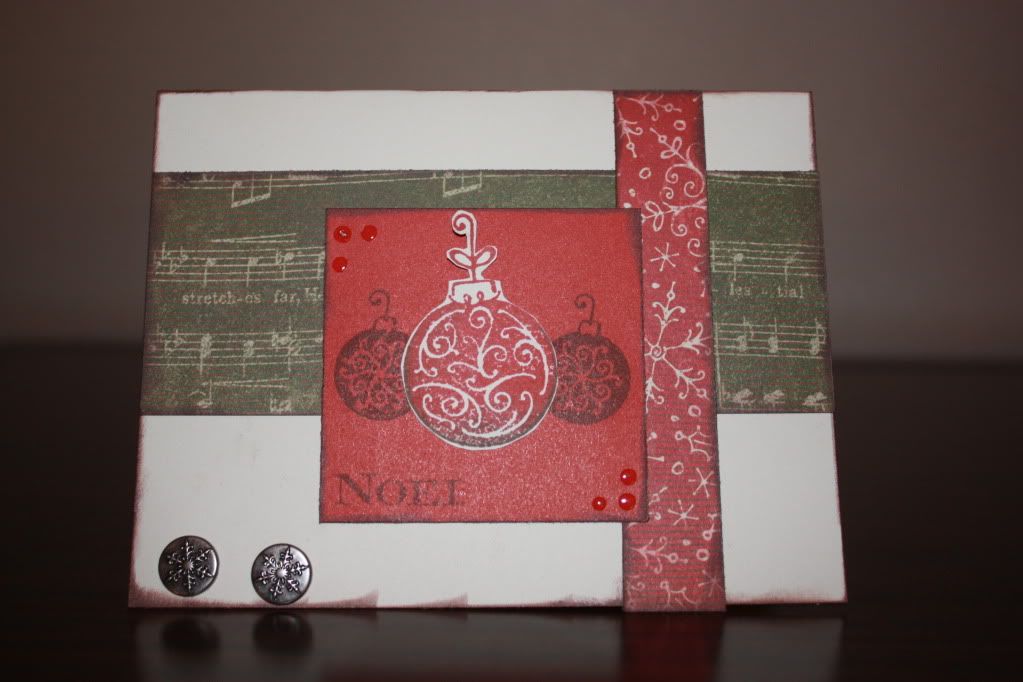
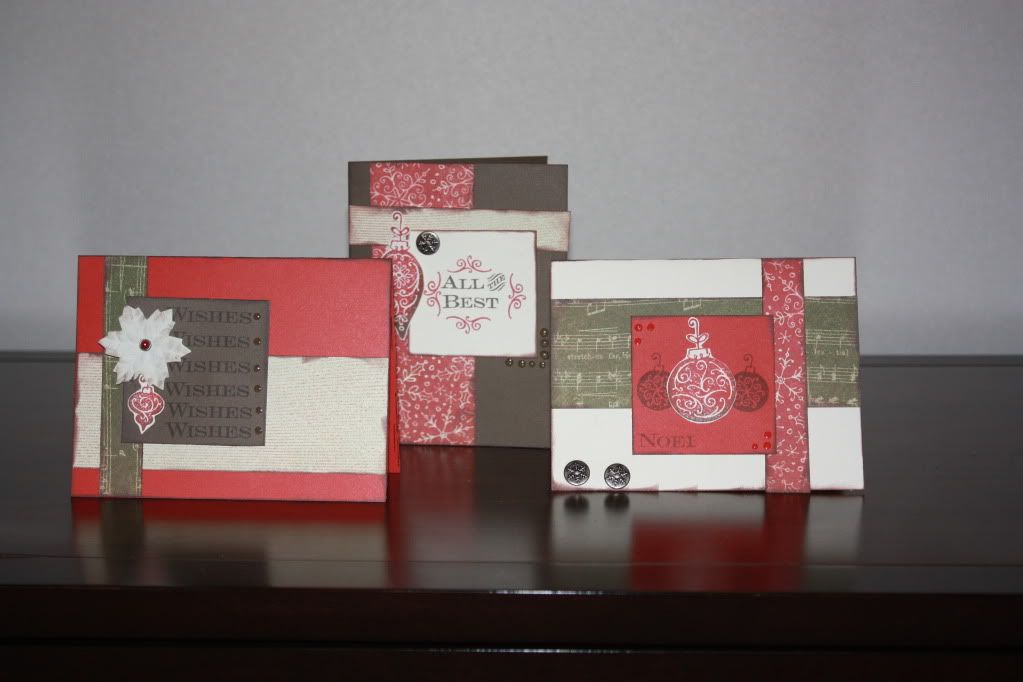
The card itself is A2 standard and I made it out of craft paper.  I used my edge scissors to 'rough up' the border.  Added a bit of my fav ribbon and used a cuttlebug die to cut the leaf.  I used Pink by Design Pink Cricut stamps from the Bountiful Blessings set for the outside, inside and the envelope.
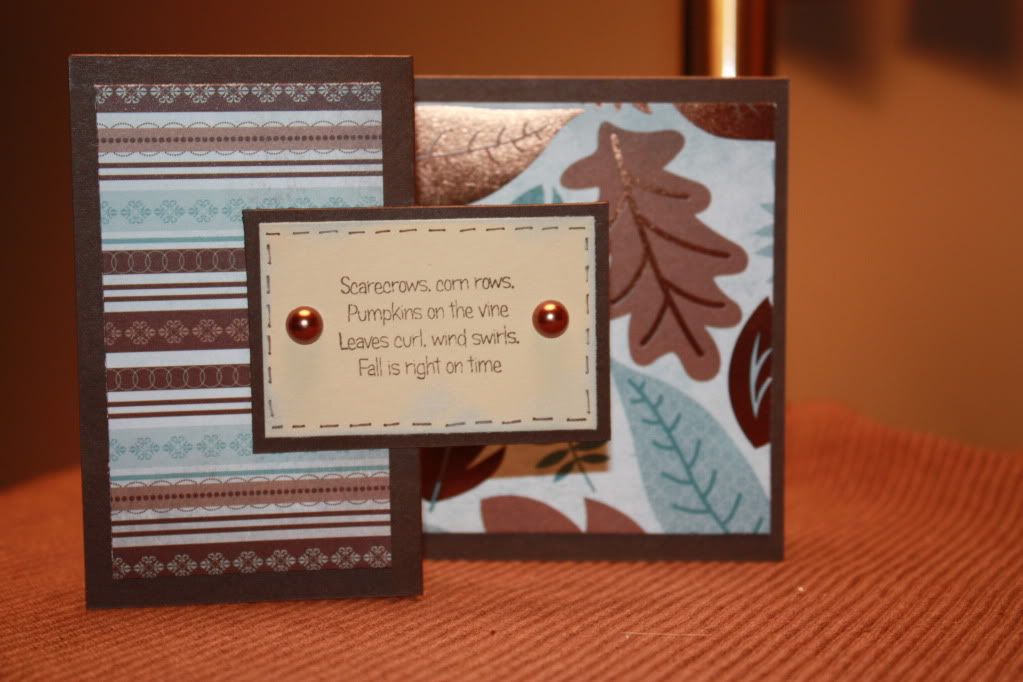
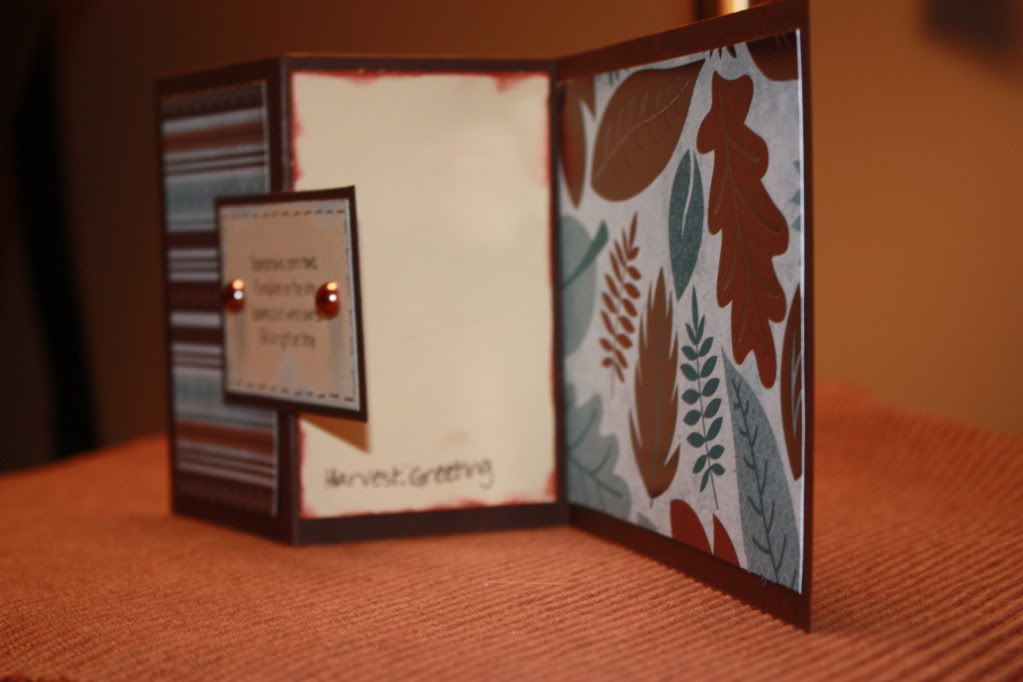
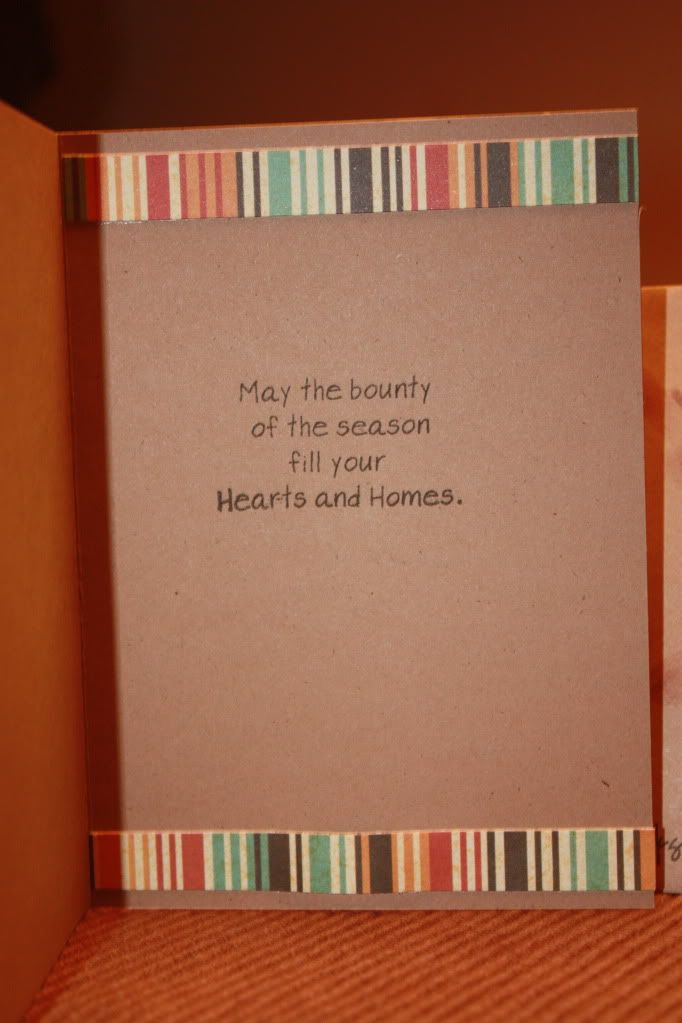
I used a strip of paper and a sentiment stamp to finish off the inside.
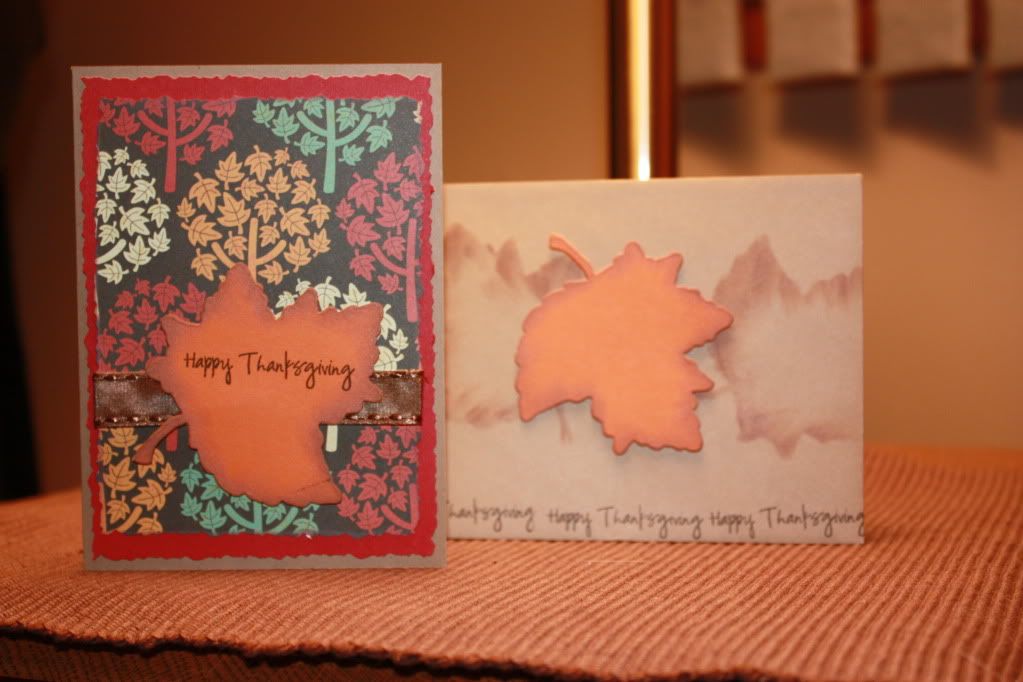
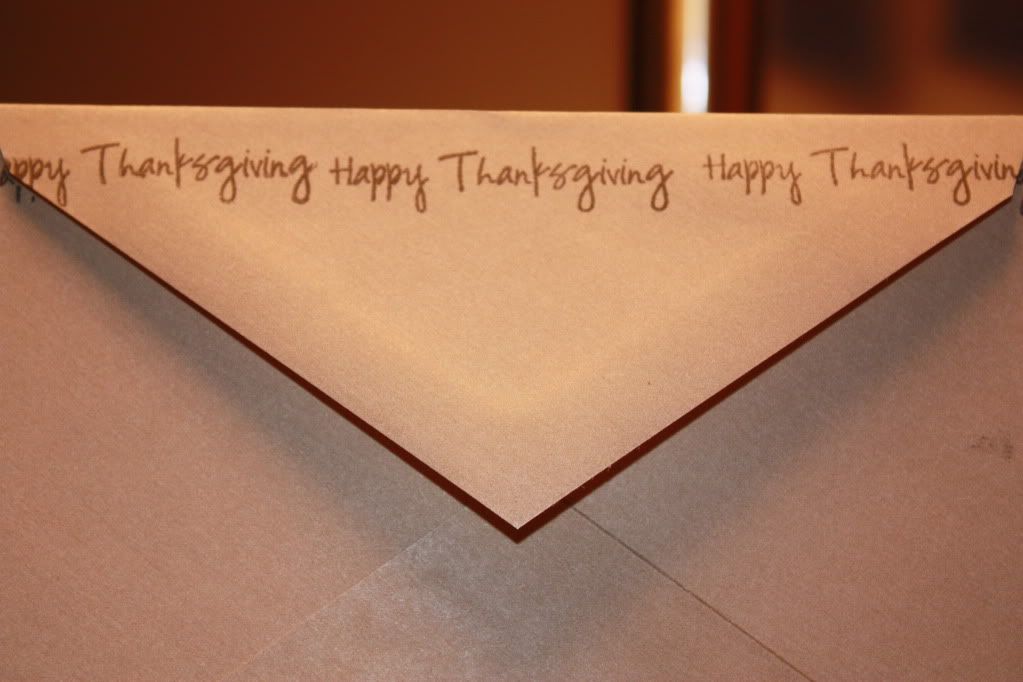
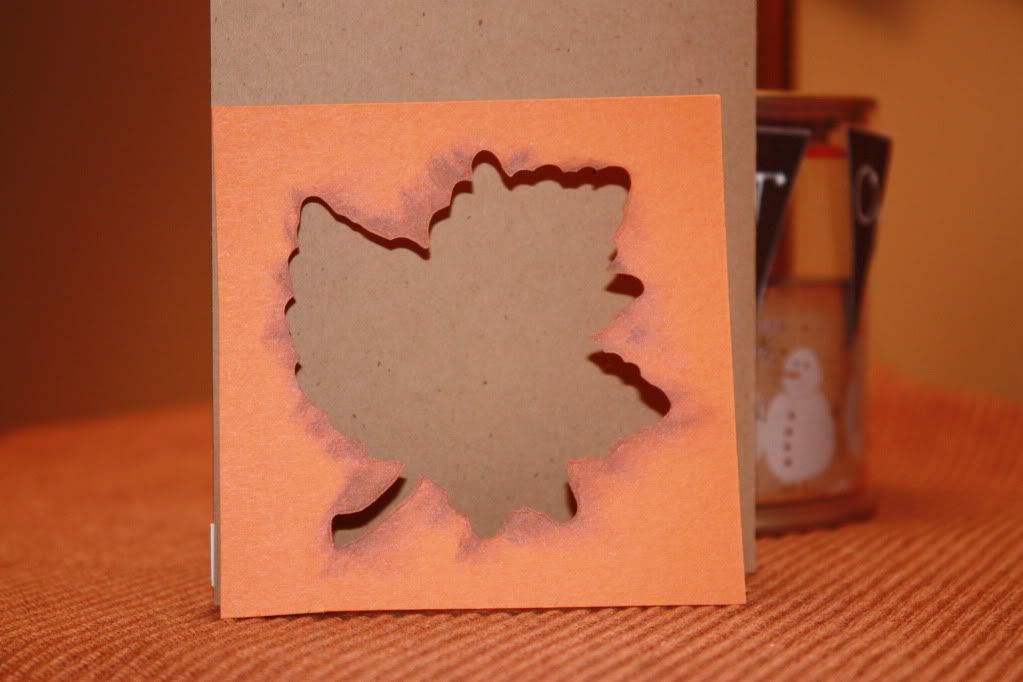
I really love the envelope.  I used one sentiment to make a border on both the front and back of the envelope.  I cut another leaf (a great place to write the name of the person getting the card) and used the negative space to ink blot leaves on the envelope.


As we enter into the Thanksgiving Season it makes us reflect on what we are blessed with.  I have been blessed in so many way through so many people it is hard to pick the ones I am most thankful for.  The song says 'count your blessing name them one by one,' so I am going to name just a few.
*my family
*a wonderful career that takes me to amazing places and allows me to work with wonderful people
*the opportunity to get to know and share this hobby with some UBBER talented papercrafters!!
What are you thankful for?  Leave a post telling what your thankful for and have a chance to win a Close to My Heart Stamp Set (my choice) and be entered into the grand give away sponsored by the Pink Cricut Sarah!

Here is a list of the other blogs with links--check them out and be sure to leave comments on each for the  most chances to win the grand give away!
Yes- I forgot to mention this is the hop order:


Thankful for you!

Friday, November 5, 2010

Workshop Layout-Mistletoe

Thank God it is Friday--I am in Kansas City today visiting my family as I seem to be on the road most of the remaining year until Christmas.
This layout is super easy and all I added that was not in the kit was the ink on the edges and the glassy accents.
I also added some ink to the paper flower edges--
I changed up the sentiment a bit--by using the Cricut I have a ton of fonts to pick from and I used an ornament for the H in must-
I think the glassy accents a lot to the top edge of the page.
Make sure to stop in on Saturday while you have a cup of coffee and catch up on the blogs--I will be part of a blog hop with the Pink Cricut and a bunch of other very talented paper crafters!!!


Photobucket
make it a great one-

Thursday, November 4, 2010

Workshop Cards...Mistletoe!!!!

Well as promised here is the cards from this months Workshop on the go! I simply love these papers. This brown card is my fav--think it is a really fresh updated holiday card--although it is vintage in it's feel.


The workshop kit makes 2 of each of the cards and the layout I will share on Friday--and you will still have over half the paper left over!  All the stamps and brads are included in the kit, all I added was a bit of ink on the edge and some glassy accents!
 
Designed by Lena Graphics by Melany