
Really how many does one person need? In my case I could never have to much paper! I have gotten so much recently that I have to buy another bookcase--sick I know!
Here is a preview of a few of the new stacks I simply could not resist.
I got the all at Michaels or Joann's! Enjoy
Saturday, February 20, 2010
Thursday, February 18, 2010
House Warming Card
Hi all--hope your day is off to a rockin' start! This card was for a very good friend (one of the best) who just moved into a new apartment not far from where I live. The house warming was this past weekend and this is the card I made which was paired with a lovely bottle of vodka.
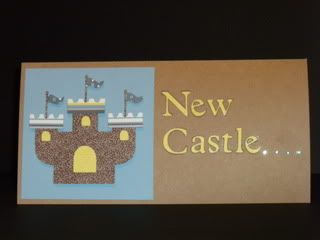
The castle is cut from Life's A Beach and I used some of the papers from the SEI kit which match the colors of the new apartment. I cut the layers but there is no shadow so I just cut a pc of paper that would hide behind the castle to look like lights in the windows.
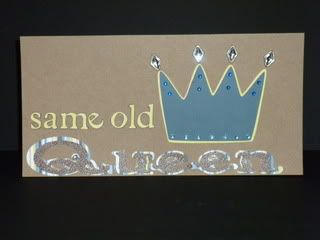
I cut the crown from Celebrations, and the font is Schoolbook and Queen is cut from Hannah Montana. I added lots of bling to help balance the colors which are really 'boy'--here are some detail shots
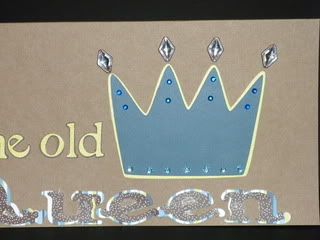
Added a Cindy Crawford crystal mole to the 'Q' which got more comments than anything else.
If you knew my friend you know this statement fit was a perfect fit.
Thanks for stopping in. Keep watching as there is blog candy in the not so distant future!!!!
Make it a great on-
Bryan
The castle is cut from Life's A Beach and I used some of the papers from the SEI kit which match the colors of the new apartment. I cut the layers but there is no shadow so I just cut a pc of paper that would hide behind the castle to look like lights in the windows.
I cut the crown from Celebrations, and the font is Schoolbook and Queen is cut from Hannah Montana. I added lots of bling to help balance the colors which are really 'boy'--here are some detail shots
Added a Cindy Crawford crystal mole to the 'Q' which got more comments than anything else.
If you knew my friend you know this statement fit was a perfect fit.
Thanks for stopping in. Keep watching as there is blog candy in the not so distant future!!!!
Make it a great on-
Bryan
Tuesday, February 16, 2010
Birthday+Elvis=great closing page
So my best friend had a birthday in SEPTEMBER--I know I am running late no need for comments from the peanut gallery! So here is the back story--when my best friend has had a bit (a lot) to drink he gets this crazy Elvis lip where only one side of the mouth moves when he talks--it is truly funny when it happens! So by the end of the night of the party Elvis had arrived. So I thought it fitting to close his book with this layout.
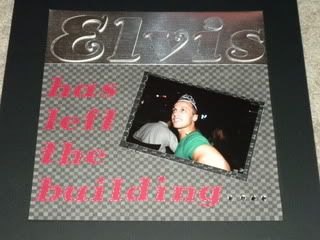
Background paper is a DCWV black and grey check, Elvis is cut from a shinly silver DCWV and the red letters are cut from a SU paper. Under the picture there is Core'dinations matte that is cuddlebugged with the checkerboard folder that was an OMC exclusive that I sanded down. The picture is attached with ATG tape and some cool paper clips.
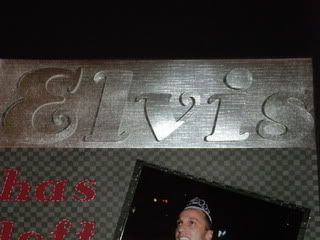
The ELVIS title is cut with Hello Kitty font at 3 1/2". Since none of the letters have spaces inside I could use both the cut mat and the letters--SO I DID.
I pop dotted the letters and moved them about 1/8" to the right when I placed them on the layout. The base layer peeks through and you get a pretty cool effect! Here is a detailed shot
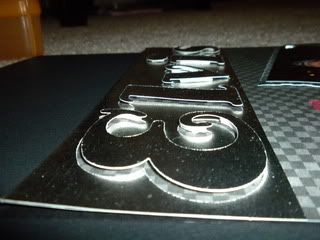
To finish the layout off--I took my white pen and did some 'stitching' around the letters and added a little bling at the end to tie back to the crown he is wearing (which was taken from the birthday girl a few tables over)!
Hope you have a great day!
Bryan
Background paper is a DCWV black and grey check, Elvis is cut from a shinly silver DCWV and the red letters are cut from a SU paper. Under the picture there is Core'dinations matte that is cuddlebugged with the checkerboard folder that was an OMC exclusive that I sanded down. The picture is attached with ATG tape and some cool paper clips.
The ELVIS title is cut with Hello Kitty font at 3 1/2". Since none of the letters have spaces inside I could use both the cut mat and the letters--SO I DID.
I pop dotted the letters and moved them about 1/8" to the right when I placed them on the layout. The base layer peeks through and you get a pretty cool effect! Here is a detailed shot
To finish the layout off--I took my white pen and did some 'stitching' around the letters and added a little bling at the end to tie back to the crown he is wearing (which was taken from the birthday girl a few tables over)!
Hope you have a great day!
Bryan
Sunday, February 14, 2010
Mailboxes...............
Ok, this is not an origional idea by any means as it seems everyone has their version of the mailboxes from Target. I simply covered and added a bit of sitckles, bling, or glitter mist and sent them on their way to my neices and nephews.
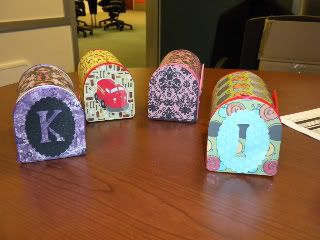
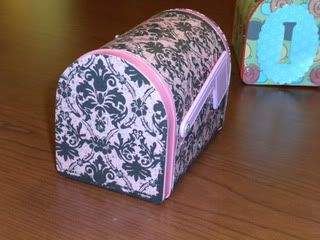
I added some clear crystals to bling the one
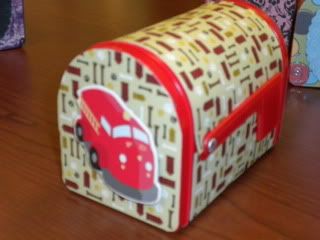
to make it boy freindly I used paper that worked well with this large chipboard fire truck

glimmer mist, a bit of ribbon, and a monogram cut with the cricut-super easy
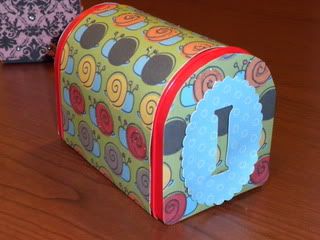
here I used the same monogram cut and added stickles to the swirls on the snails!
Filled them candy and sent them on their way--
Have a great day!
Bryan
I added some clear crystals to bling the one
to make it boy freindly I used paper that worked well with this large chipboard fire truck
glimmer mist, a bit of ribbon, and a monogram cut with the cricut-super easy
here I used the same monogram cut and added stickles to the swirls on the snails!
Filled them candy and sent them on their way--
Have a great day!
Bryan
Friday, February 12, 2010
As promised....PROJECTS!!!!!!!!!!!!
Ok--as I promised on Monday, here are a few projects I did using the September Club SEI kit. This post is super picture heavy!! None of these projects were ones that came on the instruction guide--not that they were not great projects but I wanted to show how you could take the kit and make it your own as well. Speaking of kits--I got the February kit in the mail this week and holy cow was it packed with stuff--a full paper pad, foam letters, stickers, ribbon, boarders--so much that I could make tons of stuff from the kit!
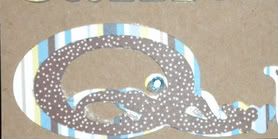
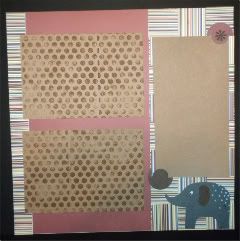
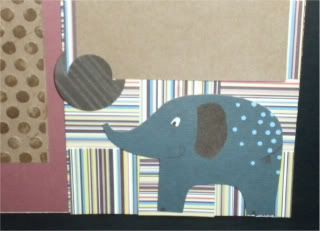
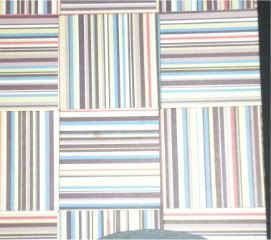
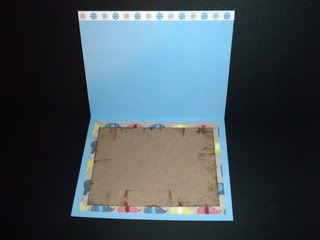
First up is a one page layout--the basket weave stripes were used on a different project but I wanted to use it in a layout. All you do is cut strips and weave them--has a really cool look to it don't ya think! I cuddlebugged the photo mats and inked them, the elephant in the corner is pop dotted as well!
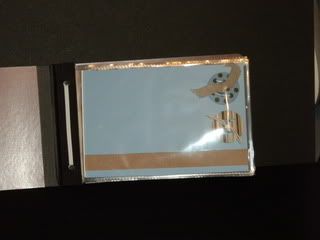
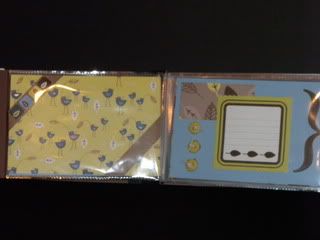
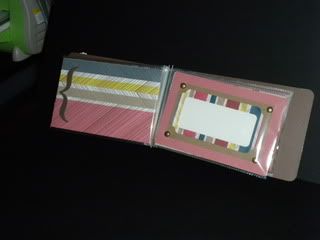
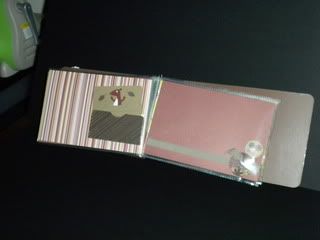
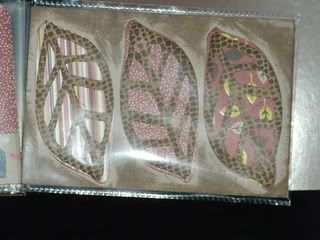
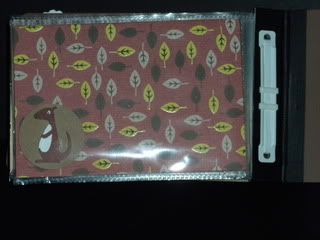
Second project is a mini album that I really tried to use only what came in the kit---the only thing I added was two 12X12 sheets of Kraft card stock and the hemp used to thread through the buttons which is CTMH, I also cut three leaves from Gypsy Wanderings which tied back to many of the pages in the kit! Cover to Cover:

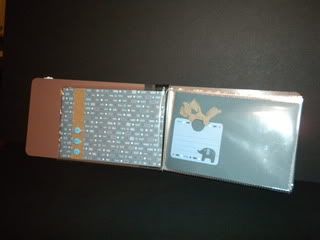


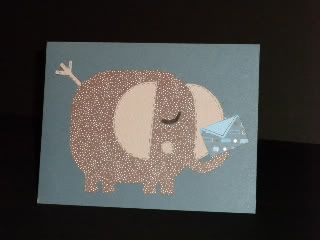
I don't think I would have been able to show the full range without a card as well--I had already started this when the oh so cute elephant popped up on Holidays with the Cricut (great minds think alike) One of the sheets is all elephants and the Paisley elephant was just perfect!
Thanks for stopping by today--Have a wonderful weekend!
Bryan
First up is a one page layout--the basket weave stripes were used on a different project but I wanted to use it in a layout. All you do is cut strips and weave them--has a really cool look to it don't ya think! I cuddlebugged the photo mats and inked them, the elephant in the corner is pop dotted as well!
Second project is a mini album that I really tried to use only what came in the kit---the only thing I added was two 12X12 sheets of Kraft card stock and the hemp used to thread through the buttons which is CTMH, I also cut three leaves from Gypsy Wanderings which tied back to many of the pages in the kit! Cover to Cover:
I don't think I would have been able to show the full range without a card as well--I had already started this when the oh so cute elephant popped up on Holidays with the Cricut (great minds think alike) One of the sheets is all elephants and the Paisley elephant was just perfect!
Thanks for stopping by today--Have a wonderful weekend!
Bryan
Wednesday, February 10, 2010
Black and White
Hello everyone--hope all is well! Today I have a couple of cards that are done in a very simple color combo--Black and White! Sometimes the simplest combos can be the most difficult because we as scrappers and card makers tend to like to add and add and add--but some times simple is best!
These three cards were super easy and I was able to complete them all in 35 minutes and only used two pcs of s.e.i. double sided cardstock, one pc of black 12x12 card stock, one pc of white 12x12 card stock, and one pc of red 8 1/2 X 11 card stock and I still had some left over! I used Picturesque on all three!
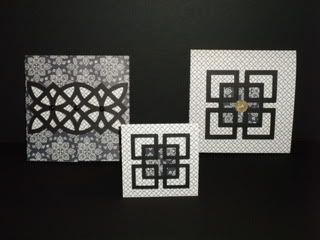
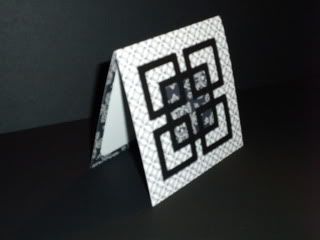
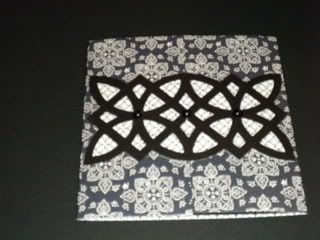
First the small card--this one is 4X4 half fold. I used the pattern paper on one side for the out side and used the reverse side for the inside and the blackout square in the center. The cut is from pg 74 called far east.
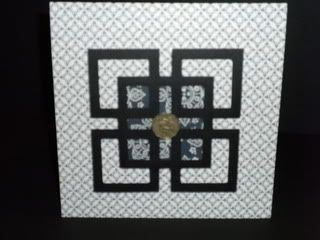
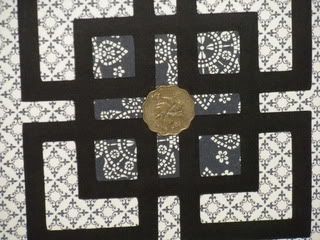
I did a larger version of the same card at 6X6 did the same cuts as before but used a coin I had left from a trip to Hong Kong as the center. I layered red and white card stock for the inside.
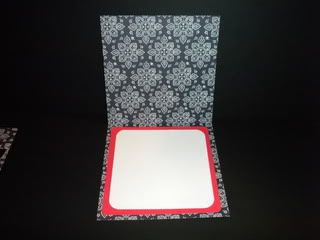
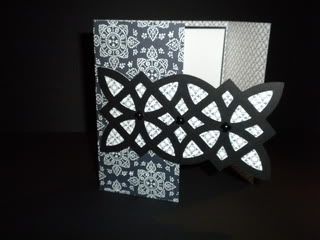
The third card is a gate fold finishing at 6X6. I used the same pattern paper but flipped the inside and outside. I used the Celtic cut on pg 75 as well as the black out-these fit perfectly on the 6X6 when cut at 3 1/2". I added three black pearls to the front at the major intersections. On the inside I just layered black and white card stock cut at 5 3/4" square for black, and 5 1/2" for the white.
Thanks for stopping in today--this card making journey is fun--i really like that I can accomplish so mush in such a little amount of time! Hope you liked 'em!
These three cards were super easy and I was able to complete them all in 35 minutes and only used two pcs of s.e.i. double sided cardstock, one pc of black 12x12 card stock, one pc of white 12x12 card stock, and one pc of red 8 1/2 X 11 card stock and I still had some left over! I used Picturesque on all three!
First the small card--this one is 4X4 half fold. I used the pattern paper on one side for the out side and used the reverse side for the inside and the blackout square in the center. The cut is from pg 74 called far east.
I did a larger version of the same card at 6X6 did the same cuts as before but used a coin I had left from a trip to Hong Kong as the center. I layered red and white card stock for the inside.
The third card is a gate fold finishing at 6X6. I used the same pattern paper but flipped the inside and outside. I used the Celtic cut on pg 75 as well as the black out-these fit perfectly on the 6X6 when cut at 3 1/2". I added three black pearls to the front at the major intersections. On the inside I just layered black and white card stock cut at 5 3/4" square for black, and 5 1/2" for the white.
Thanks for stopping in today--this card making journey is fun--i really like that I can accomplish so mush in such a little amount of time! Hope you liked 'em!
Monday, February 8, 2010
Club MED for scrappers
Hello there! Hope your week is off to a great start. I just wanted to share with you a great club, and I am not one that is big on the clubs (unless we are talking about COSTCO!) Club s.e.i is a great deal--6 months a year they have a scrapbook based club kit and the other 6 months is more of a card making kit. The video walks you through what an average kit may have in it. Best part about the club is you have the option not to take the kit for the month!!! If only Sony and Columbia House would make it this easy!
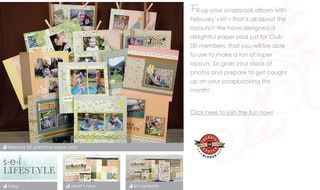
The below picture is the Feburary preview from the website (www.shopsei.com)
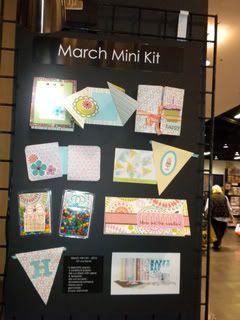
And here is a March preview I took at CHA--this one is a must have!!!! I am not even a card maker and I am excited about it!
There are added benefits such as club exclusive specials and discounts as well as a free tote bad when you join. You also have the option to pick only the page or card kits--I of course went full tilt and signed up for both!
Come back later this week to see the mini album project from the September kit from the video!
So glad you came by today! Check out the website where you can explore past kits to get a great idea how much your going to enjoy being a part of Club s.e.i!
Bryan
The below picture is the Feburary preview from the website (www.shopsei.com)
And here is a March preview I took at CHA--this one is a must have!!!! I am not even a card maker and I am excited about it!
There are added benefits such as club exclusive specials and discounts as well as a free tote bad when you join. You also have the option to pick only the page or card kits--I of course went full tilt and signed up for both!
Come back later this week to see the mini album project from the September kit from the video!
So glad you came by today! Check out the website where you can explore past kits to get a great idea how much your going to enjoy being a part of Club s.e.i!
Bryan
Subscribe to:
Posts (Atom)


