Christmas | Forward this Picture
It's Christmas Eve and I wanted to take a moment to wish you all a very wonderful and safe holiday season. No matter what you celebrate remember that the gifts, the gatherings, and all the hustle and bustle are not what makes this holiday special. Take a moment to enjoy the people and center on the true reason for the celebration.
Thank you for making this blog experience rewarding. Two years into this and it is still enjoyable. This is a wonderful community of paper crafters and I am so lucky to have been able to meet so many of you all.
I have some exciting things planned for 2012 for the blog and myself and I am looking forward to sharing them with you all. As I sign off for 2011 and headed on a much needed and over due vacation I want to say thank you one last time before the year ends. May you be blessed this holiday season!
Make it a great one
Saturday, December 24, 2011
Thursday, December 22, 2011
Fun Fold Gift Card Directions.
OK--I know this is late but I have been having a ton of issues posting and it is not making me happy!
So here is a step by step so bookmark this page as you will want to keep this one in your wheel house.
First off cut a pc of paper that is 11" long and 4 1/2" wide
Next score three times starting from the left hand side at 3", 5 1/2", and 8"
See the picture fore measurements.
on the outside of the card I applied red line tape as above. I would suggest using the thinnest tape you have as you don't want the gift card to get stuck. Peel off the red line and ally the two center sections together.
Next, open the card and trace the gift card shape onto the center section. Once that is complete you are ready to cut out the traced portion
Once that is complete you can insert your gift card
so you this is what it looks like laying flat, and standing up.
I told you this on was super simple. I would love to see how you all use this in your gift giving-so please share a link in the comments.
If all goes well there will be another project on Friday!
Make it a great one-
Tuesday, December 20, 2011
Gift Card Holder
All right--today is my day over on PBD and you will for sure want to check it out-here is a peek under the tent
Click the link and see the details: Pink By Design Stamps Blog
Come back on Wednesday for all the measurements and a step by step assembly! You are going to want to keep this on in your tool shed!
Make it a great one-
Click the link and see the details: Pink By Design Stamps Blog
Come back on Wednesday for all the measurements and a step by step assembly! You are going to want to keep this on in your tool shed!
Make it a great one-
Labels:
Gift Card Holder,
Pink By Design
Friday, December 16, 2011
Gift Wrapping of sorts with Cricut Art Philosophy
TGIF! Thank God It's Friday-what a week. If you all only knew what all has been going on--good lord did it get me to the end of my rope!
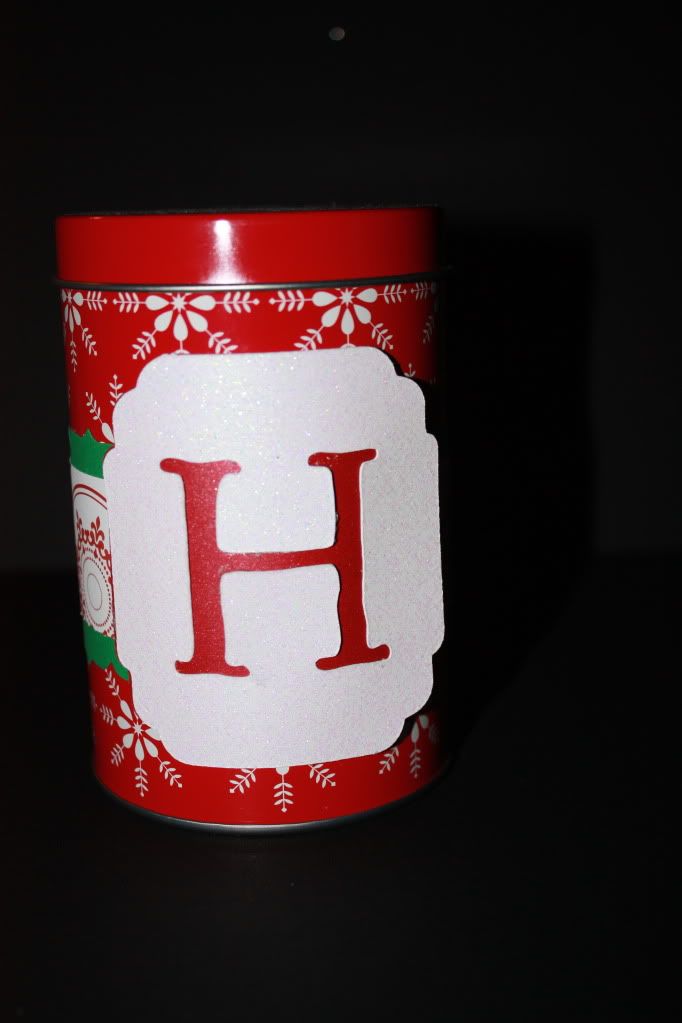
Well today I have a gift wrap with cricut art philosophy cartridge. I made this for my sister Heather--thus the H.
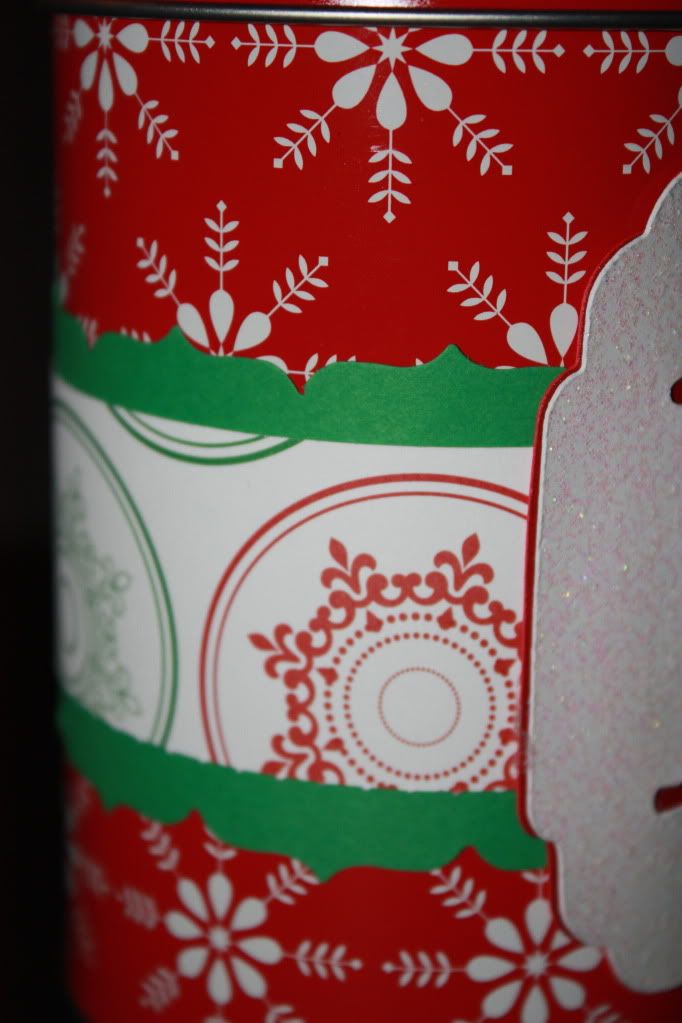
I got the can at Joann's and the paper is MAMBI Christmas pad.
The monogram is cut at 3.5" and is cut in two layers a black out and a top layer.
The band was made with my Fiskers punch and a strip of patten paper. Super simple and so much more fun than a wrapped package.
Hope you have a great weekend and check back on Sunday for a very fun and very cool 80's Birthday Blog Hop-
Make it a great one
Labels:
christmas
Thursday, December 15, 2011
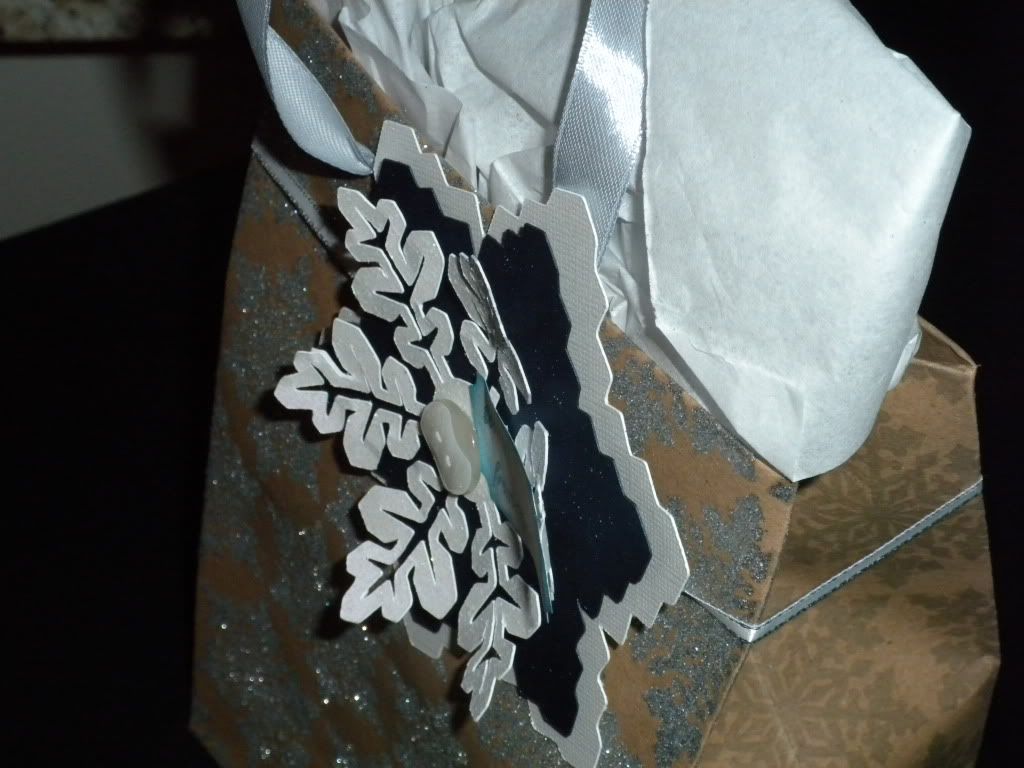
Snowflake Gift Bag with Cricut Snowflake tag
Well--first off sorry to my email subscribers and blogger did not post like planned again! UGH so you all will have two post for Friday.
OK on to the gift bag---
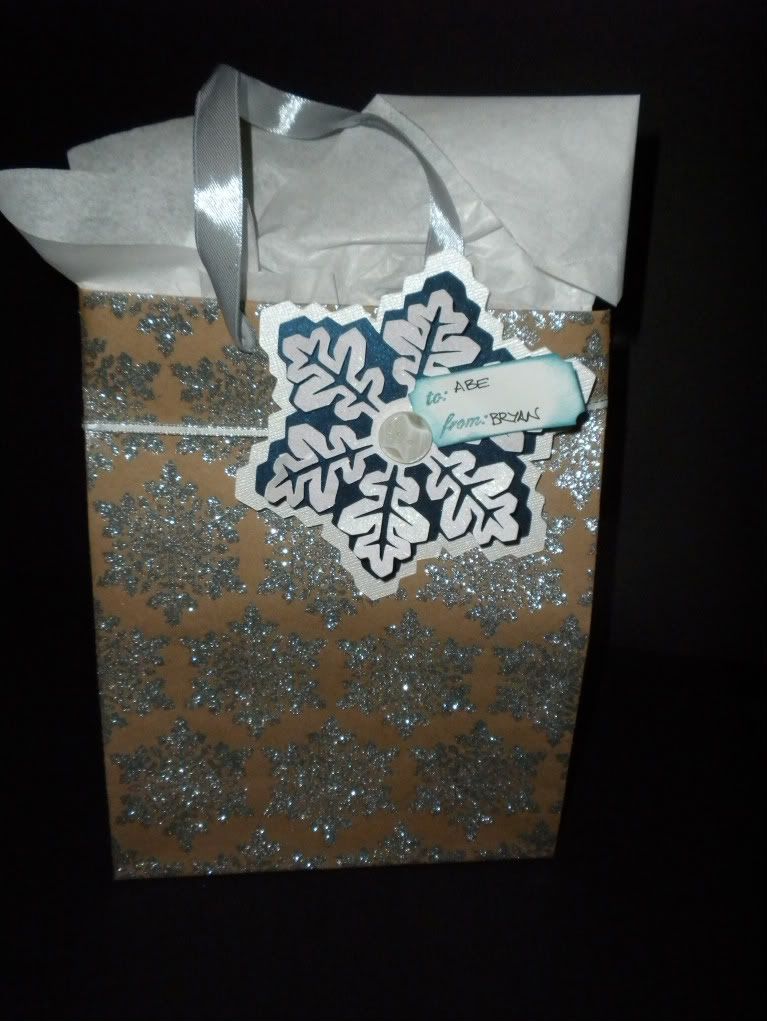
So i found this bag at Joannes and thought this would be perfect. We don't usually get snow in Dallas this early and this year is no exception--not a flake in sight, which is why I think I love snowflakes now. No clean up, no mess roads, just pretty glittery flakes on packages.
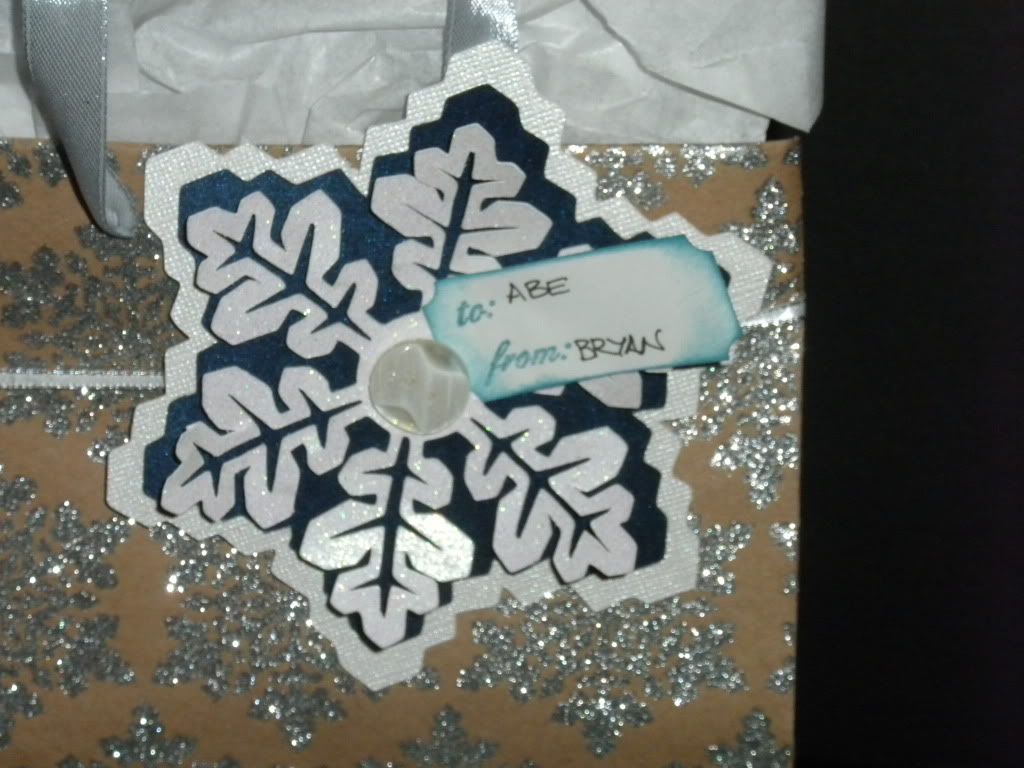
So this one is three layers. I used the Cricut Snowflake Seasonal cartridge and cut the shadow and the top layer at 4 1/2" for the white "black out" layer i just cut the shadow at 4 3/4". I did find that there was a definite top and bottom to this cut which sort of made me crazy when I thought this was going to only take a few minutes. Once I figured it out it went super fast. I used some fun white glitter paper and a shimmer navy I had in my scrap bin. I used a white/clear button for the center . The to/from stamp is from PBD and the shape of the tag is a Fiskers punch.
What I really love is the 3D effect of this gift tag. I only attached the top layer in the center and the other two layers were stacked with foam squares. I used some thin ribbon to attach it to the bag and once the gift is opened you can snip the ribbon a bit and have a great ornament for the tree.
Tonight is the office holiday party with a tropical theme. Its been raining here in Dallas for a couple of days so it should be interesting as there is sand and rain involved--LOL. I hope you are having a good week and we will see you back here on Friday!
Make it a great one
Labels:
christmas
Wednesday, December 14, 2011
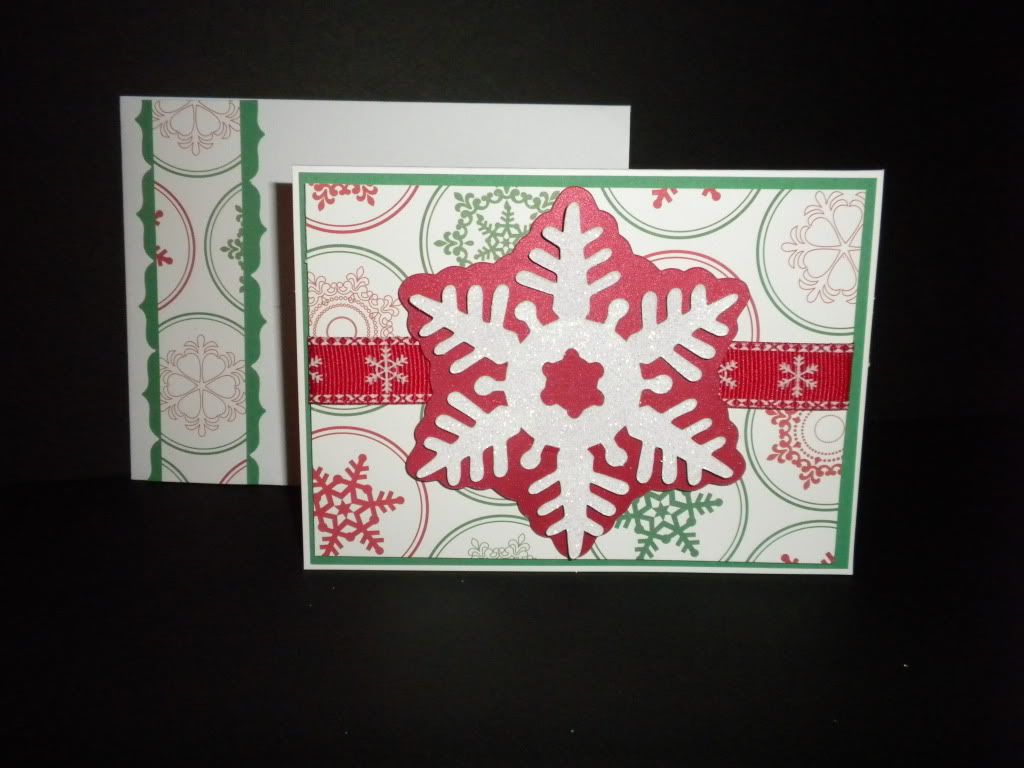
Snowflake card
Well it's Wednesday and what a crazy month it has been up till now. I love this card
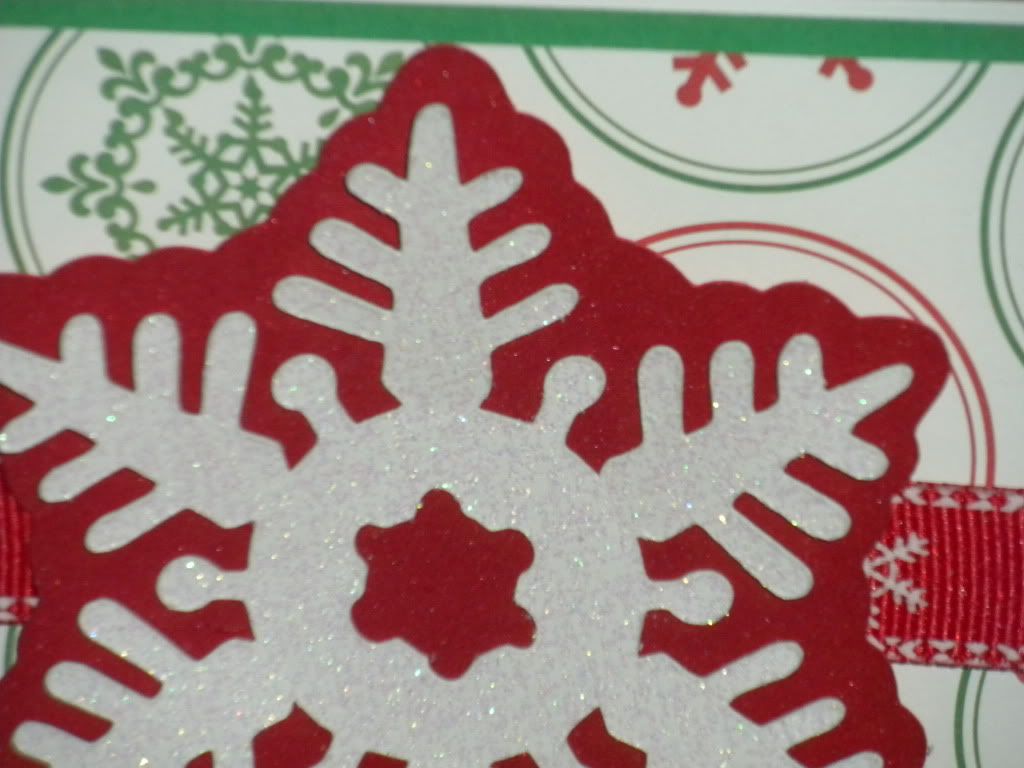
This is a super simple card. I cut the green base 1/4" smaller than the card base on all sides. The pattern paper was cut at 1/2" smaller than the card base and layered with the green. I than used some snowflake printed ribbon from Michael's as the "belly band" and the snowflake was cut from the snowflake seasonal cartridge at 4" for the shadow (red) and the flake (white glitter paper).
Here you can see the glitter paper--here is a hint. I always use multi cut on glitter papers. If not it never cuts through and you get a pretty ugly rough edge cut. I also only attacked the flake around the center circle so there is come 3D effect that was hard to capture in the picture.
Here is the inside. I used the same papers from the outside along with a fun stamp set from CTMH called Christmas Melodies (D1324) that was available last year. I love this set and you can find it on ebay from time to time.
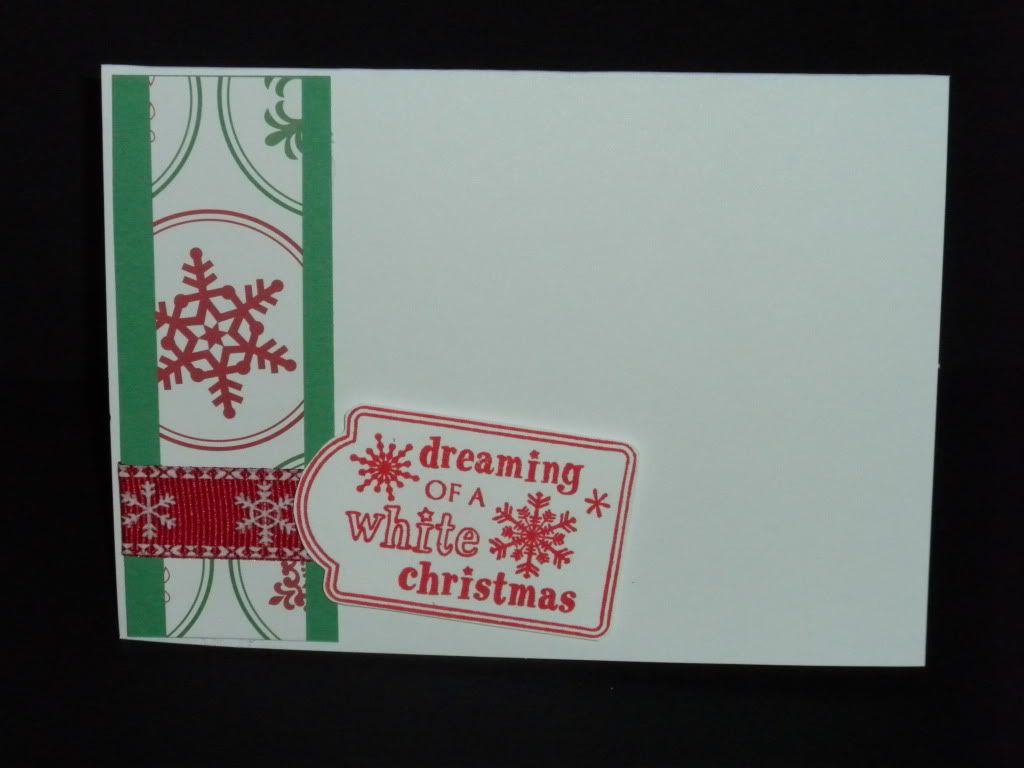
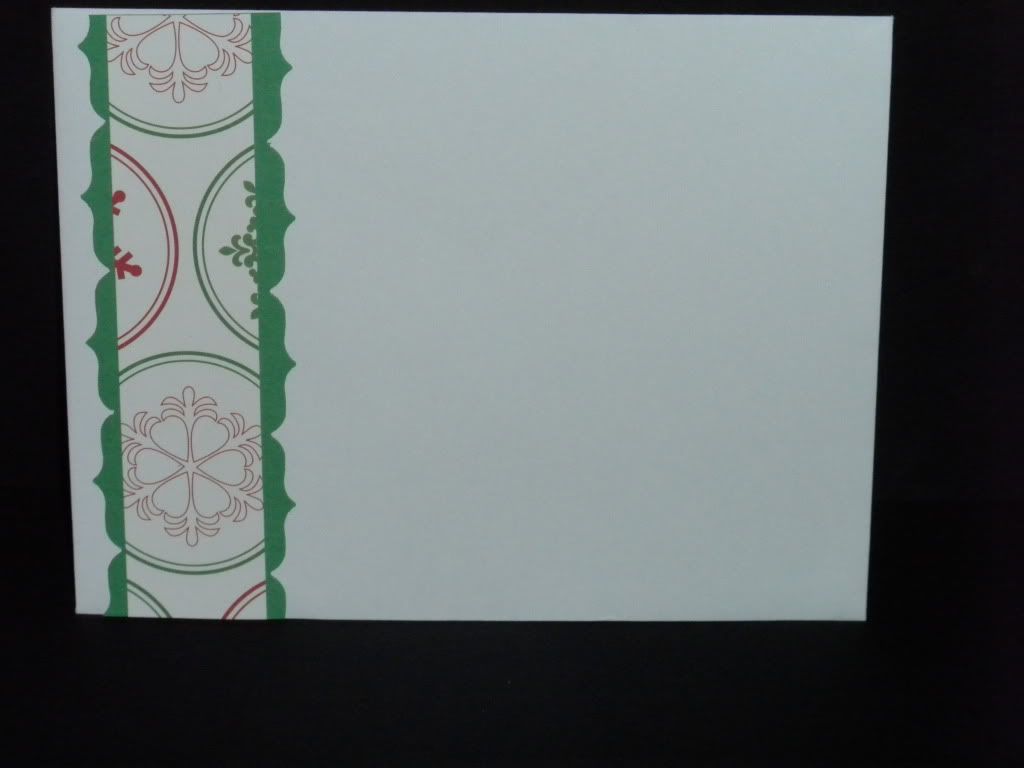
here is the envelope--used my handy dandy fiskers edge punch that I love so much and a strip of the same pattern paper--I was using as many scraps as possible.
I will be back on Thursday with a gift wrap idea--so make sure to check back in.
Make it a great one-
Labels:
Card Christmas
Tuesday, December 13, 2011
Hello Hello
Hello everyone--sorry you have not seem my posts--had them planned and ready to go but something went wrong and I think I got it worked out. So starting Wednesday this week I will have a project each day--between all that is going on at work and the holidays it has been crazy--I have not forgotten about yall--and hope you like the post for the monring--
Thanks a million
Thanks a million
Friday, December 2, 2011
on the 5th day of Christmas layout
OK--we are doing the 12 days of Christmas over on the Pink By Design blog and today is my day--and its the 5th day of Christmas today--I made a double page spread with tons of details so head on over to the Pink By Design Blog and check it out-here is a preview.
I will have more holiday fun next week so check it out--all the best!
I will have more holiday fun next week so check it out--all the best!
Wednesday, November 30, 2011
Holiday Greetings-
Hi everyone---we are half way thought this week and I am packing my bags again for a work trip to San Fran! This time we are doing an event at a local mall for one of our new products--if your in Dallas--there will also be one at Stonebrier Mall in Plano this Saturday.
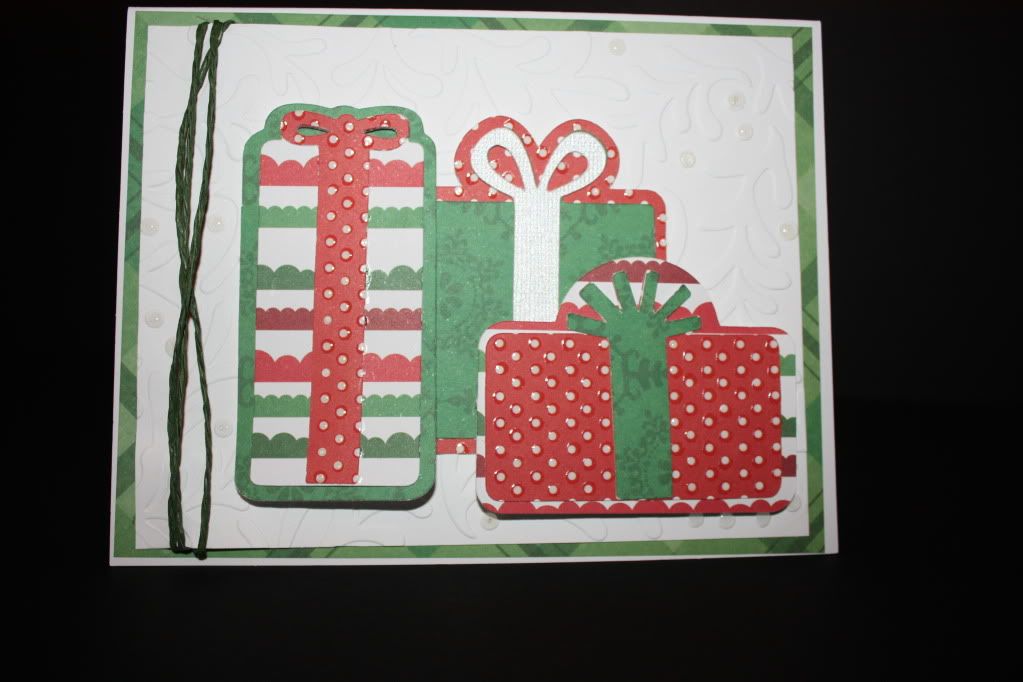
Today's card was simple--see for yourself.
I used one of the Creative Memories Cartridges for the gifts--the paper is all MAMBI Christmas stack I picked up at Joann's. If you could see the amount of Christmas paper I have you would laugh that I bought more!
Today's card was simple--see for yourself.
I used one of the Creative Memories Cartridges for the gifts--the paper is all MAMBI Christmas stack I picked up at Joann's. If you could see the amount of Christmas paper I have you would laugh that I bought more!
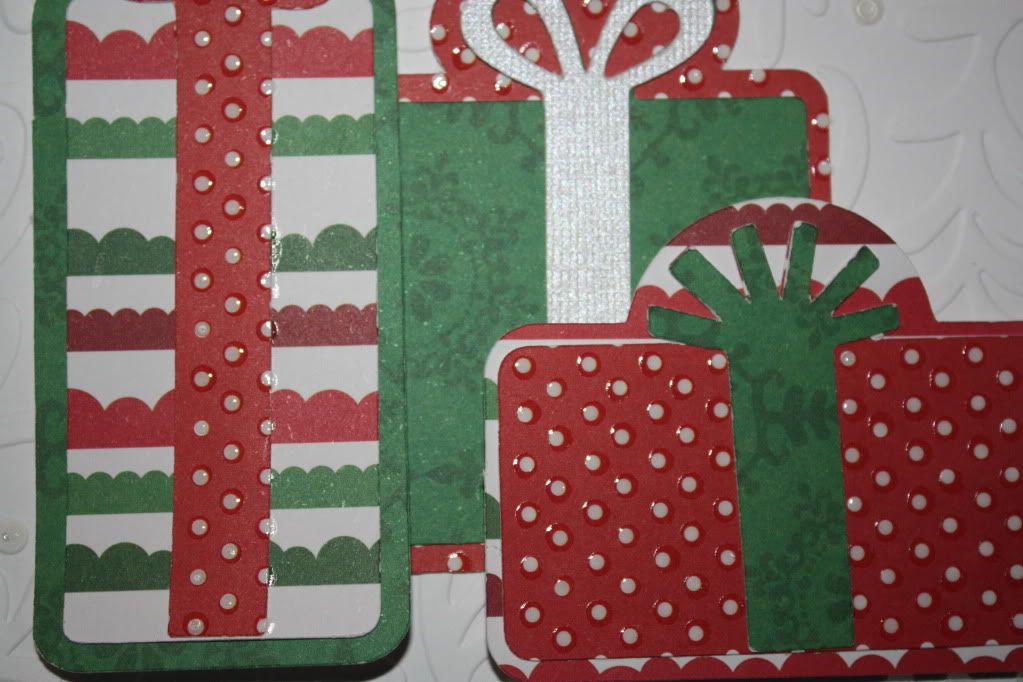
Here is a close up--I used some glossy accents to high light the polka dots and give a litter texture. I also cuttlebuged the white background with the Holly folder.
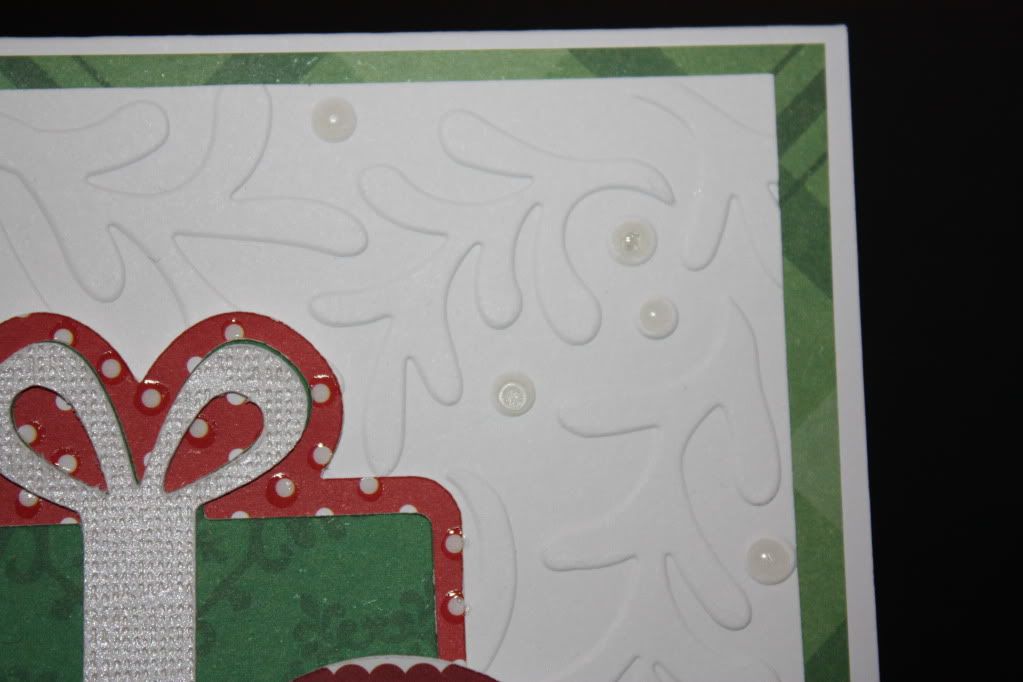
I used the glossy accents on the background to highlight the holly berries.
I finished off the inside with a few of the left over bits.
Thanks for stopping by and make sure to check back on Friday there is more goodness in store.
make it a great one-
Monday, November 28, 2011
A present card...
Hello everyone--it's been a great long holiday weekend and I am so not ready to go back to work but one must do what one must do; and I must go back to work.
I did go a little shopping and cooking over the holiday but nothing crazy.
How was your holiday? What deals did you walk away with?
Today I have a quick and easy card for the Christmas holiday that will be here before you know it!
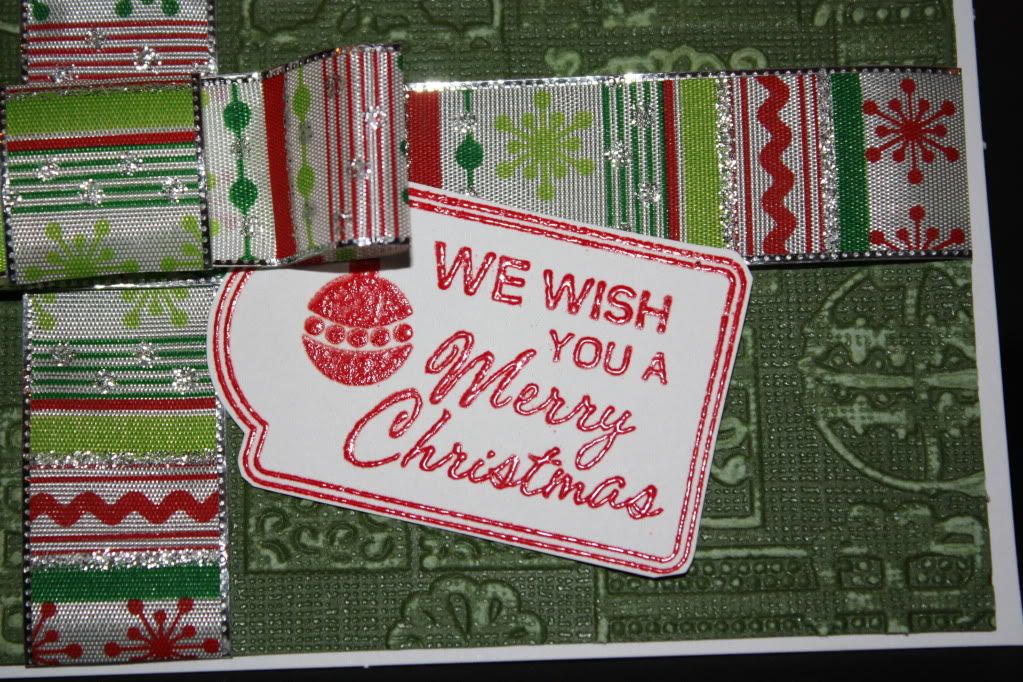
The sentiment is from a CTMH stamp set called Christmas Melodies--one of my all time favs. I used some red heat embossing powder and my heat gun to get this nice shiny look.
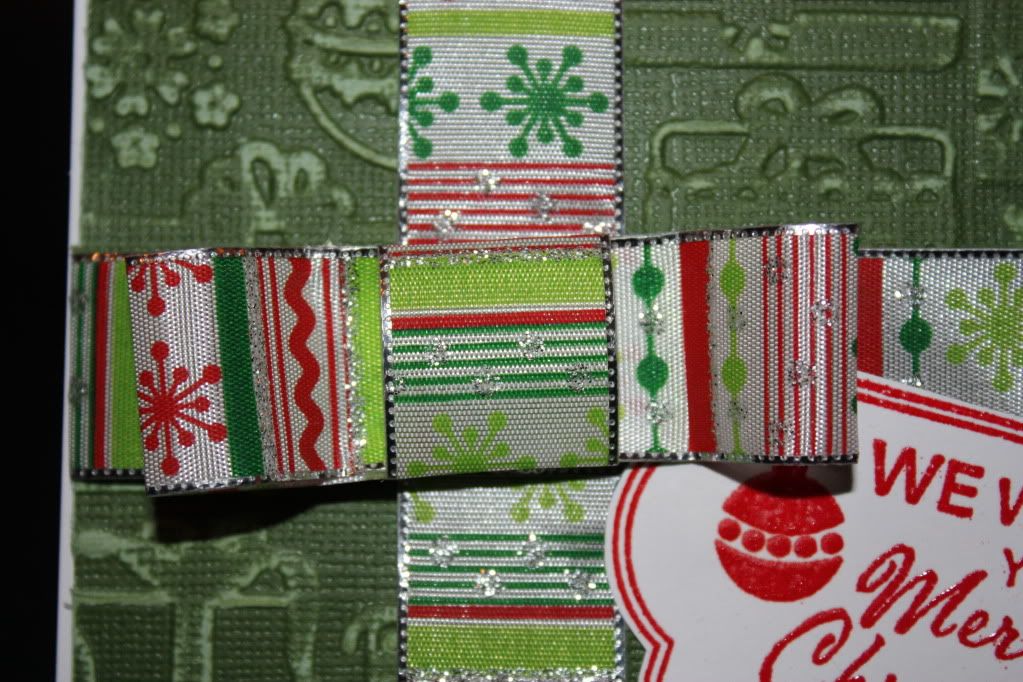
Now for the bow--i used some ribbon from Michael's that was a fun print. I faked this box--made a loop and than added a PC to the center--I wanted to show off the ribbon and when I tied it in a bow it did not look nearly as in testing.
So this week I have two more projects to share-one card and one double page non-traditional layout.
Make this Monday a great one!
I did go a little shopping and cooking over the holiday but nothing crazy.
How was your holiday? What deals did you walk away with?
Today I have a quick and easy card for the Christmas holiday that will be here before you know it!
This simple A2 card was made using one of the Sizzix embossing folders I got at 75%+25% off at Joann's. I used my Tim Holtz sanding block to distress the cordinations paper.
Now for the bow--i used some ribbon from Michael's that was a fun print. I faked this box--made a loop and than added a PC to the center--I wanted to show off the ribbon and when I tied it in a bow it did not look nearly as in testing.
So this week I have two more projects to share-one card and one double page non-traditional layout.
Make this Monday a great one!
Labels:
Card Christmas
Thursday, November 24, 2011
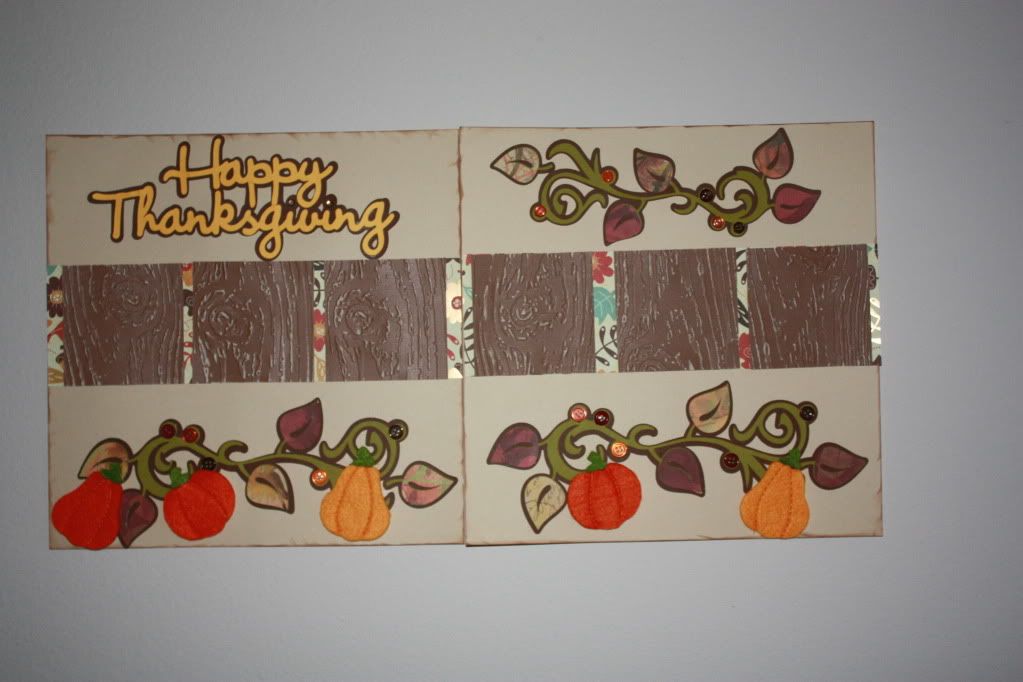
Happy Thanksgiving!!!! Double page layout
Happy Thanksgiving! There is so much to be thankful for this year. A job I love, my health, wonderful family and friends, and an amazing group of people (you all) who keep coming back for more!!!! I have been blogging for just about 2 years now and I love how it never gets old. I miss doing it when I am on the road for work and my time in my craft room makes me happy--there is nothing like pure creativity--no rules, and endless possibilities!
I started doing it to get me to craft more--but now it's not only about the being creative, it's about interacting with you all.
I have been working on some big things for 2012 and not only will there be more layouts and less cards but tons more blog candy--
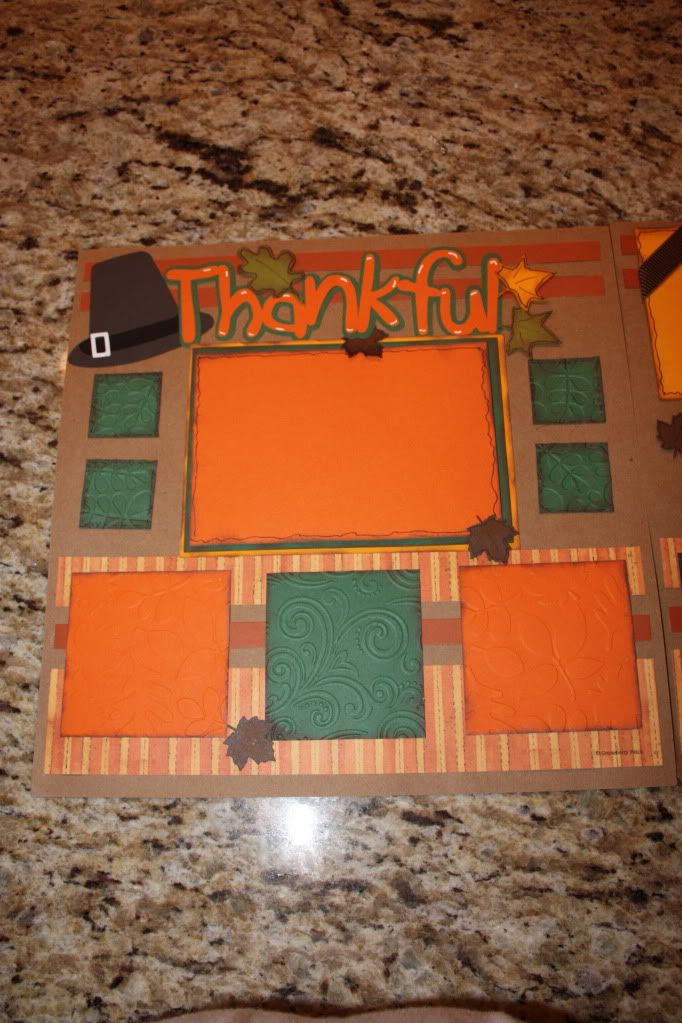
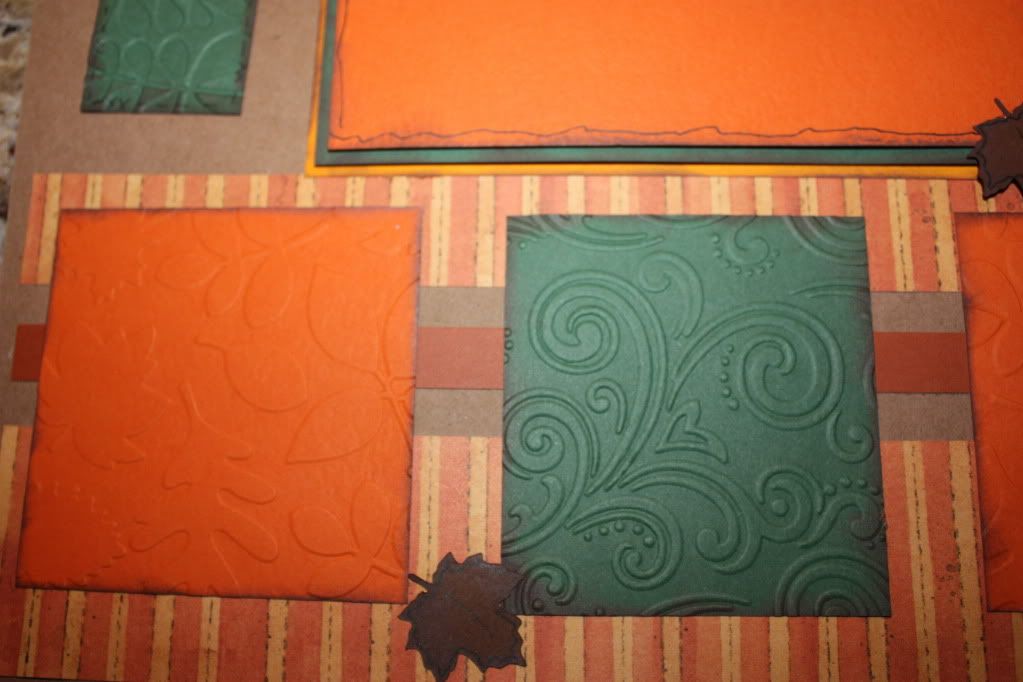
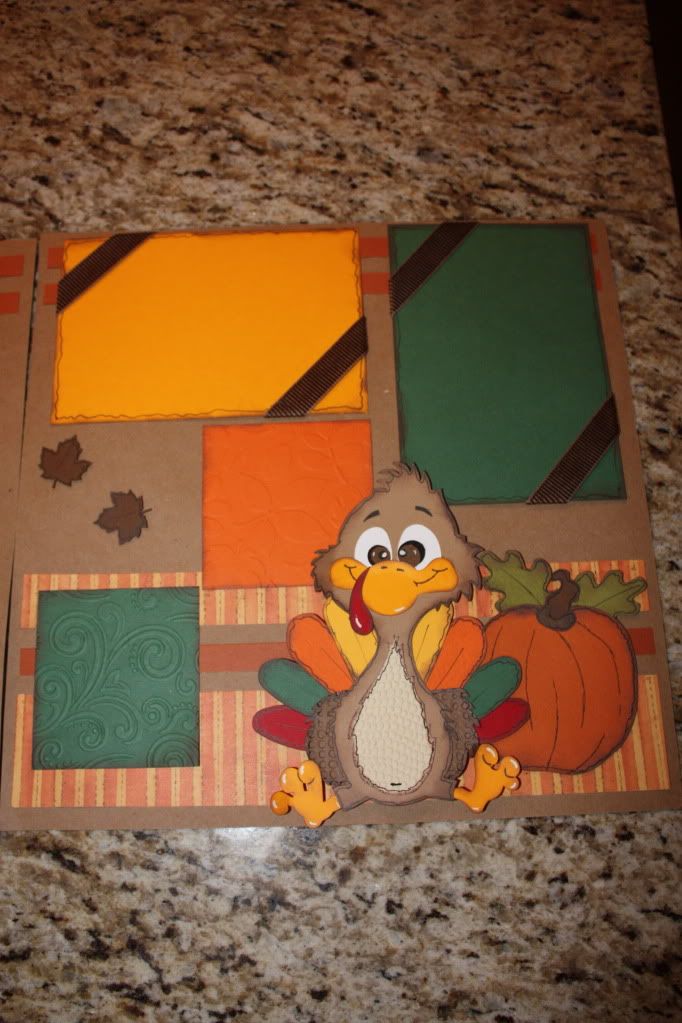
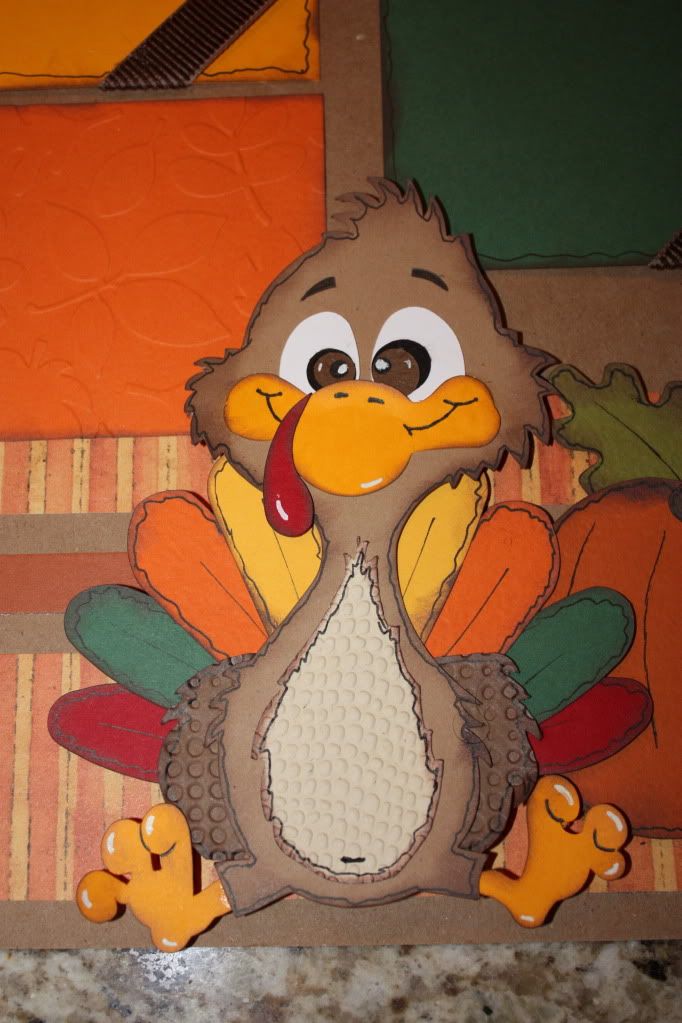
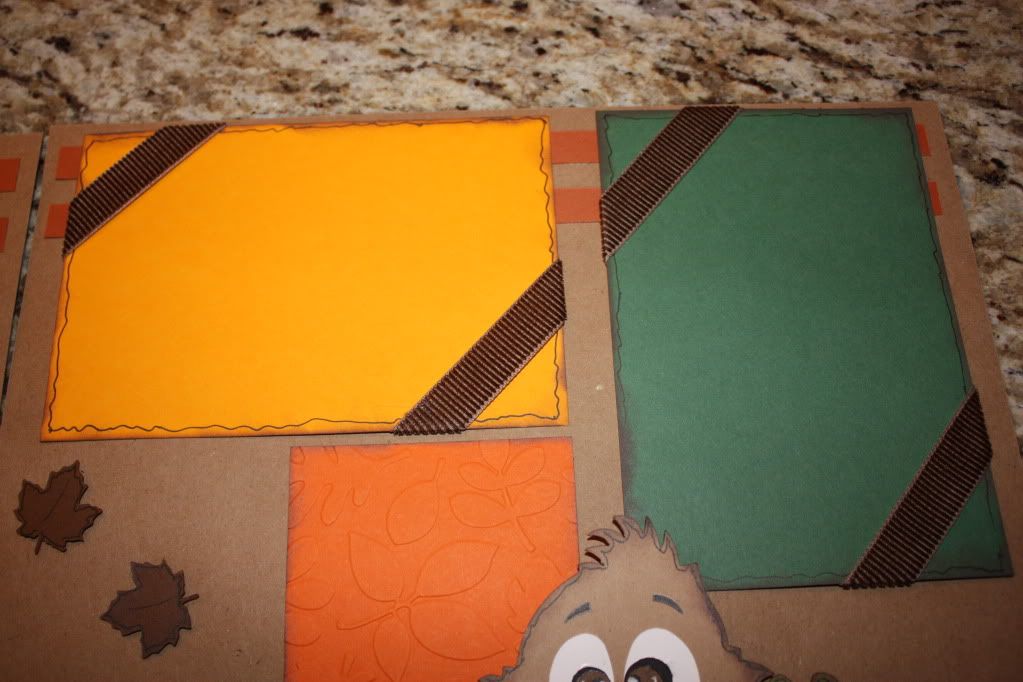
So here is a double page Thanksgiving layout from a Scrapbook Funaddicts kit.
It was super quick and easy--
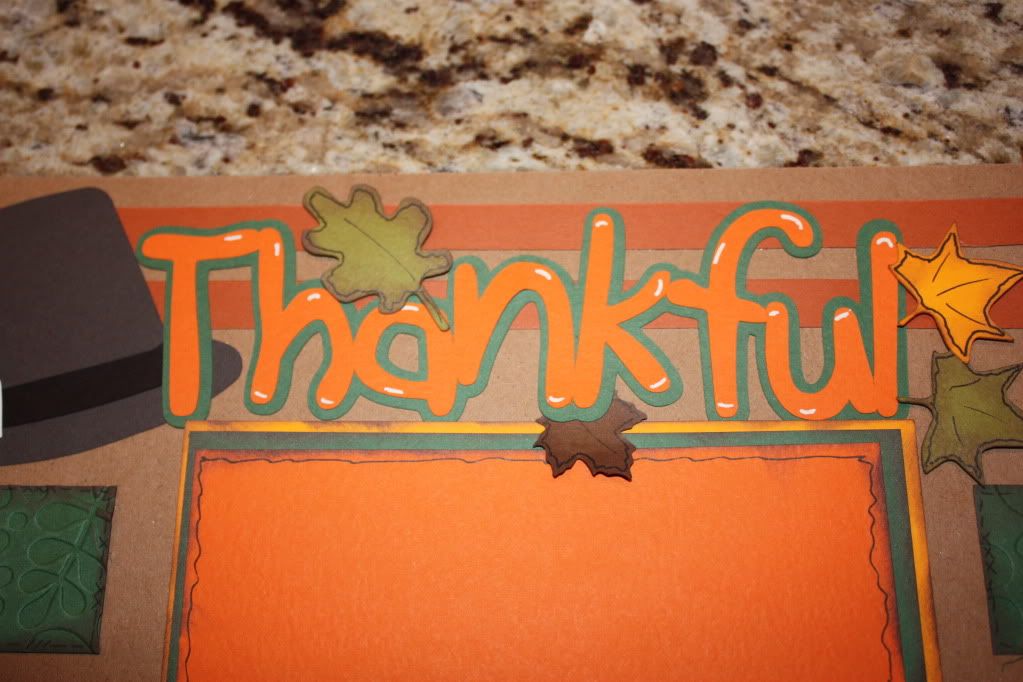
I added some embossing, some pen work, and some velvet ribbon as a few finishing touches!.
These kits are a great way to get non-scrappers involved because there is little to do--but arrange glue and add photos!!!
Enjoy your holiday weekend and we will see you back here on Monday
Make it a great one-
Tuesday, November 22, 2011
The winner of the PBD $25 shopping spree
And the winner is.............
Jennifer said...
I am sending you contact info to the Pink By Design Team and they will contact you with more info. Congrats--and thanks to all who commented-- As I plan for 2012 I will give you a sneak peek that there will be plenty of blog candy!!! I am excited about some of the give aways--I will leave some of it up to you IMAGINATION! Make it a great one B
Hi Brian,
Can't wait to see your project! Have a WONDERFUL vacation and a Happy Thanksgiving!!! :)
Crafty hugs,
Jennifer
partridgelu at yahoo dot com
Can't wait to see your project! Have a WONDERFUL vacation and a Happy Thanksgiving!!! :)
Crafty hugs,
Jennifer
partridgelu at yahoo dot com
Thanksgiving Treat Bag Preview and Blog Candy
It's Tuesday and I start my vacation on Wednesday so today is my Friday. It is also my day over on Pink By Design Blog and here is a preview of my project
Head on over to see the full project with instructions.
Don't forget to leave comments on both for a double chance to win a $25 gift card to Pink By Design Store. Sarah and Kyle have been so kind to allow me to give this to one of you--so show some love on the PBD blog as well as comment here--winner will be posted at 9 pm Tuesday!!!!!!!!
Make it a great one
Monday, November 21, 2011
Thanksgiving Layout and blog candy
Happy Monday everyone--I am reposting a layout I did last year for two reasosn--one I was not feeling well on Sunday so very little got done and I want to encourage you to get out of the scarpbook section of your local craft store.
I love finding things that are not ment for scrapbooking but I do it anyway--here is a perfect example.
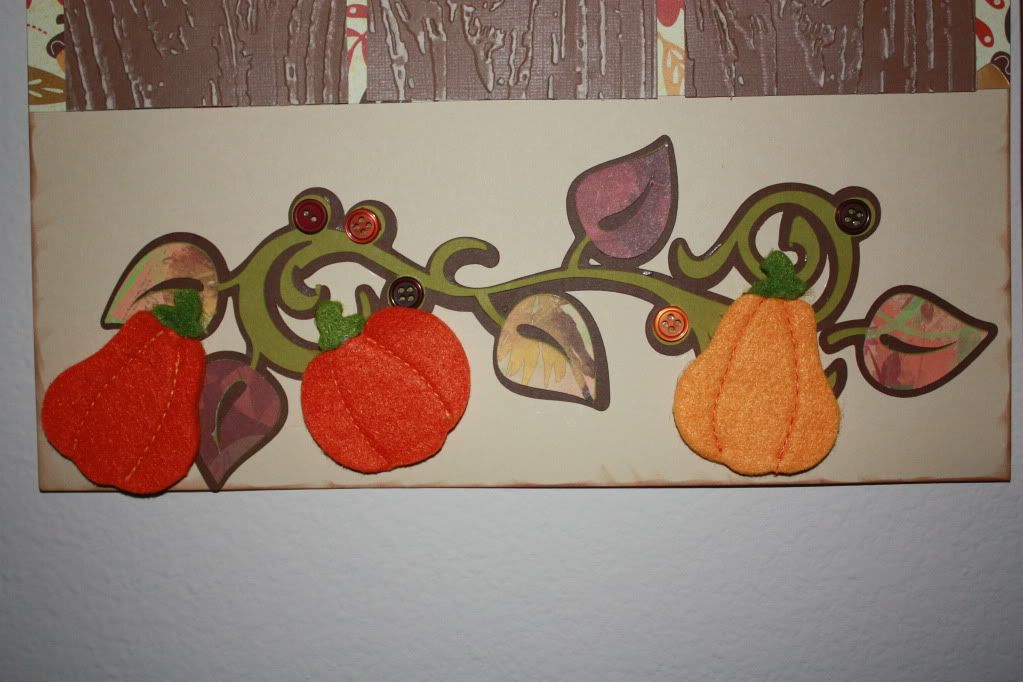
These felt shapes were found at hobby lobby in the holiday section and I just had to use them on a layout--they add warmth (due to the fuzzy nature of the felt) and a 3d element. Best part of all--I had to do nothing to make them page ready!!! so check out the holiday sections through out the year as you never know what you will find
Ok now on to blog candy--I have another $25 DOLLAR gift card for Pink By Design--that is right--just be a follower and leave a comment today, Tuesday on my blog here and on the Pink By design blog and you will have three chances of winning--winner will be announced Tuesday evening by 9PM
Make it a great one
Friday, November 18, 2011
And the winner is.........
Happy Friday!!!!! Ready to find out who won the Pink By Design well wait no more-
Lisa said...
Hey Bryan, Love the colors and embossing on your card! Thanks for the chance to win the PBD g.c.! Crossing my fingers and toes as i have fallen in love with some of there stamps!
Have a great weekend!
Lisa G
lkgra@hotmail.com
http://lisa-scrappingspot.blogspot.com/
stop by & check out my giveaway!
Have a great weekend!
Lisa G
lkgra@hotmail.com
http://lisa-scrappingspot.blogspot.com/
stop by & check out my giveaway!
Lisa--congrats--email me at scrapguyblog@yahoo.com and I will mak sure you get all the info you need.
Hope you all have a great weekend and I will have a project monday, tuesday , and wednesday to share--than off for Thanksgiving and Black Friday!! Next tuesday is my day over on Pink By Design and I will let you know that I will have a giveaway to celebrate the holiday and say thanks to all of you--
MAKE IT A GREAT ONE!
Thursday, November 17, 2011
Siple card and a give away
Happy Thursday--so glad the week is almost over. It seems I have I have been on the road and in big meetings for the past month for work but all have paid off with some great new business and strong existing sales. Got to love when business is good.
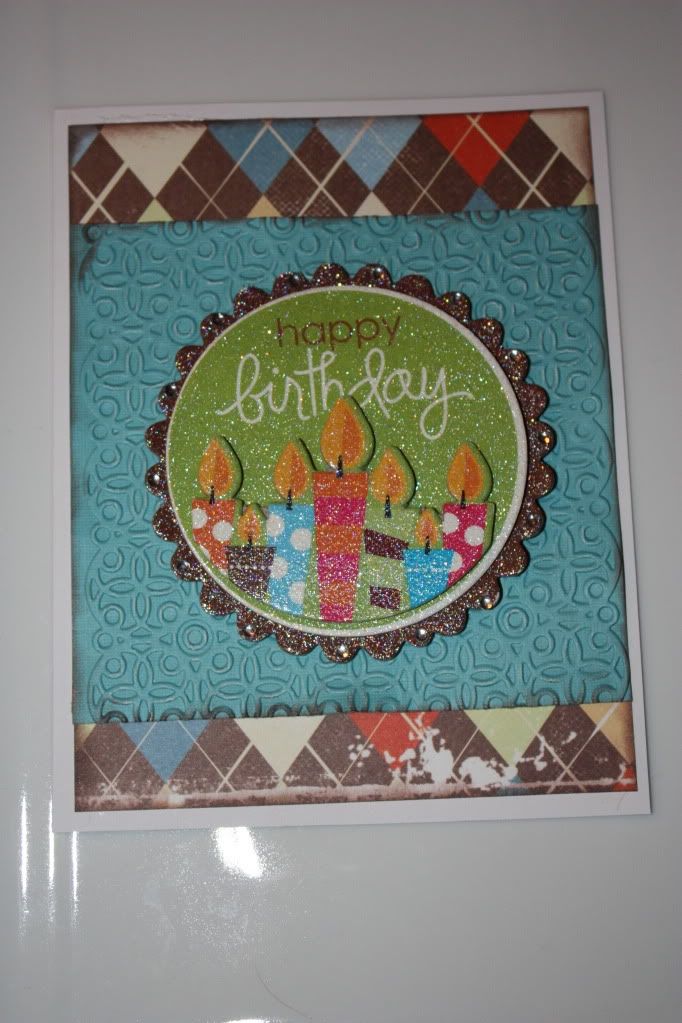
Today I have a simple birthday card to share.
The paper was scraps that I combined with a large store bought accessory. Took only minutes but supplied a last minute card with some punch. I also added texture with an embossing folder and my cuttlebug.
On to the give away. Sarah and Kyle at Pink By Design are super awesome people and have been kind enough to give me an opportunity to do a give away. Here is how this will work. Be a follower and Leave a comment here and over at the PBD blog (here is a link) and you will have double the chances to win a $25 gift card to the PBD store to pick up some pre holiday goodies. I will announce the winner on Friday so this is a one day give away--so leave the comments and come back to see if you are the winner!
make it a great one-
Labels:
blog candy,
Card,
PBD
Monday, November 14, 2011
Winner Winner Chicken Dinner.........
Alright, I know I am late on this post for the winners, so to make up for being TARDY TO THIS PARTY I am going to give away three sets--
One from my blog, one from PBD, and one from all the entries! Each will recv on set of PBD stamps which are ready to be mailed right to the winners
Winner #1
Rachel said...
Winner #2
Marsha said-
Winner #3
JenBenLola said...
Please email me your address to scrapguyblog@yahoo.com! Please put PBD winner in the subject line. You each have 2 weeks to reply of the prizes go back into the prize pool.
OK some updates. I have been working on some things for my blog and I have some exciting changes coming in 2012. A face lift (no botex..) some new features, and LOTS of Candy to be given away--
I have read all your comments and hear that you want more layouts! Well I will admit that cards take a whole lot less time but I will make sure to have more layouts and make cards more of a secondary feature in the new year. Can you believe that it is almost Thanksgiving! I bought my turkey this weekend and have no clue what stuffing I want to make--any suggestions would be a huge help--was thinking oyster or sausage--but I need to find just the right one--I know yall will come to my resuce.
Make it a great one-
One from my blog, one from PBD, and one from all the entries! Each will recv on set of PBD stamps which are ready to be mailed right to the winners
Winner #1
I'd like to see more guy cards. I recently sold cards at my church's bake sale, and the one thing I was told was that there needs to be more options for guy cards. I have NO clue what to do with that!
Winner #2
Marsha said-
November 9, 2011
I love the simplicity of this card, although the faux stitching really sets it apart from any other simple card! Very nice!
Winner #3
I agree with others and more layouts. Alot of blogs lately have been focusing on cards which are great but layouts are what I started paper crafting with and I'd like to get back to that. Love all your posts anyhow. Especially all the pictures of your travels. Wish i was as lucky to travel the world like you! Keep up the good work! JenBrierley2 at gmail dot com
Please email me your address to scrapguyblog@yahoo.com! Please put PBD winner in the subject line. You each have 2 weeks to reply of the prizes go back into the prize pool.
OK some updates. I have been working on some things for my blog and I have some exciting changes coming in 2012. A face lift (no botex..) some new features, and LOTS of Candy to be given away--
I have read all your comments and hear that you want more layouts! Well I will admit that cards take a whole lot less time but I will make sure to have more layouts and make cards more of a secondary feature in the new year. Can you believe that it is almost Thanksgiving! I bought my turkey this weekend and have no clue what stuffing I want to make--any suggestions would be a huge help--was thinking oyster or sausage--but I need to find just the right one--I know yall will come to my resuce.
Make it a great one-
Labels:
blog candy
Tuesday, November 8, 2011
Just a peek under the tent!
Hello all and happy Tuesday--today is my day over on the Pink by Design Blog and here is a peek under the tent--you will have to head over there and check out the details.
And if you leave a comment here telling me what you would like to see more of on this blog you will be entered to win a set of Pink by Design stamps. If you leave a comment on the Pink by Design blog you will get a second chance to enter the drawing--winner will be announced on Friday!!!!
I love these stamps--the stamp perfect right out of the package. Check out Pink by Design Store for all the latest releases---including some new dies!!!!
Make it a great one!
Labels:
PBD
Saturday, November 5, 2011
Hello Kitty Blog Hop!!!!!!!!!!!!!!!!!!!!!!!!!!!!!!!!!!!!!
Hello everyone and welcome to the Hello Kitty Blog Hop! We have lots of FABULOUS projects and prizes for you today, so make sure you make a stop on every blog! This hop is a 2 day hop, so you have plenty of time to get through all of the blogs. If you've arrived here from (person before you)'s blog you're on the right track! If you're stopping by my blog today and want to start at the beginning, please visit Emily's blog (link http://www.createserendipity.net/ )
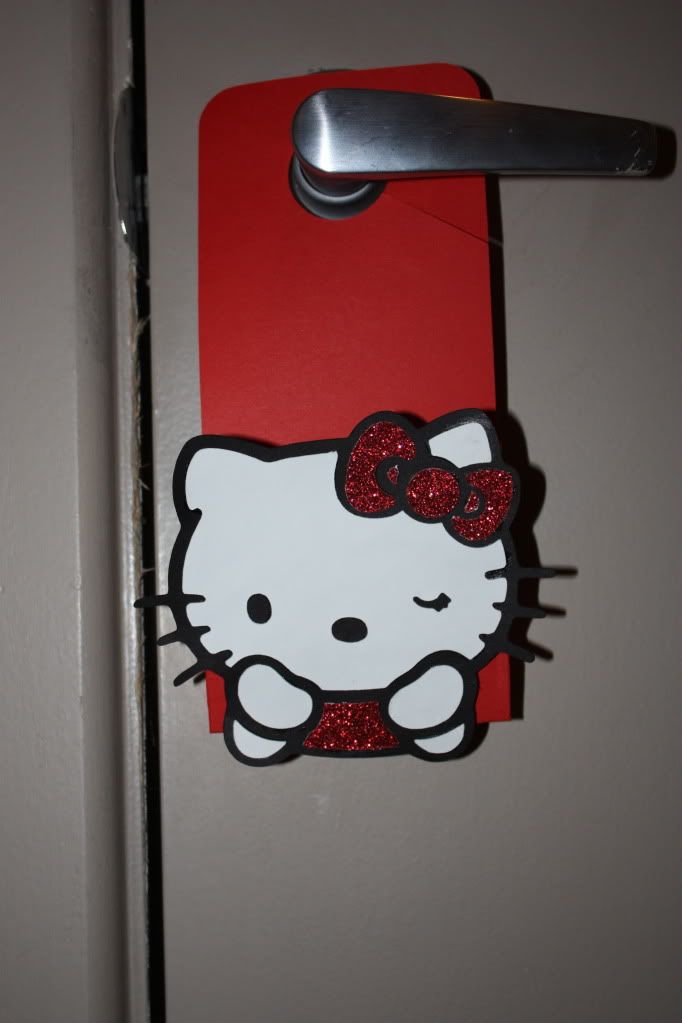
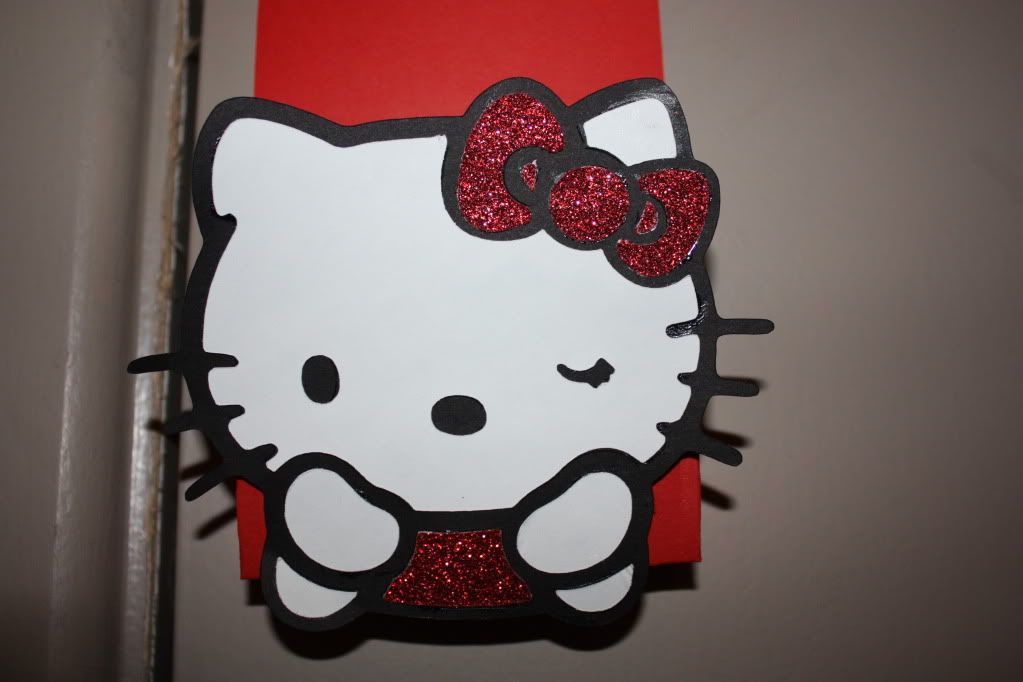
My project was super simple. I used the Cricut Art Philosopy Cartridge from CTMH and the Hello Kitty Greetings Cartridge. I cut the door hanger from the Art Philosopy Cartride in red. This was cut witht the fit to page function on the Cricut.
I cut the cute winking Kitty face at 4" so it would cover most of the box on the door hanger. The face was only three cuts so in total this project was only 4 cuts!!! I love a simple project. The black and white paper is from CTMH and the red glitter paper is from SU--I used a scrap for this one!
Don't forget that to have a chance to win the grand prize you must stop by each blog along the hop! Good Luck to you all.
Lineup:
Emily: http://www.createserendipity.net/
Dena : http://missdjones.blogspot.com/
Lisa : http://handmadewithlove-lisa.blogspot.com/
Jessica-Creative : http://thecreativestamperspot.blogspot.com/
Crafty Homemade : http://craftyhomemade.blogspot.com/
Tammy : http://thepurplemuse.blogspot.com/
Jearise : http://lorbysworld.blogspot.com/
Ashley : http://theglamoroussideofscrapping.blogspot.com/
Lisa: http://prettypaperprettyribbons.blogspot.com/
Jenny: http://www.crazyaboutcricut.blogspot.com/
Bryan (SCRAPGUY) http://www.scrapguy.blogspot.com/ (YOU ARE HERE)
Lynne - http://slasewcraftiness.blogspot.com/
Anita http://www.anitaandbugs.blogspot.com/
Theresa ~ http://www.thescrapbookingqueen.com/
Candace - http://scrappin2littleprincesses.blogspot.com/
Libby: http://psastampcamp.blogspot.com/
Now hop along and see what Lynn has to share today!
My project was super simple. I used the Cricut Art Philosopy Cartridge from CTMH and the Hello Kitty Greetings Cartridge. I cut the door hanger from the Art Philosopy Cartride in red. This was cut witht the fit to page function on the Cricut.
I cut the cute winking Kitty face at 4" so it would cover most of the box on the door hanger. The face was only three cuts so in total this project was only 4 cuts!!! I love a simple project. The black and white paper is from CTMH and the red glitter paper is from SU--I used a scrap for this one!
Don't forget that to have a chance to win the grand prize you must stop by each blog along the hop! Good Luck to you all.
Lineup:
Emily: http://www.createserendipity.n
Dena : http://missdjones.blogspot.com
Lisa : http://handmadewithlove-lisa.b
Jessica-Creative : http://thecreativestamperspot.
Crafty Homemade : http://craftyhomemade.blogspot
Tammy : http://thepurplemuse.blogspot.
Jearise : http://lorbysworld.blogspot.co
Ashley : http://theglamoroussideofscrap
Lisa: http://prettypaperprettyribbon
Jenny: http://www.crazyaboutcricut.bl
Bryan (SCRAPGUY) http://www.scrapguy.blogspot.c
Lynne - http://slasewcraftiness.blogsp
Anita http://www.anitaandbugs.blogsp
Theresa ~ http://www.thescrapbookingqueen.com/
Candace - http://scrappin2littleprincess
Libby: http://psastampcamp.blogspot.c
Now hop along and see what Lynn has to share today!
Labels:
Hello Kitty Blog Hop
Wednesday, November 2, 2011
Baby you can drive my car.........
Well maybe! As I shared on Friday, I got a new car and have gotten some emails for pics--so here goes. I am not bragging--just sharing!! (LOL) I wish I would have gotten one of these years ago.
Here she is with the TOP up. It's a 2012 VW Eos--and I am in love!!!! it drives great, the radio is awesome, and the option between a convertible or a sunroof is amazing
Here she is with the top down. I think it was down all weekend--even Sunday night when I went to the airport to pick up a friend at 11 PM. All I have to say is heated seats and heater do wonders on a cool night!
The view from the drivers seat--
I must admit that it was sort of unplanned. I was going to trade in next spring but the deal was too good and once I went for a test drive--I knew I had to take it home.
Make it a great one-
Tuesday, November 1, 2011
The EYES have it
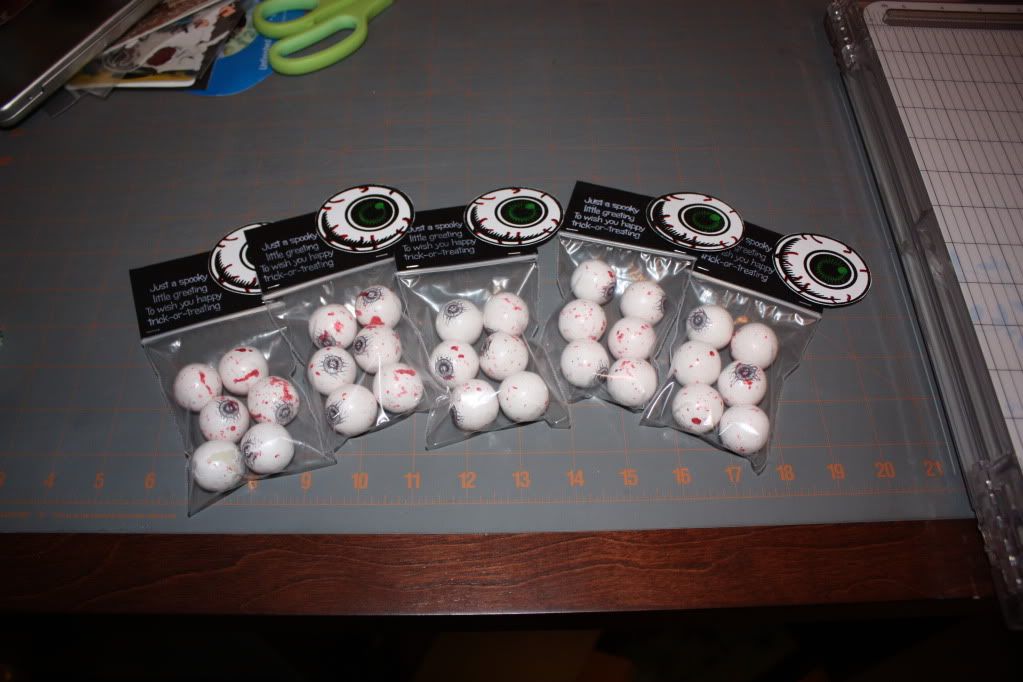
Well it looks like we all survived another halloween--I had to fly to NYC so there was not tricks or treats for me! For each of the major holidays I like to make my staff a goodie bag so this year is was all about EYES for Halloween.
As you can see my scrap room is almost ready to show but at least I can start creating-been on withdraw cause I have not been able to play with paper and my ATG gun!
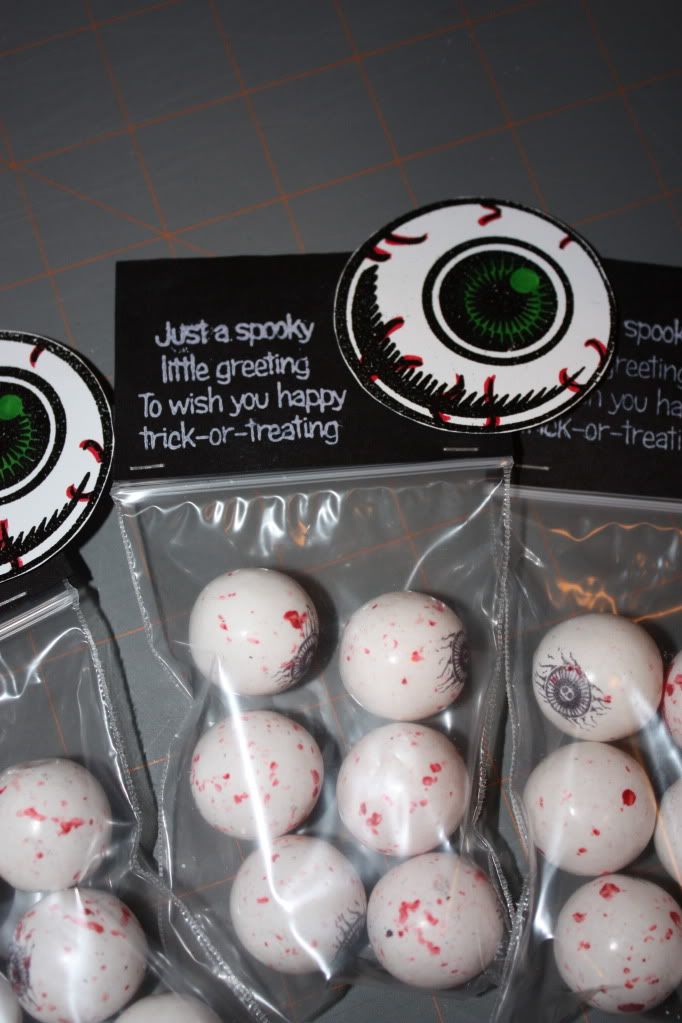
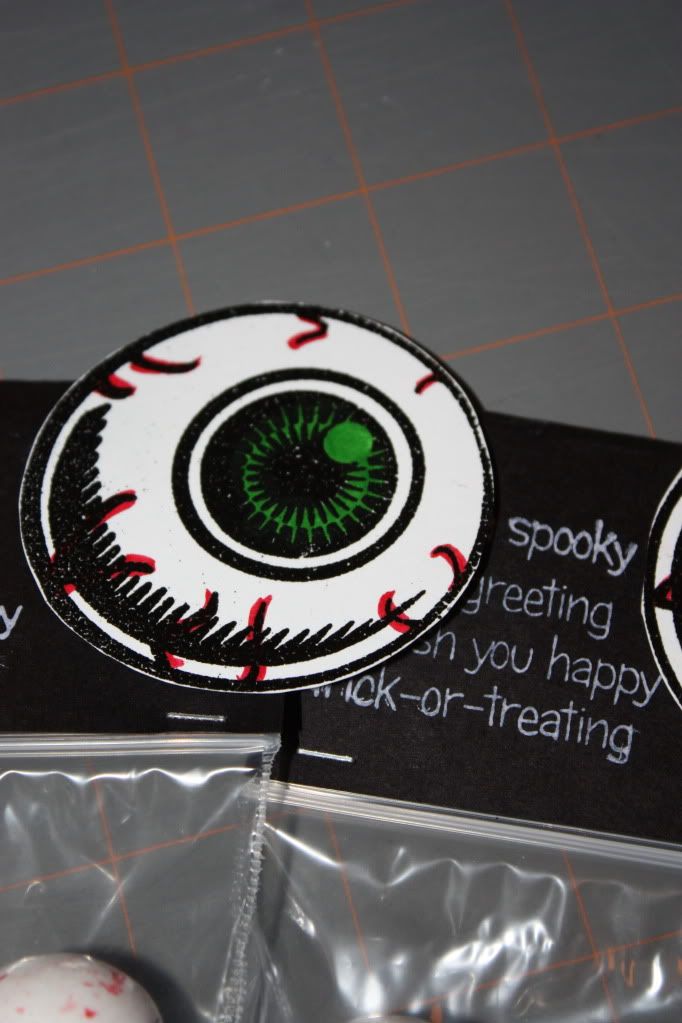
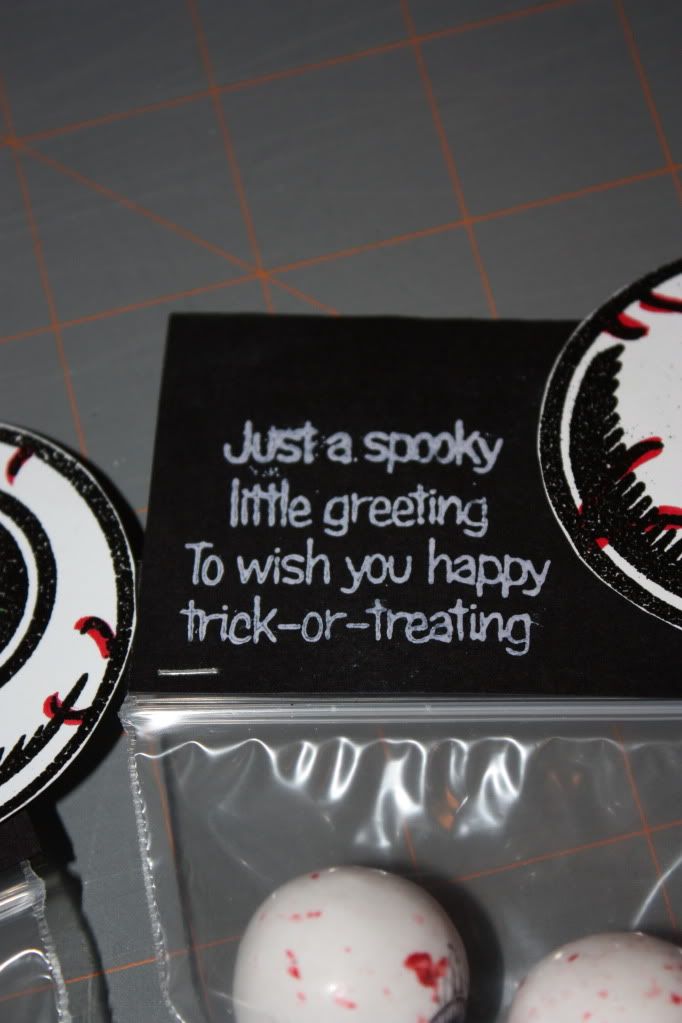
Here is a close up. I used basic black and white cardstock from CTMH. The ziplock bags are from Michaels. The sentiment is from Pink By Design and the Eye is a stamp I found in KC when I was there in early September. The eyeball gumballs were from Target!
The sentiment is from Pink By Desing Ghostly Greetings stamp set and stamped with Daisy White ink from CTMH.
Needless to say they were a hit at the office on Monday--
Thanks for stopping by and make it a great one-
As you can see my scrap room is almost ready to show but at least I can start creating-been on withdraw cause I have not been able to play with paper and my ATG gun!
Here is a close up. I used basic black and white cardstock from CTMH. The ziplock bags are from Michaels. The sentiment is from Pink By Design and the Eye is a stamp I found in KC when I was there in early September. The eyeball gumballs were from Target!
So for the eye; I used versa mark ink and black CTMH embossing powder for the base. I used CTMH markers to color the center of the eye and for the red bits I just colored over the embossing.
Needless to say they were a hit at the office on Monday--
Thanks for stopping by and make it a great one-
Labels:
Halloween,
treat bags
Friday, October 28, 2011
Omg. It's Friday!
Hello all! It's Friday and I can't wait till 5:30! This weekend is going to be beautiful which is good, cause I am going to get some much needed crafting accomplished! I have so many ideas sketched out that it will take me months to complete them all. I was working on one last night but got a bit side tracked. The world series game was a nail bitter and I could not stop watching. Having lived in both cities either way a team I enjoy will win! It's game 7 tonight-what a series! Oh, and almost forgot on my way home from work I bought a car! More about that on Saturday as the weather will be perfect to put the top down! Pics to come!
Make it a great one
Make it a great one
Wednesday, October 26, 2011
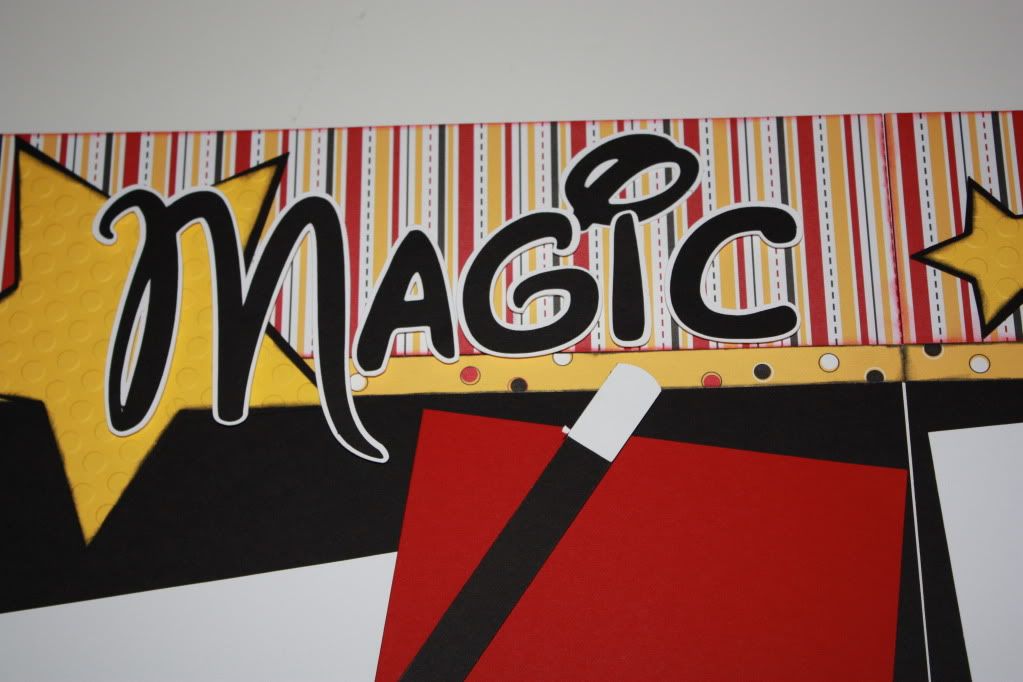
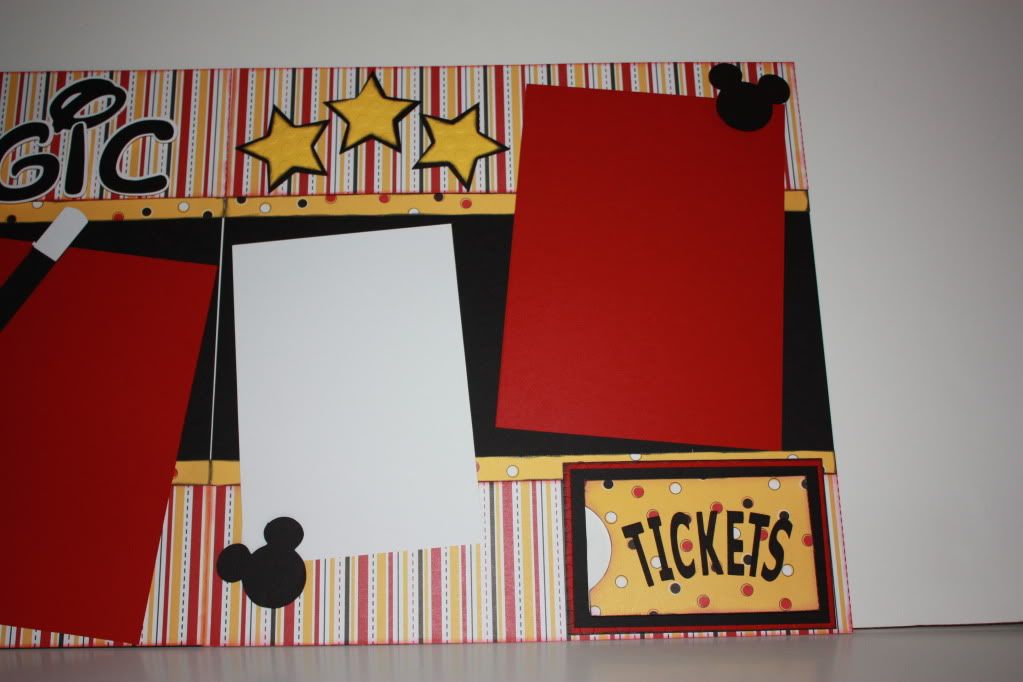
It's Magic Scrapbook Layout
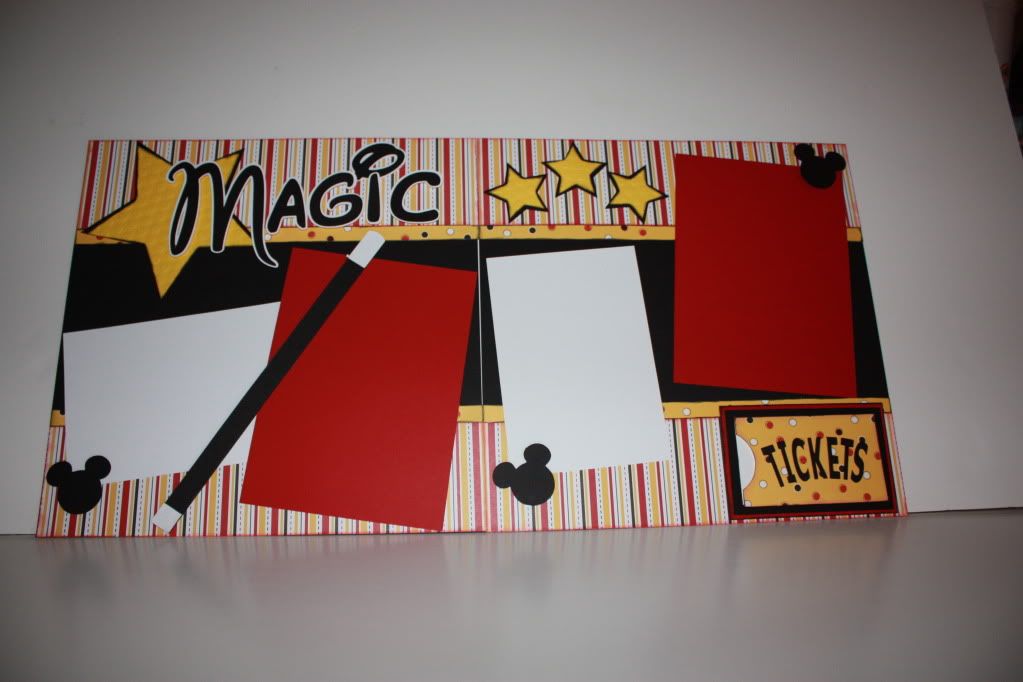
Hello everyone--it's Wednesday and I have a layout for you. It's Magic---well it's really a kit from Scrapbook Funaddicts. I love me a good kit--when you don't have much time you can still whip out a super cute project in no time. I always like to add a few of my own touches
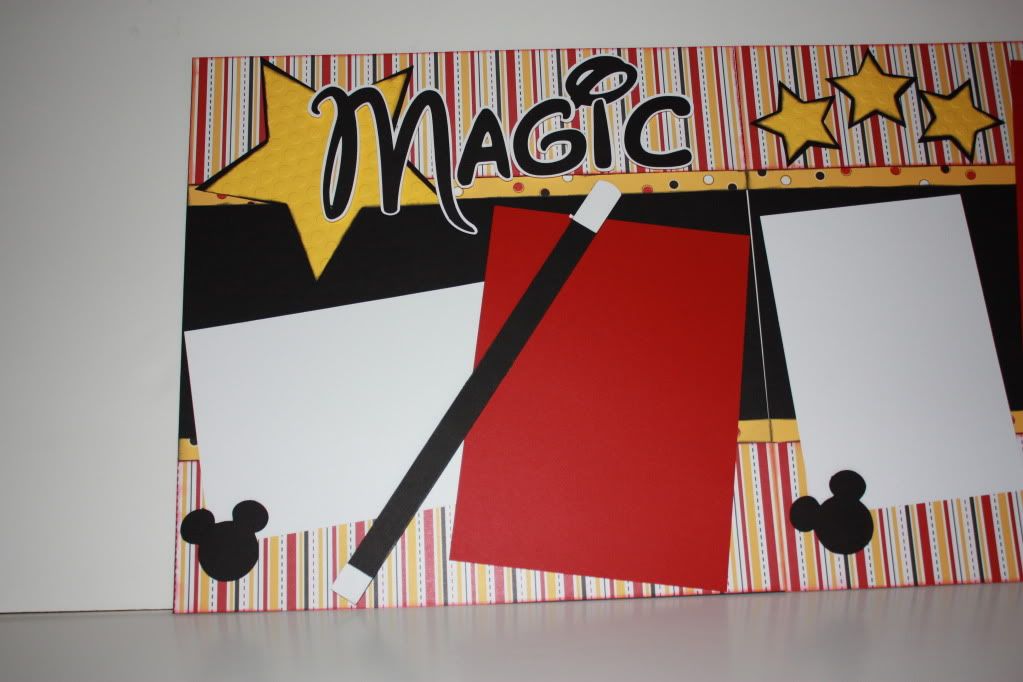
Here is the first page--I sent the big yellow star through the cuttlebug using the large dots folder. I also used foam squares to raise all the letters of the title. To add a bit of drama, I left the dot of the I flush with the base layout--sort of 3D. Again everything was cut all you have to do is ink, cuttlebug, assemble, and add some adhesive! BAMMM you have a layout!
For this two pager all the part are included in the kit--no cutting required!!!!
Hope you can see the texture in the star!
Here is the second page--I sent these stars through the cuttlebug and added foam squares to the stars and the mouse heads.
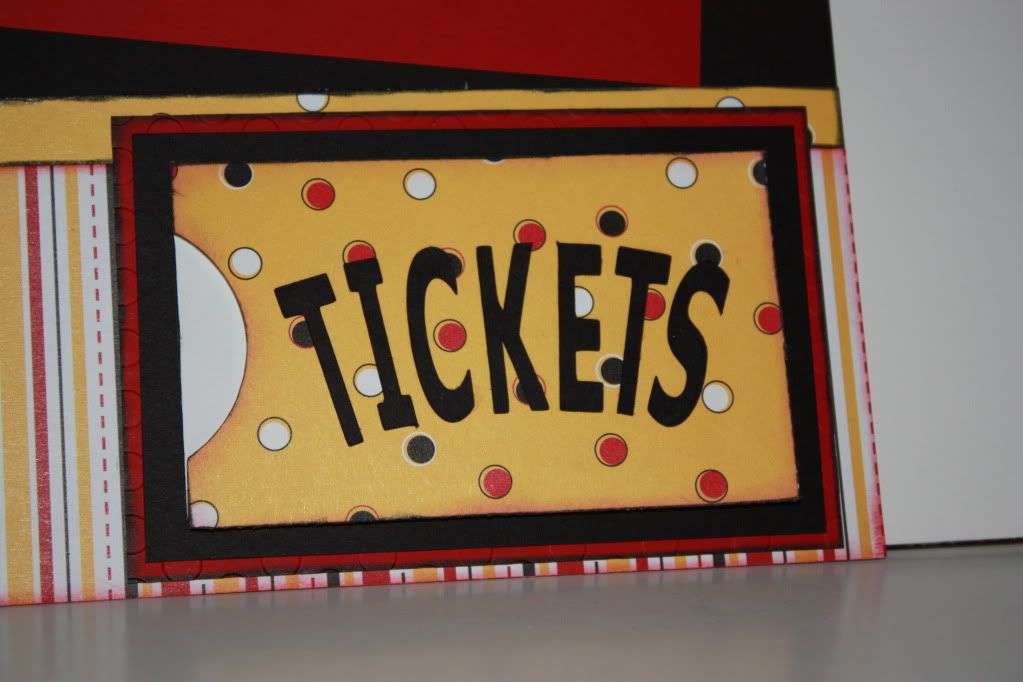
This ticket pocket can be used to hold tickets, programs, tags, and any other small bits you want to keep--or you can use it as a hidden journal tag.
This kit was designed by Terri Zaelit for Scrapbook Funaddicts.
Thanks for stopping by today--make it a great one!
Labels:
kit layouts
Subscribe to:
Comments (Atom)


